FOOD+DRINK

Dubai Luxury & Activities

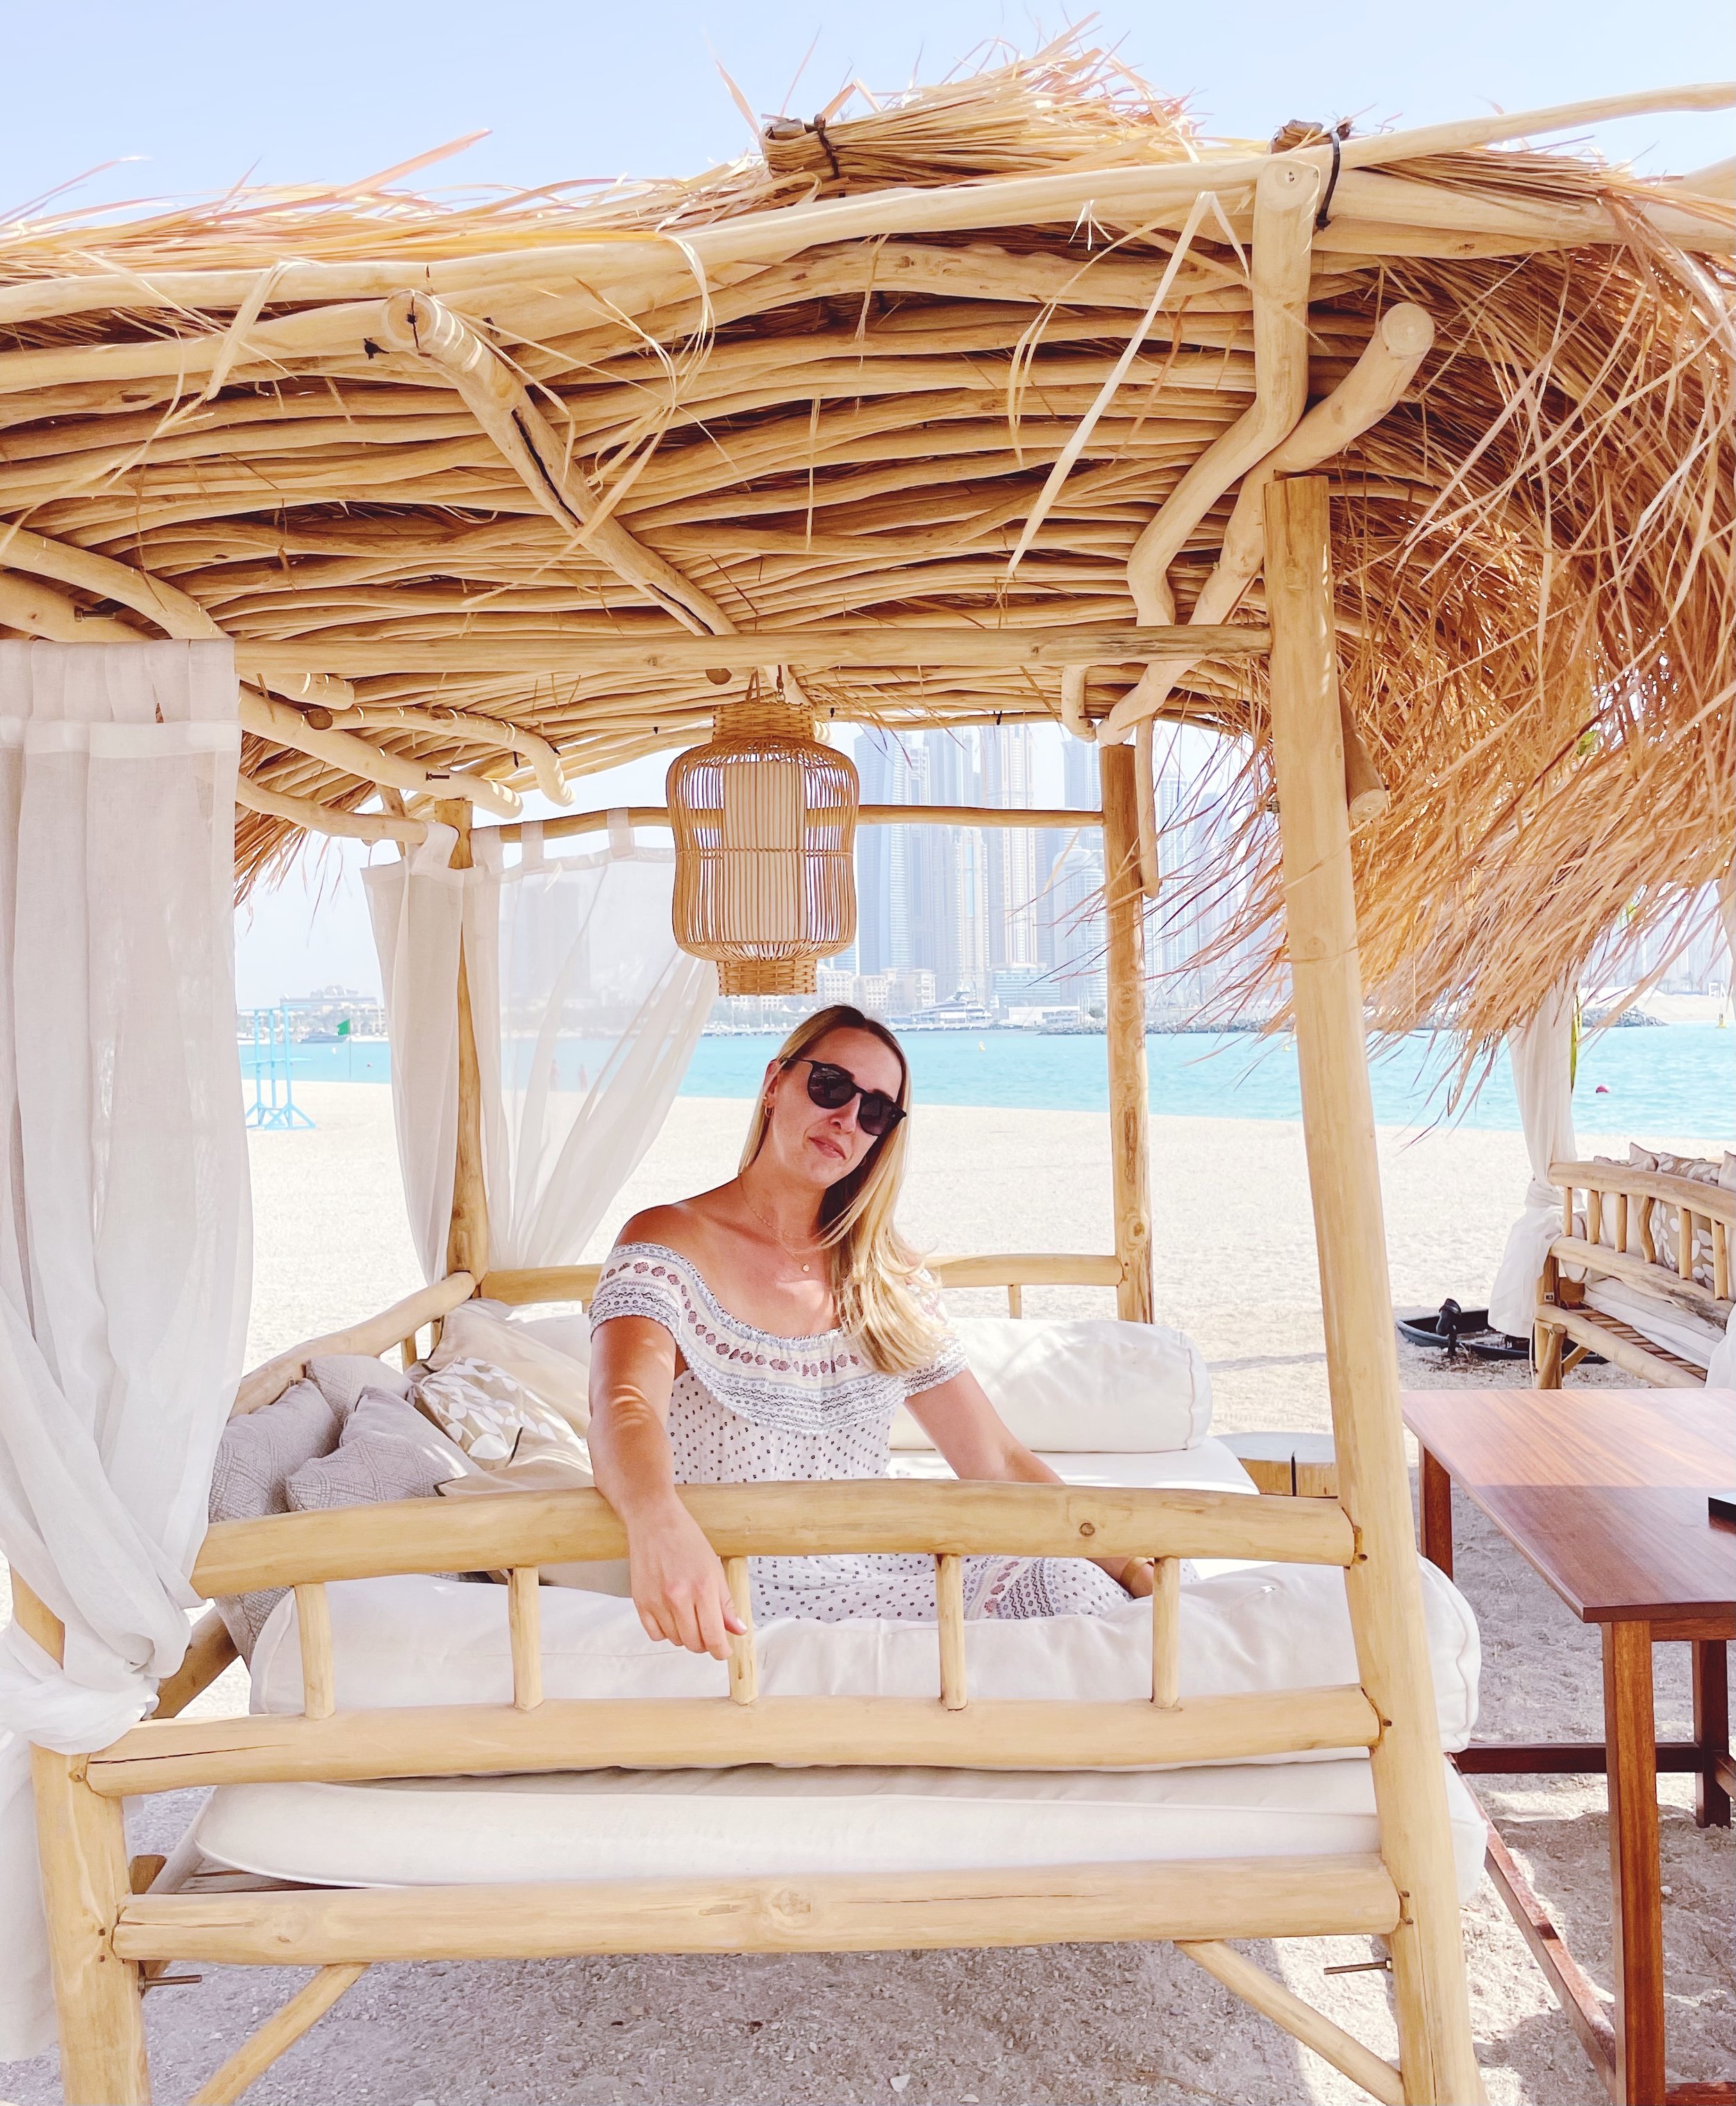
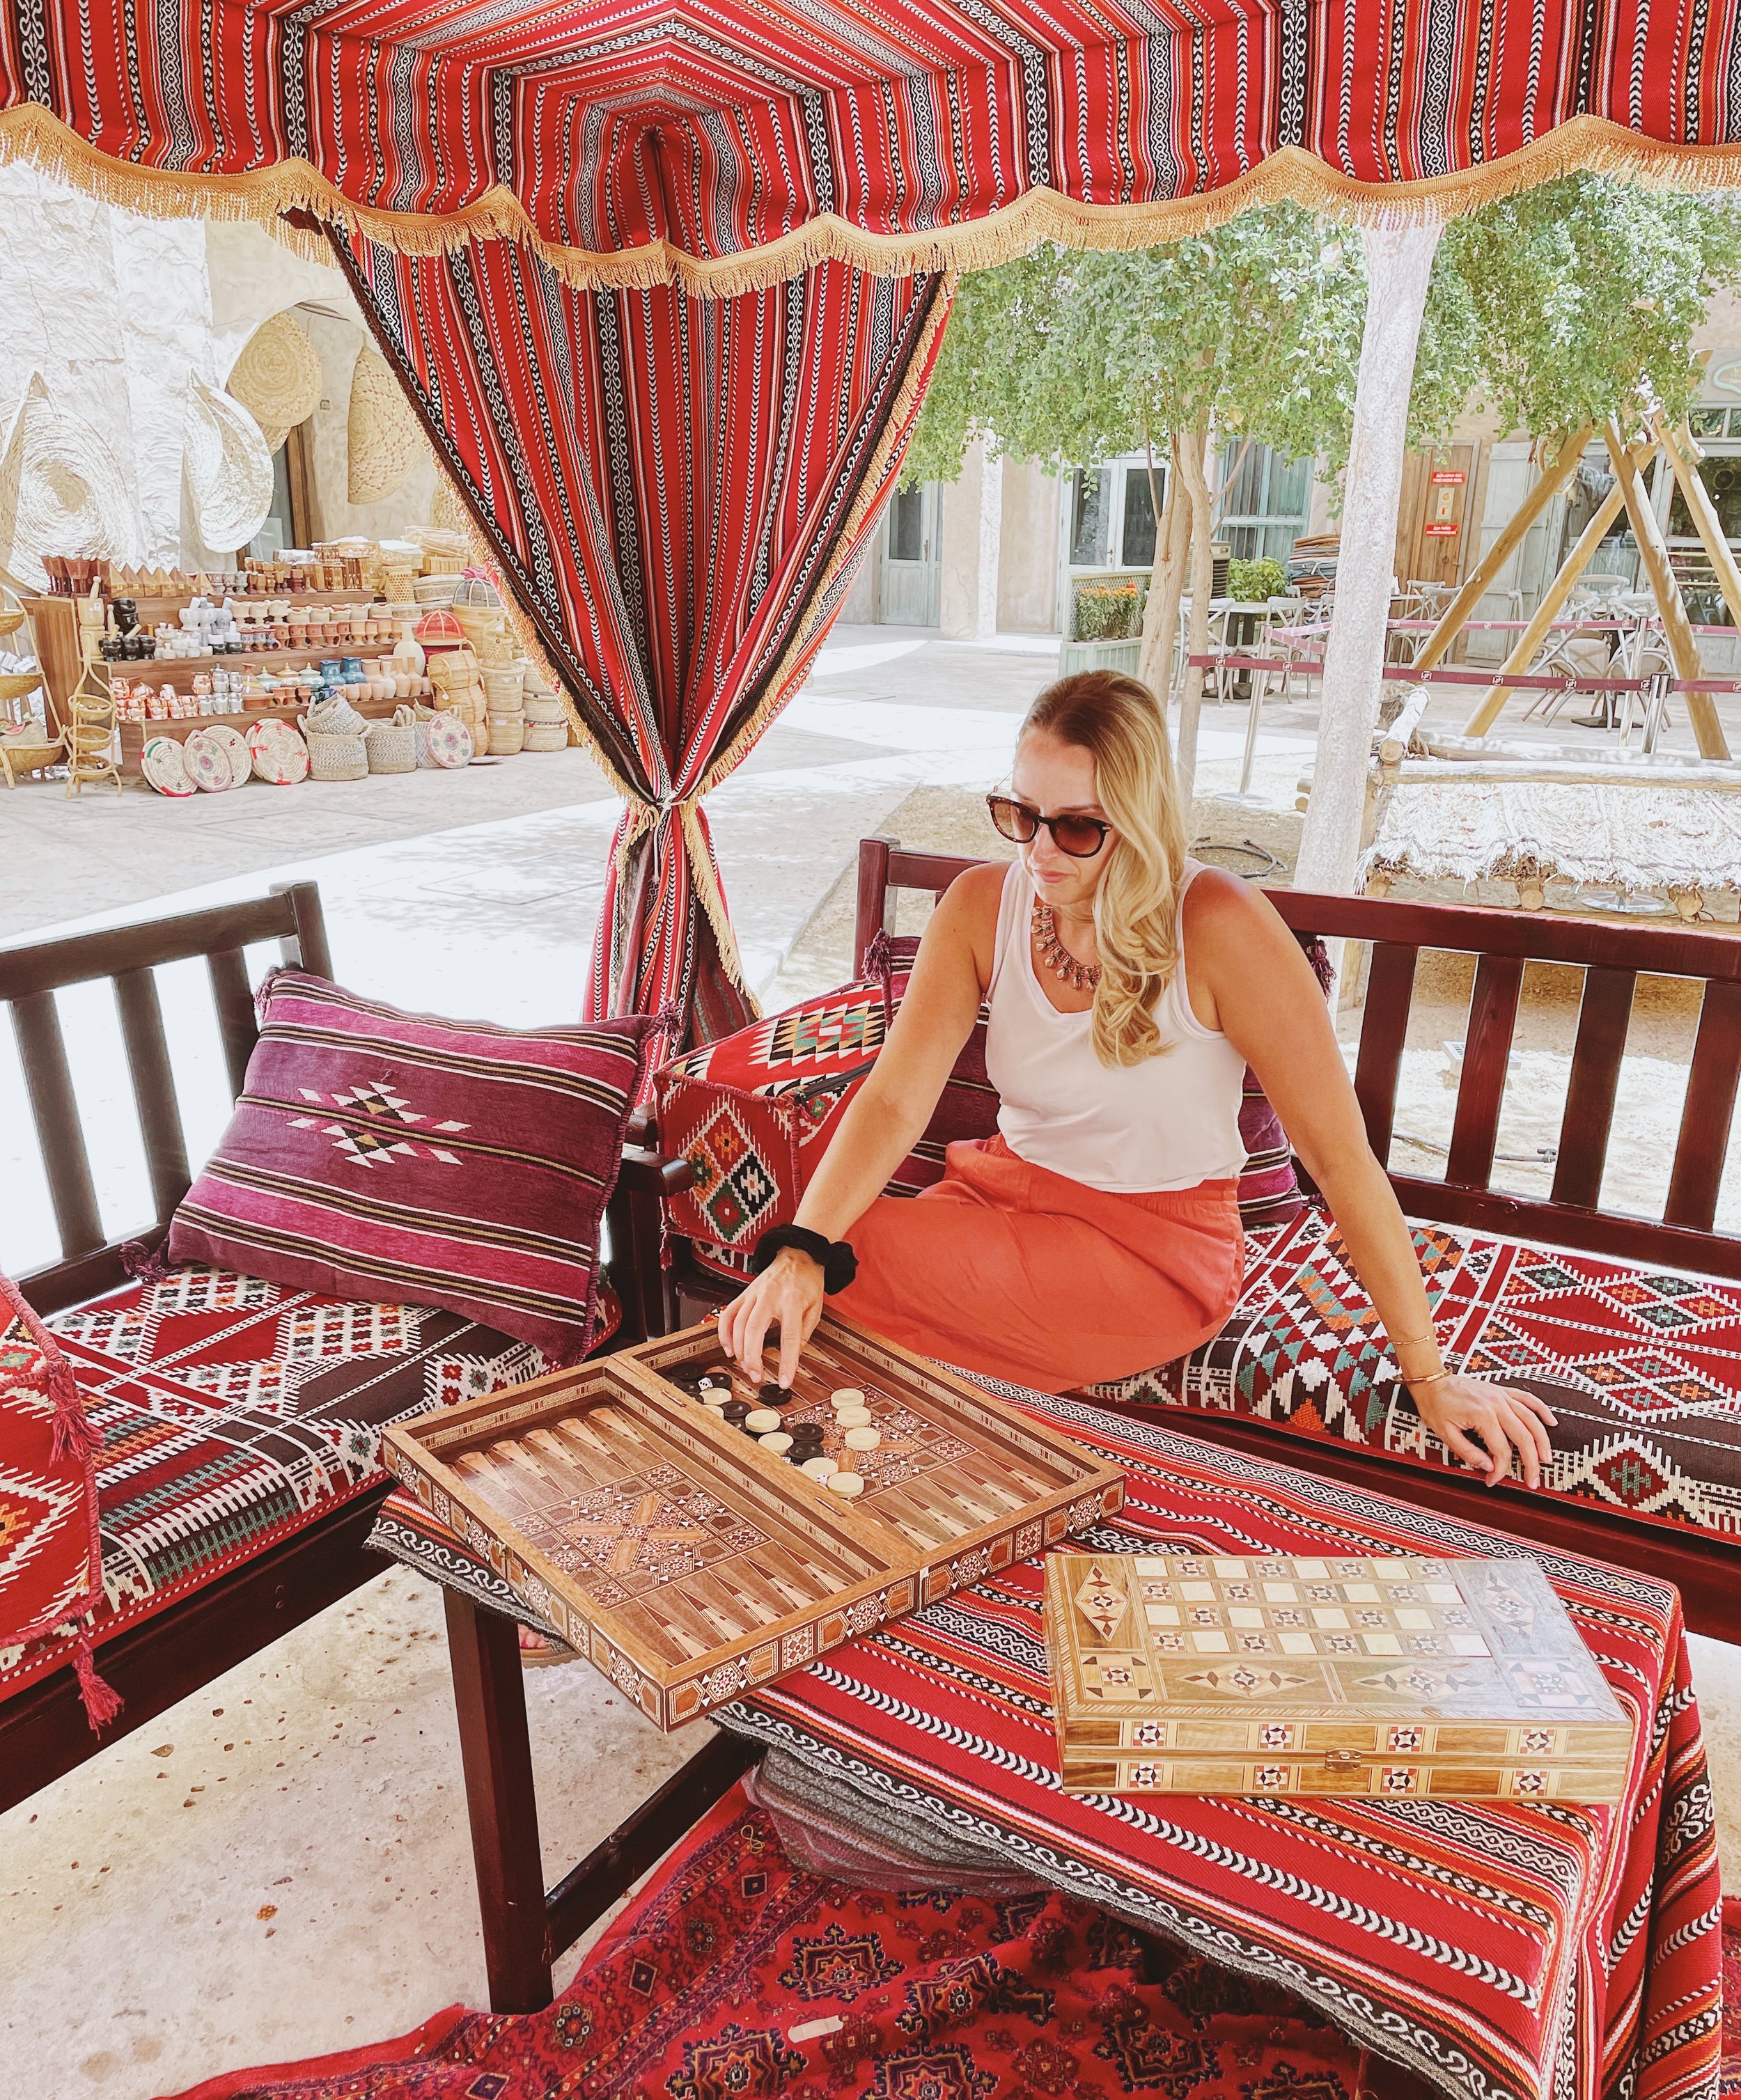
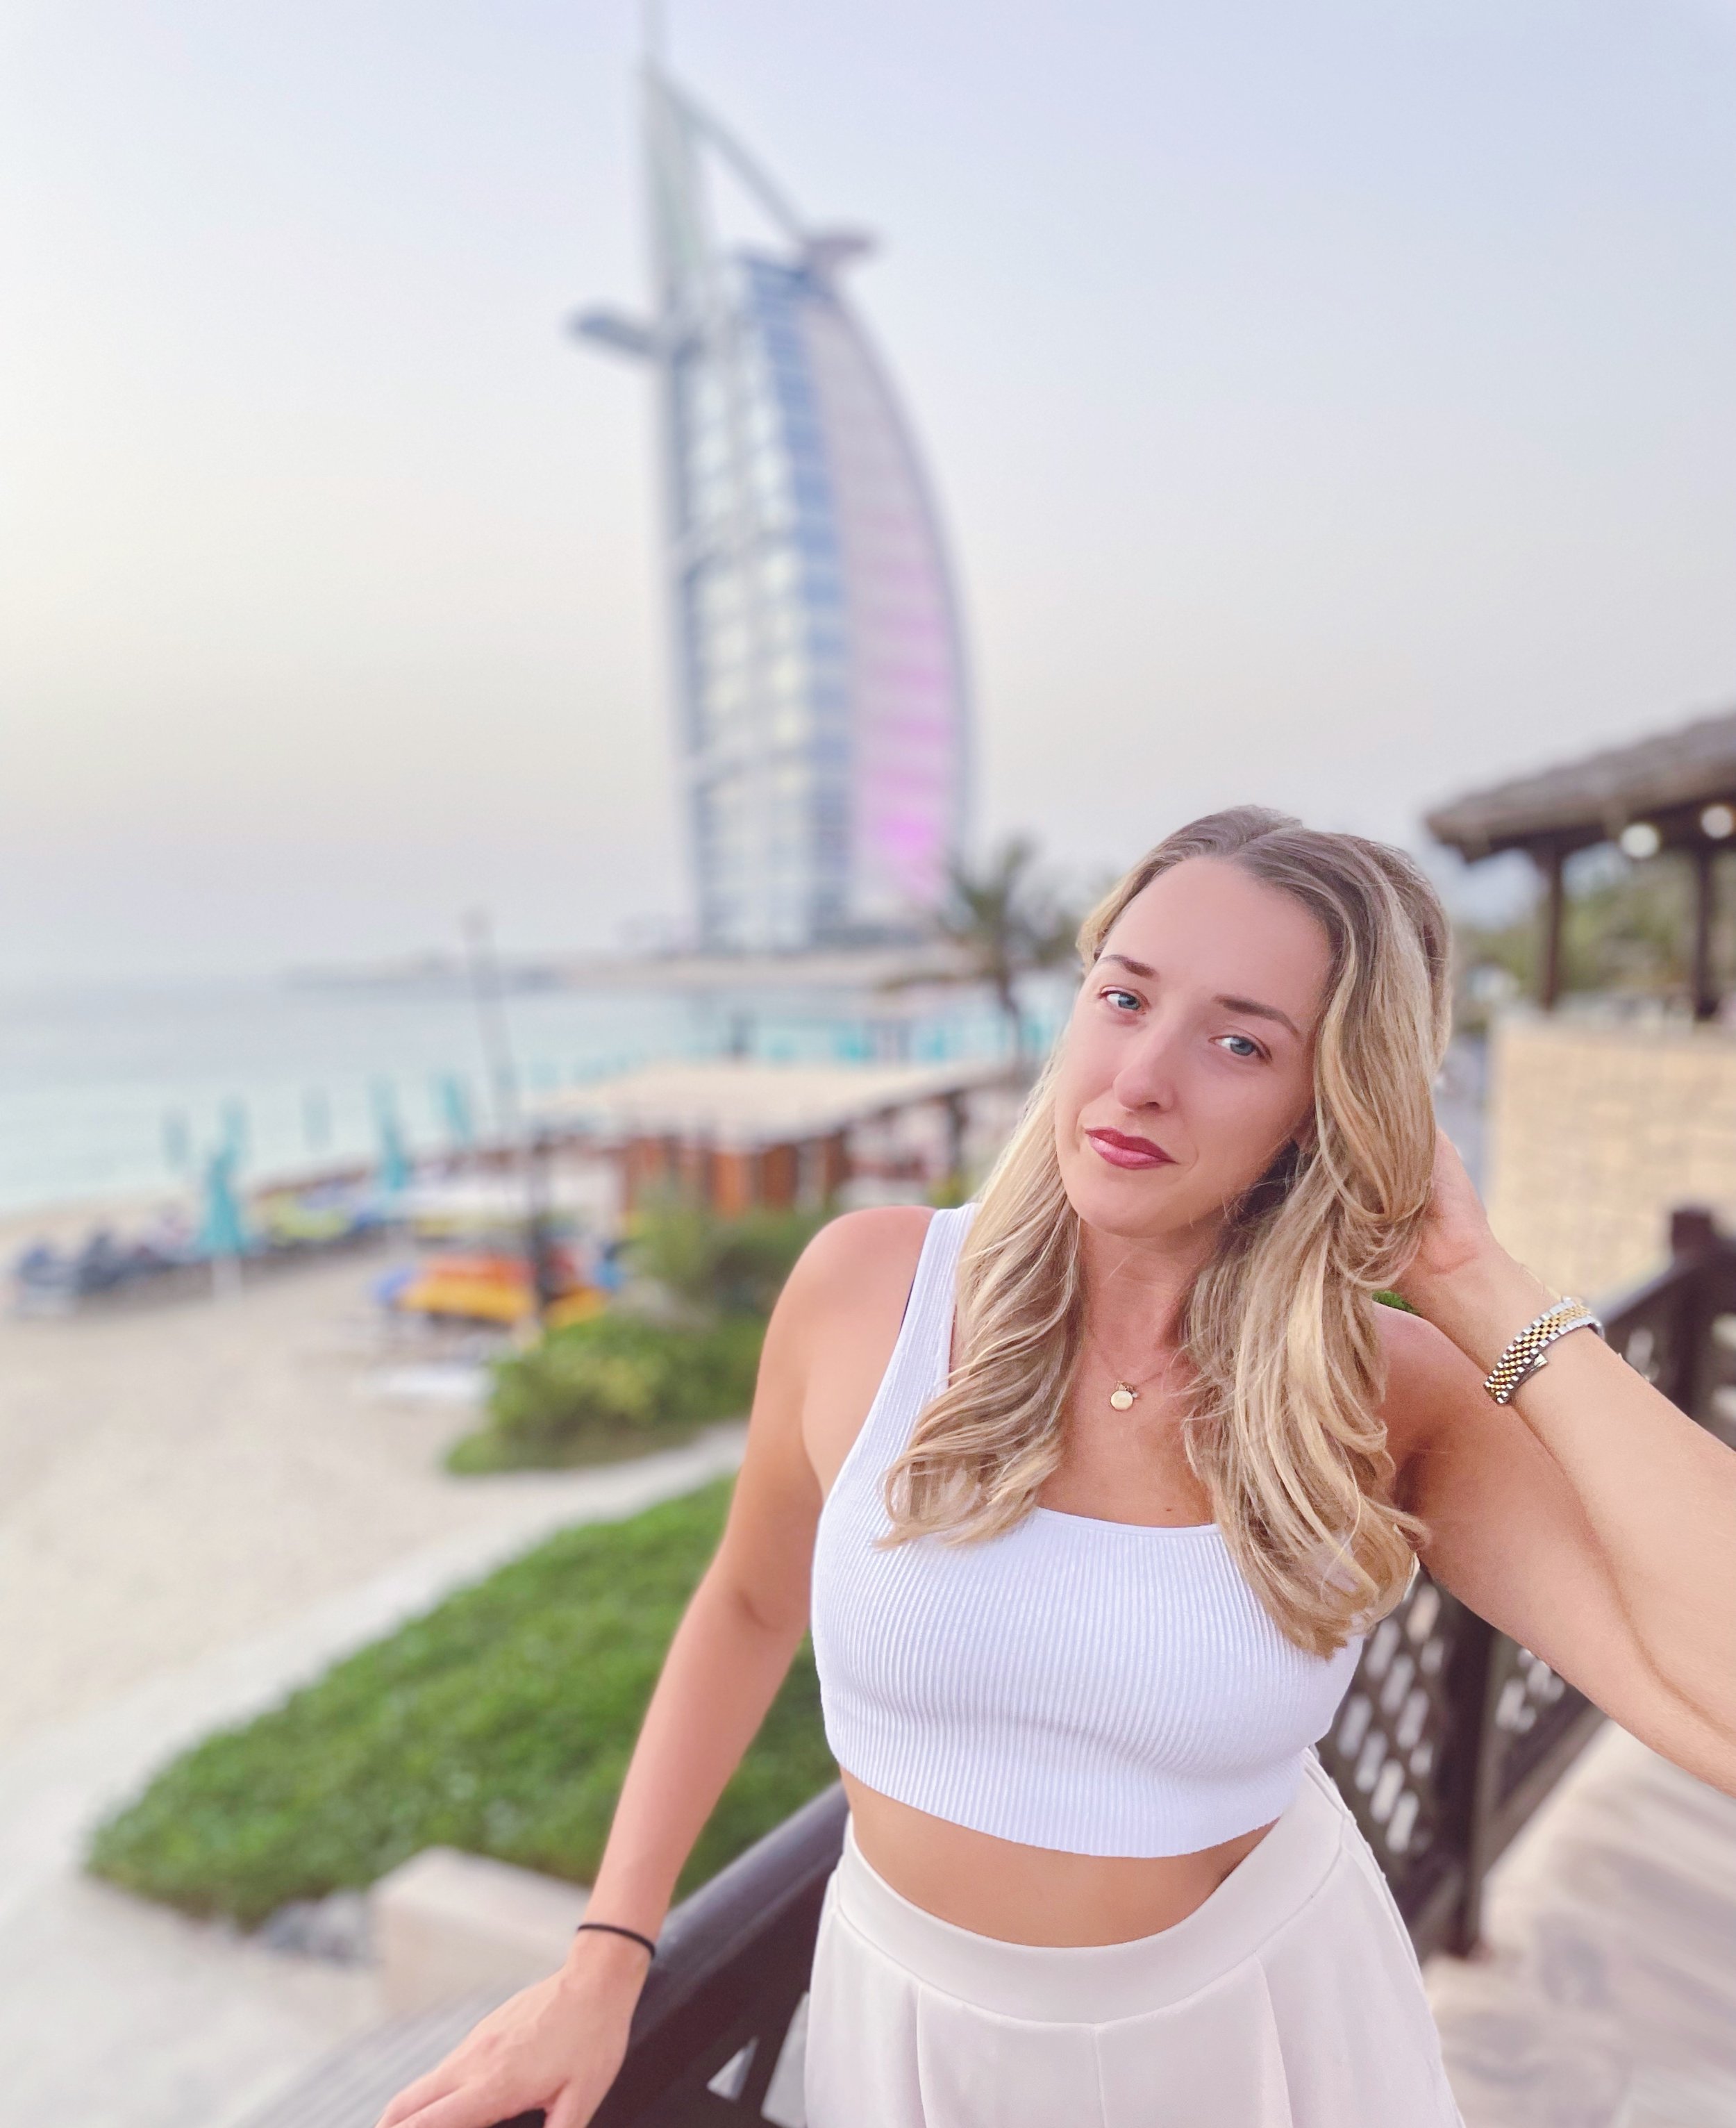
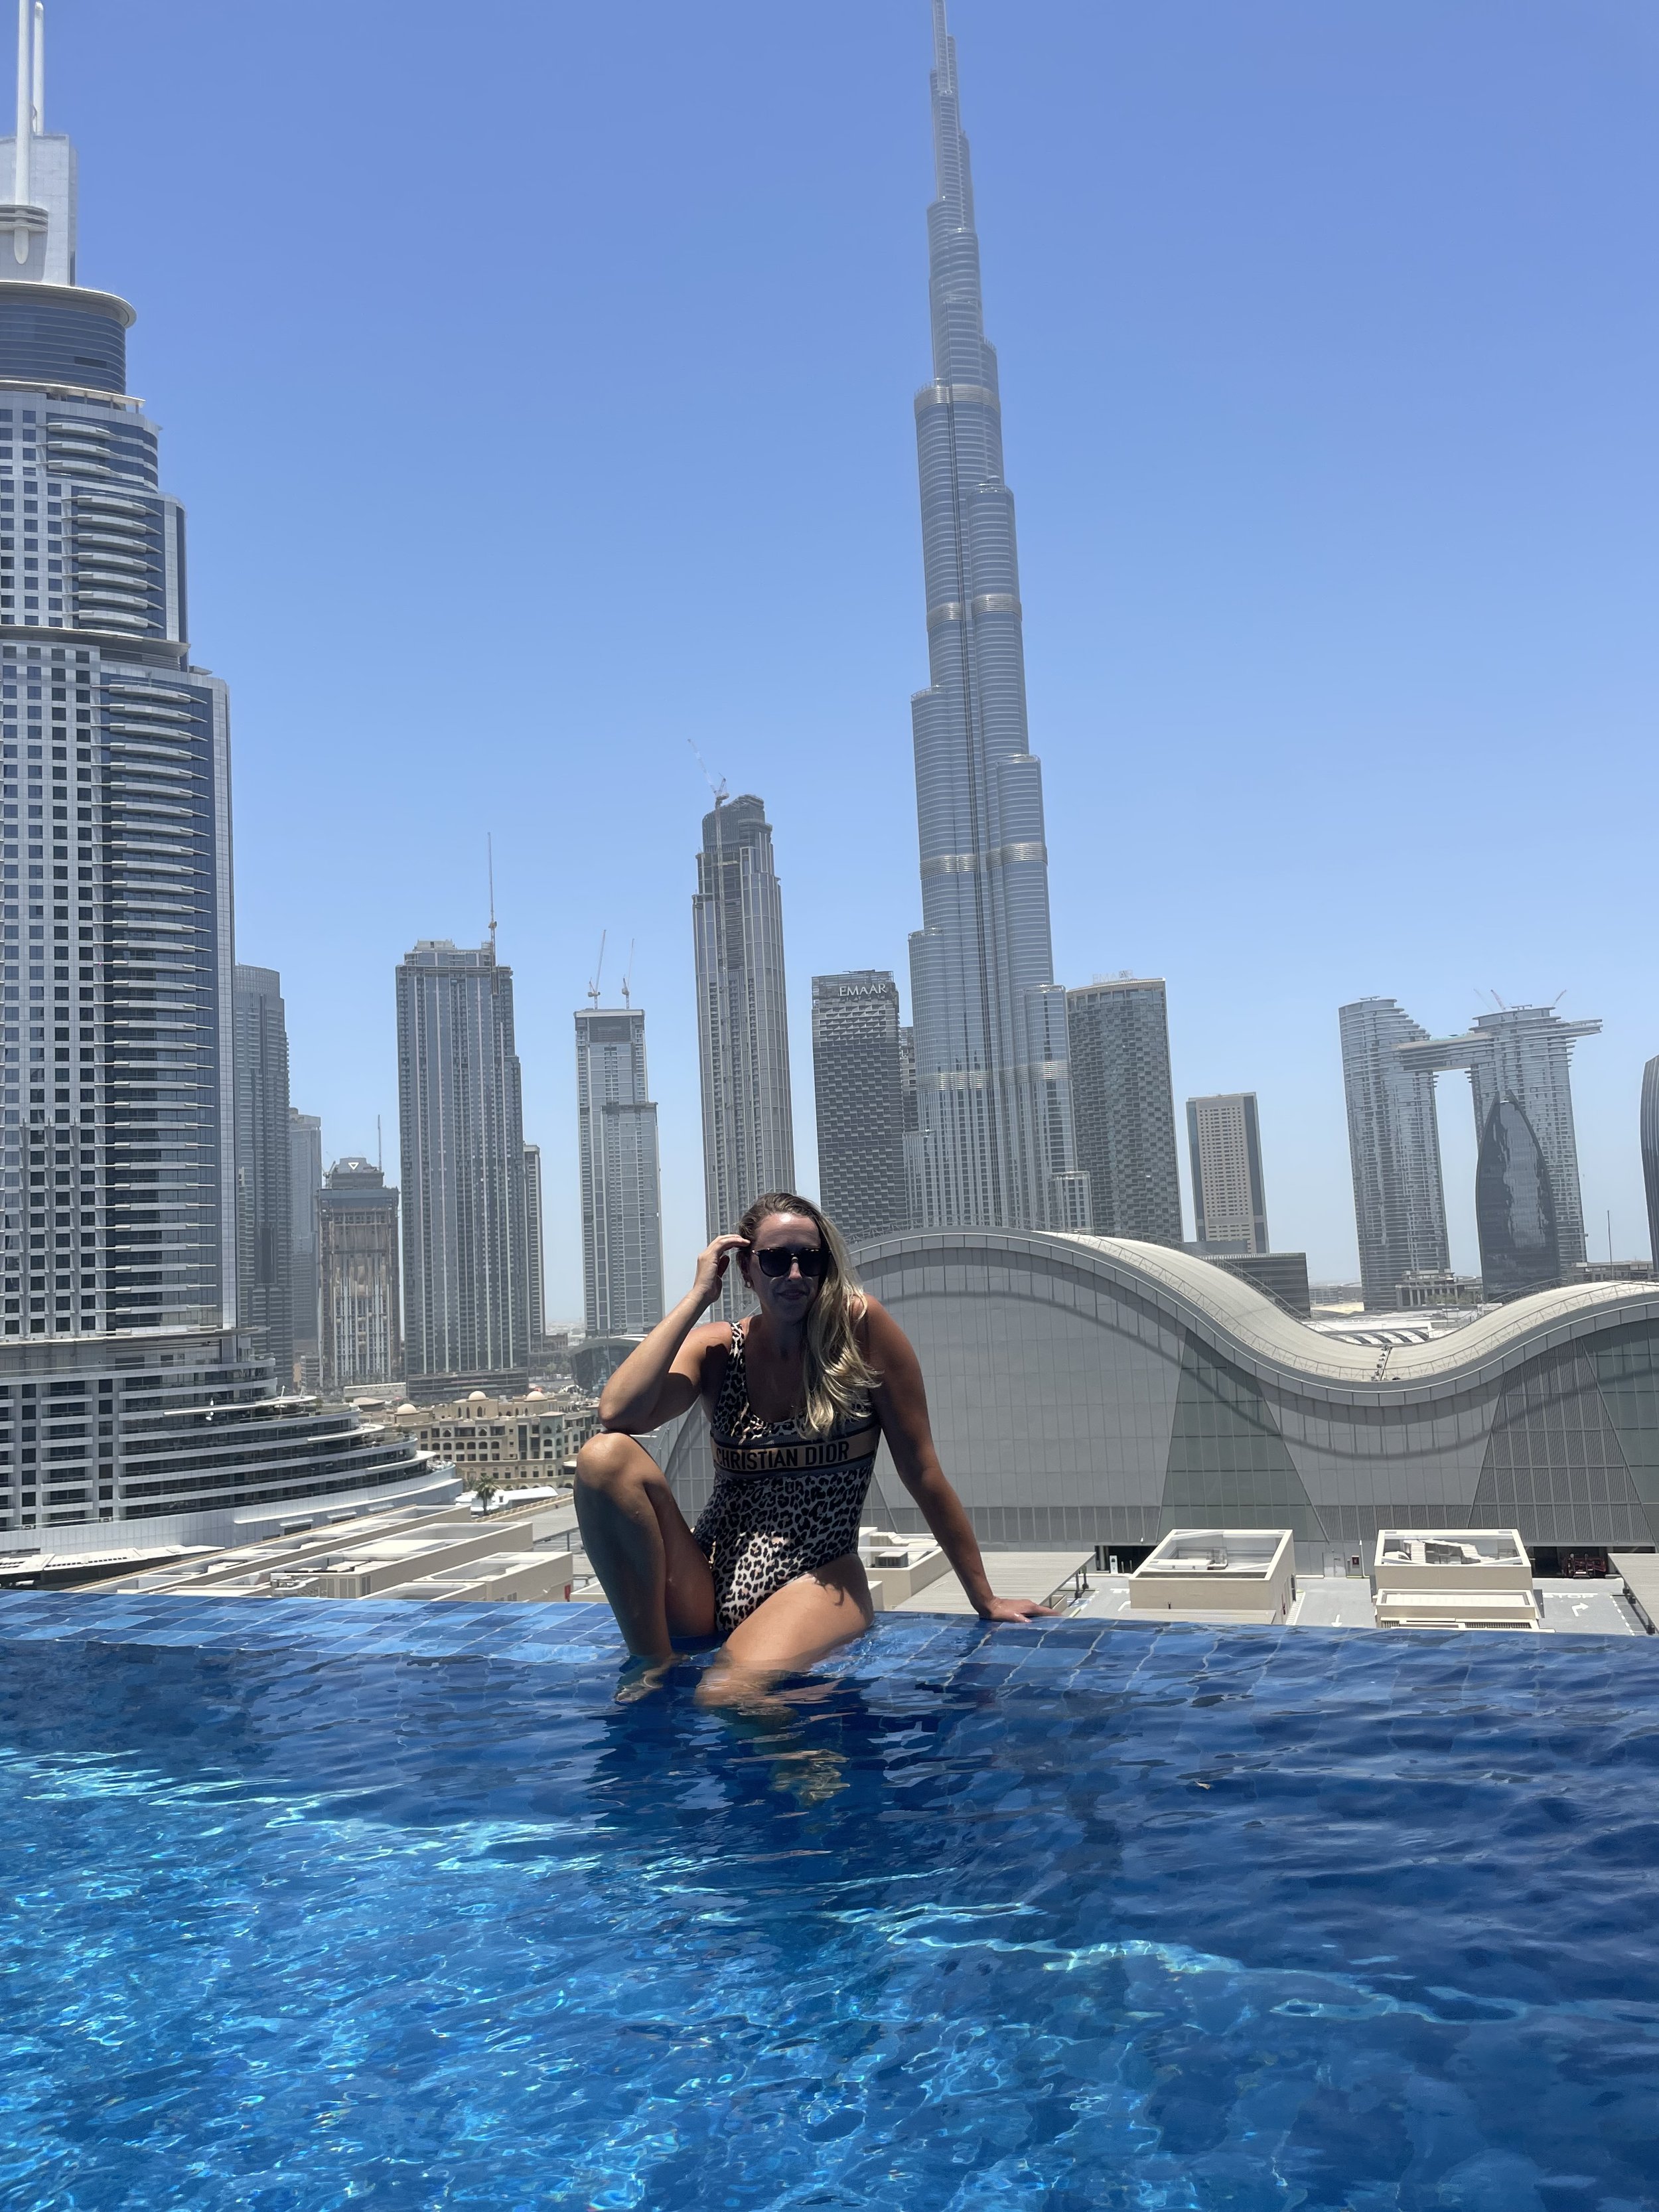
Dubai, in the United Arab Emirates is the fifth city in the fifth country I’ve lived in. Dubai is hard to describe if you’ve never visited, but if I had to compare it to what I know, I’d say the city would be a mixture of Miami, Vegas and Scottsdale, AZ all wrapped into one. It’s nonstop like Vegas, with big shiny buildings with flashing lights. Insane amounts of wealth everywhere like Miami and reminiscent of the beautiful desert including flowers and palm trees like in Arizona. Dubai is a city where people can come to get away from reality. Everything is over the top, and the city actually becomes your “playground.” Boat parties, all you can eat and drink brunches, dressing up, shopping, incredible restaurants, rooftop pools, day time beach clubs and the list goes on and on. In a nutshell, this city is the epitome of excess and gluttony. I’m not saying this in an entirely negative way, because it definitely is experience.

Now that you’re all up to speed on the lifestyle of Dubai, let’s get some misconceptions out of the way! First, if you’re not muslim living here, you don’t have to wear an abaya or a head scarf. The local culture is very understanding and accepting of westerners here. Second, Dubai is extremely westernized and forward-thinking. 85% of the population is comprised of expatriates, and the Brits make up most of the western demographic. Third, drinking is absolutely allowed here, but only within hotels, which is where most of the fun partying happens. Finally, it is extremely safe here, probably one of the most safe places I’ve ever lived. People living here are extremely honest and trustworthy. You could leave your mobile phone sitting out on a table and come back hours later to find it still there. Living in a safe city, by yourself as a foreign expat woman, really brings a sense of security when living abroad.

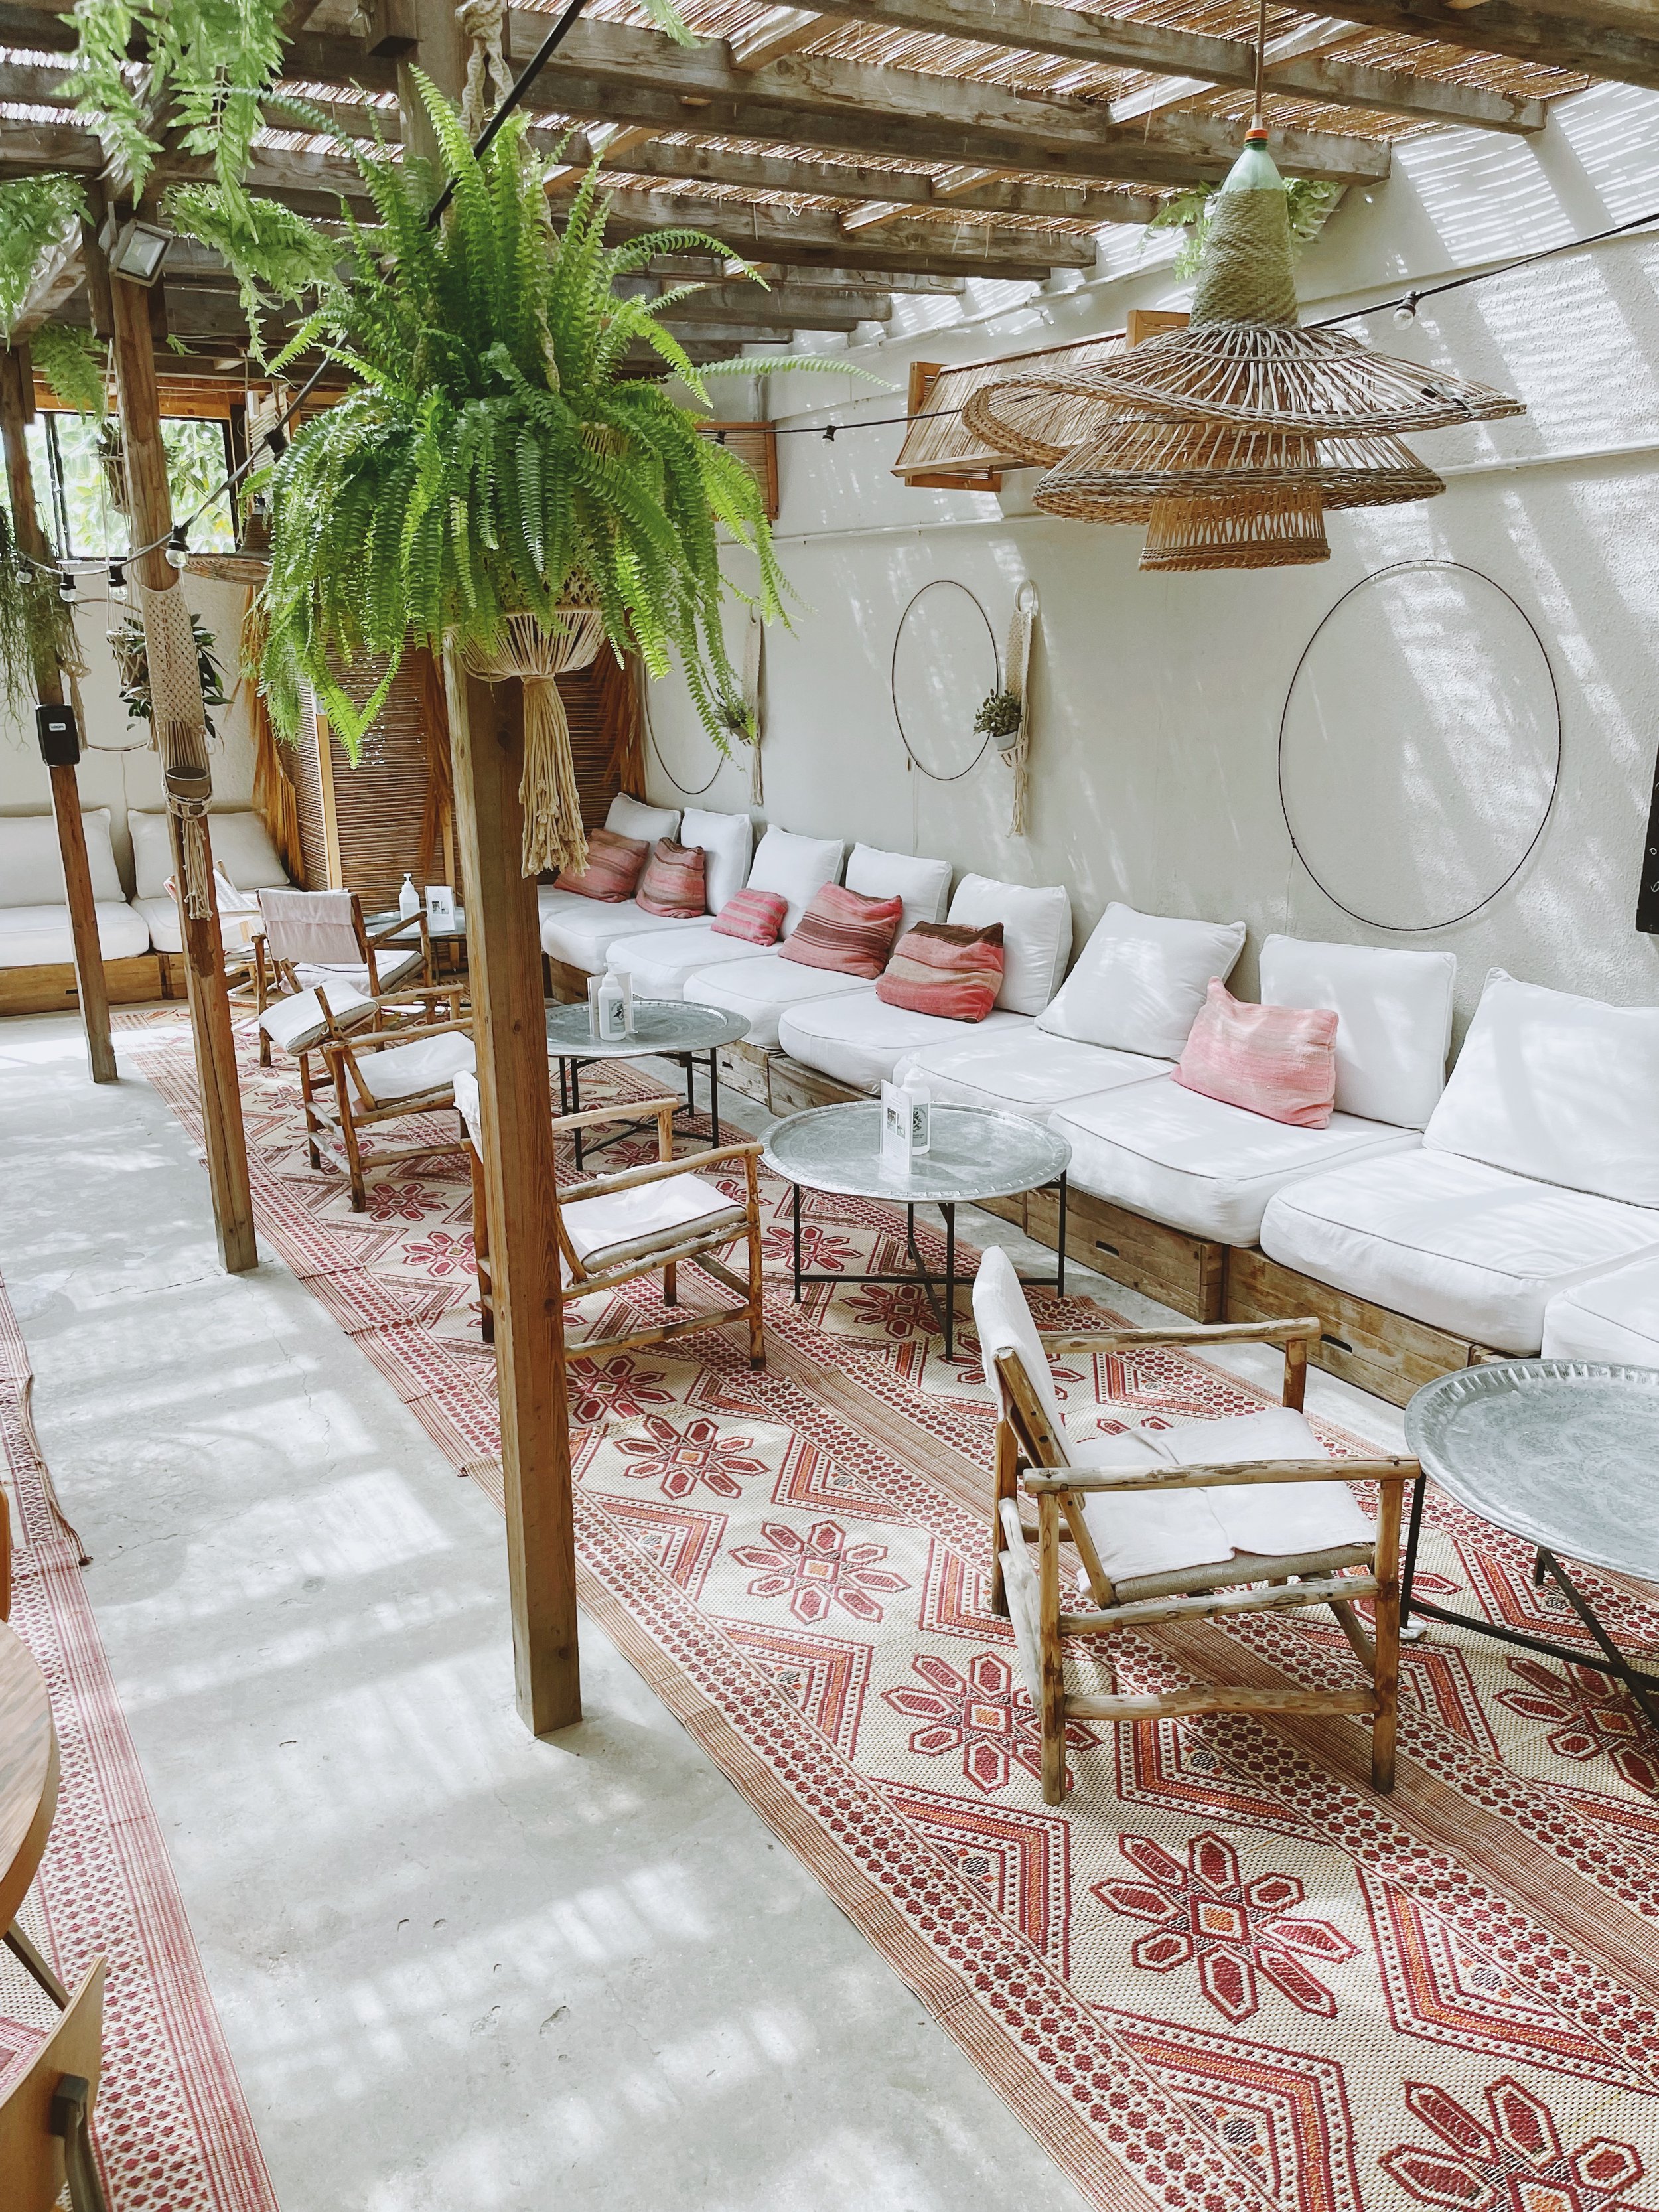
Moving on to my recommendations or things I’m “obsessed” with. If it isn’t obvious already, I love finding new “vibey” places to eat or grab a coffee. So here are my recommendations when visiting Dubai.
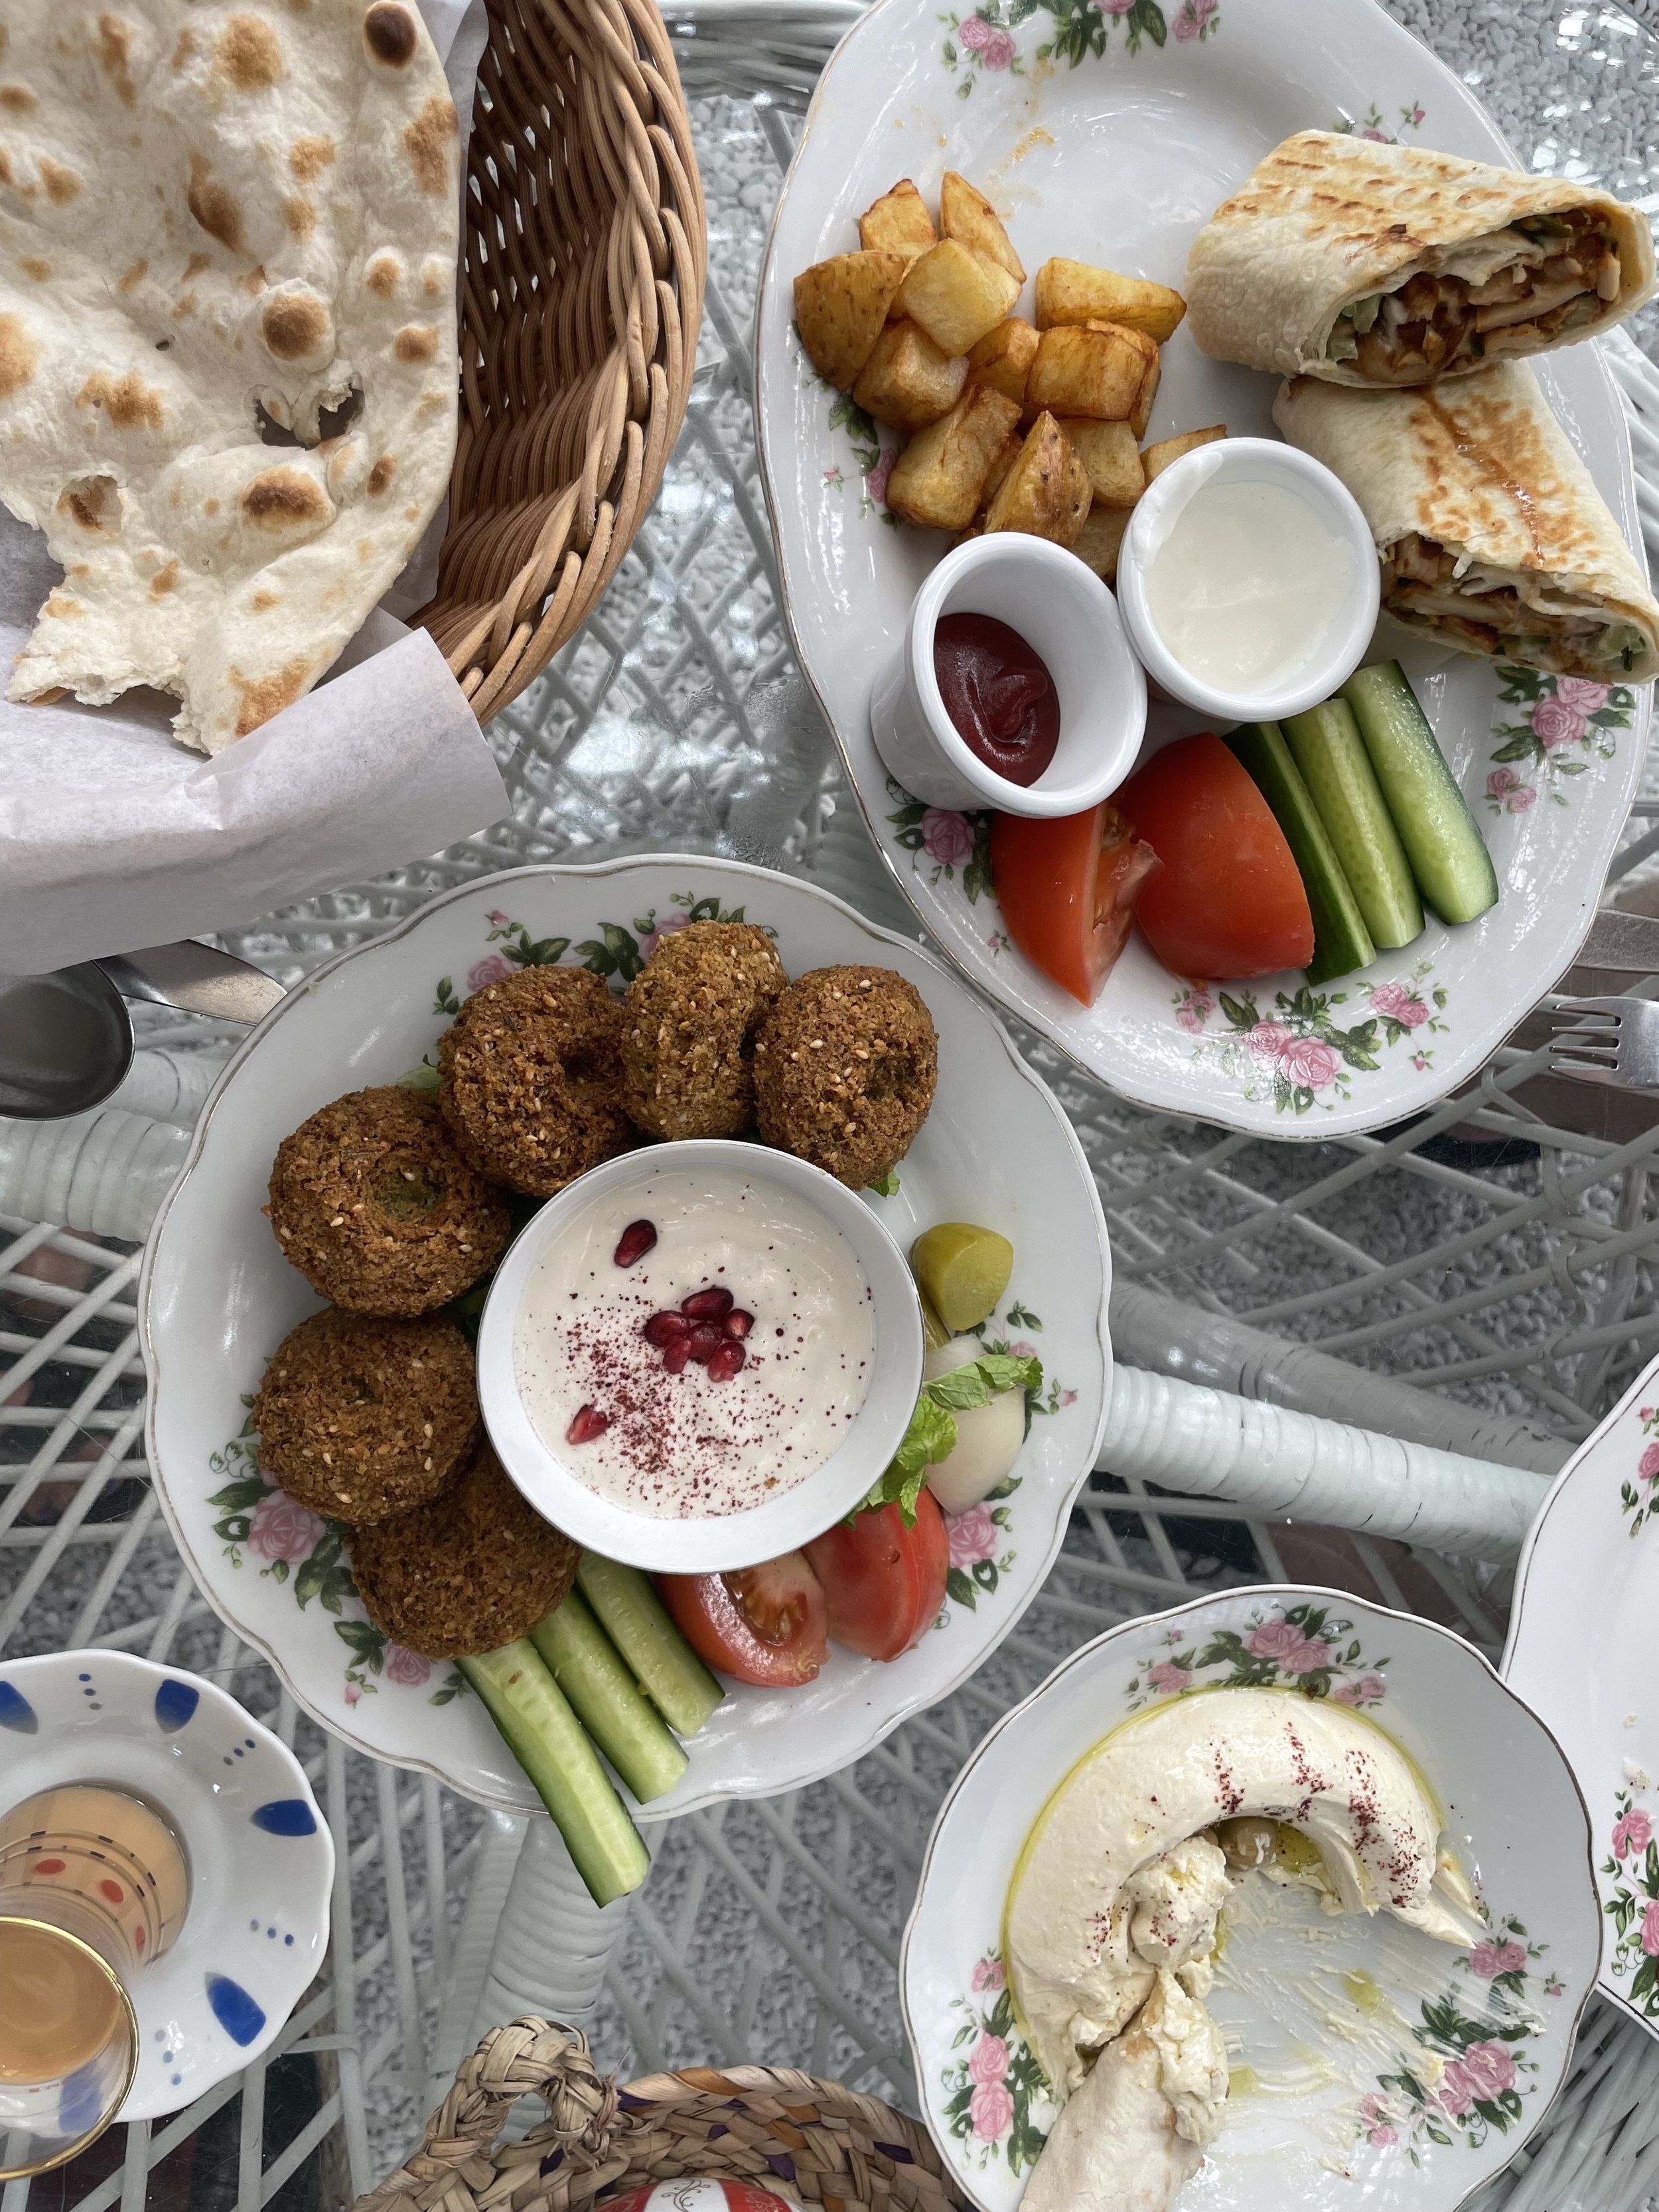
FOOD + COFFEE

Coffee + Food + Vegan/Vegetarian: Comptior 102

Vegan Cafe: SEVA Table

West Beach: Koko Bay + Lucky Fish (West Bay Beach)

Authentic Thai: Pai Thai

Breakfast: Brunch & Cake (The Point & Al Wasl)

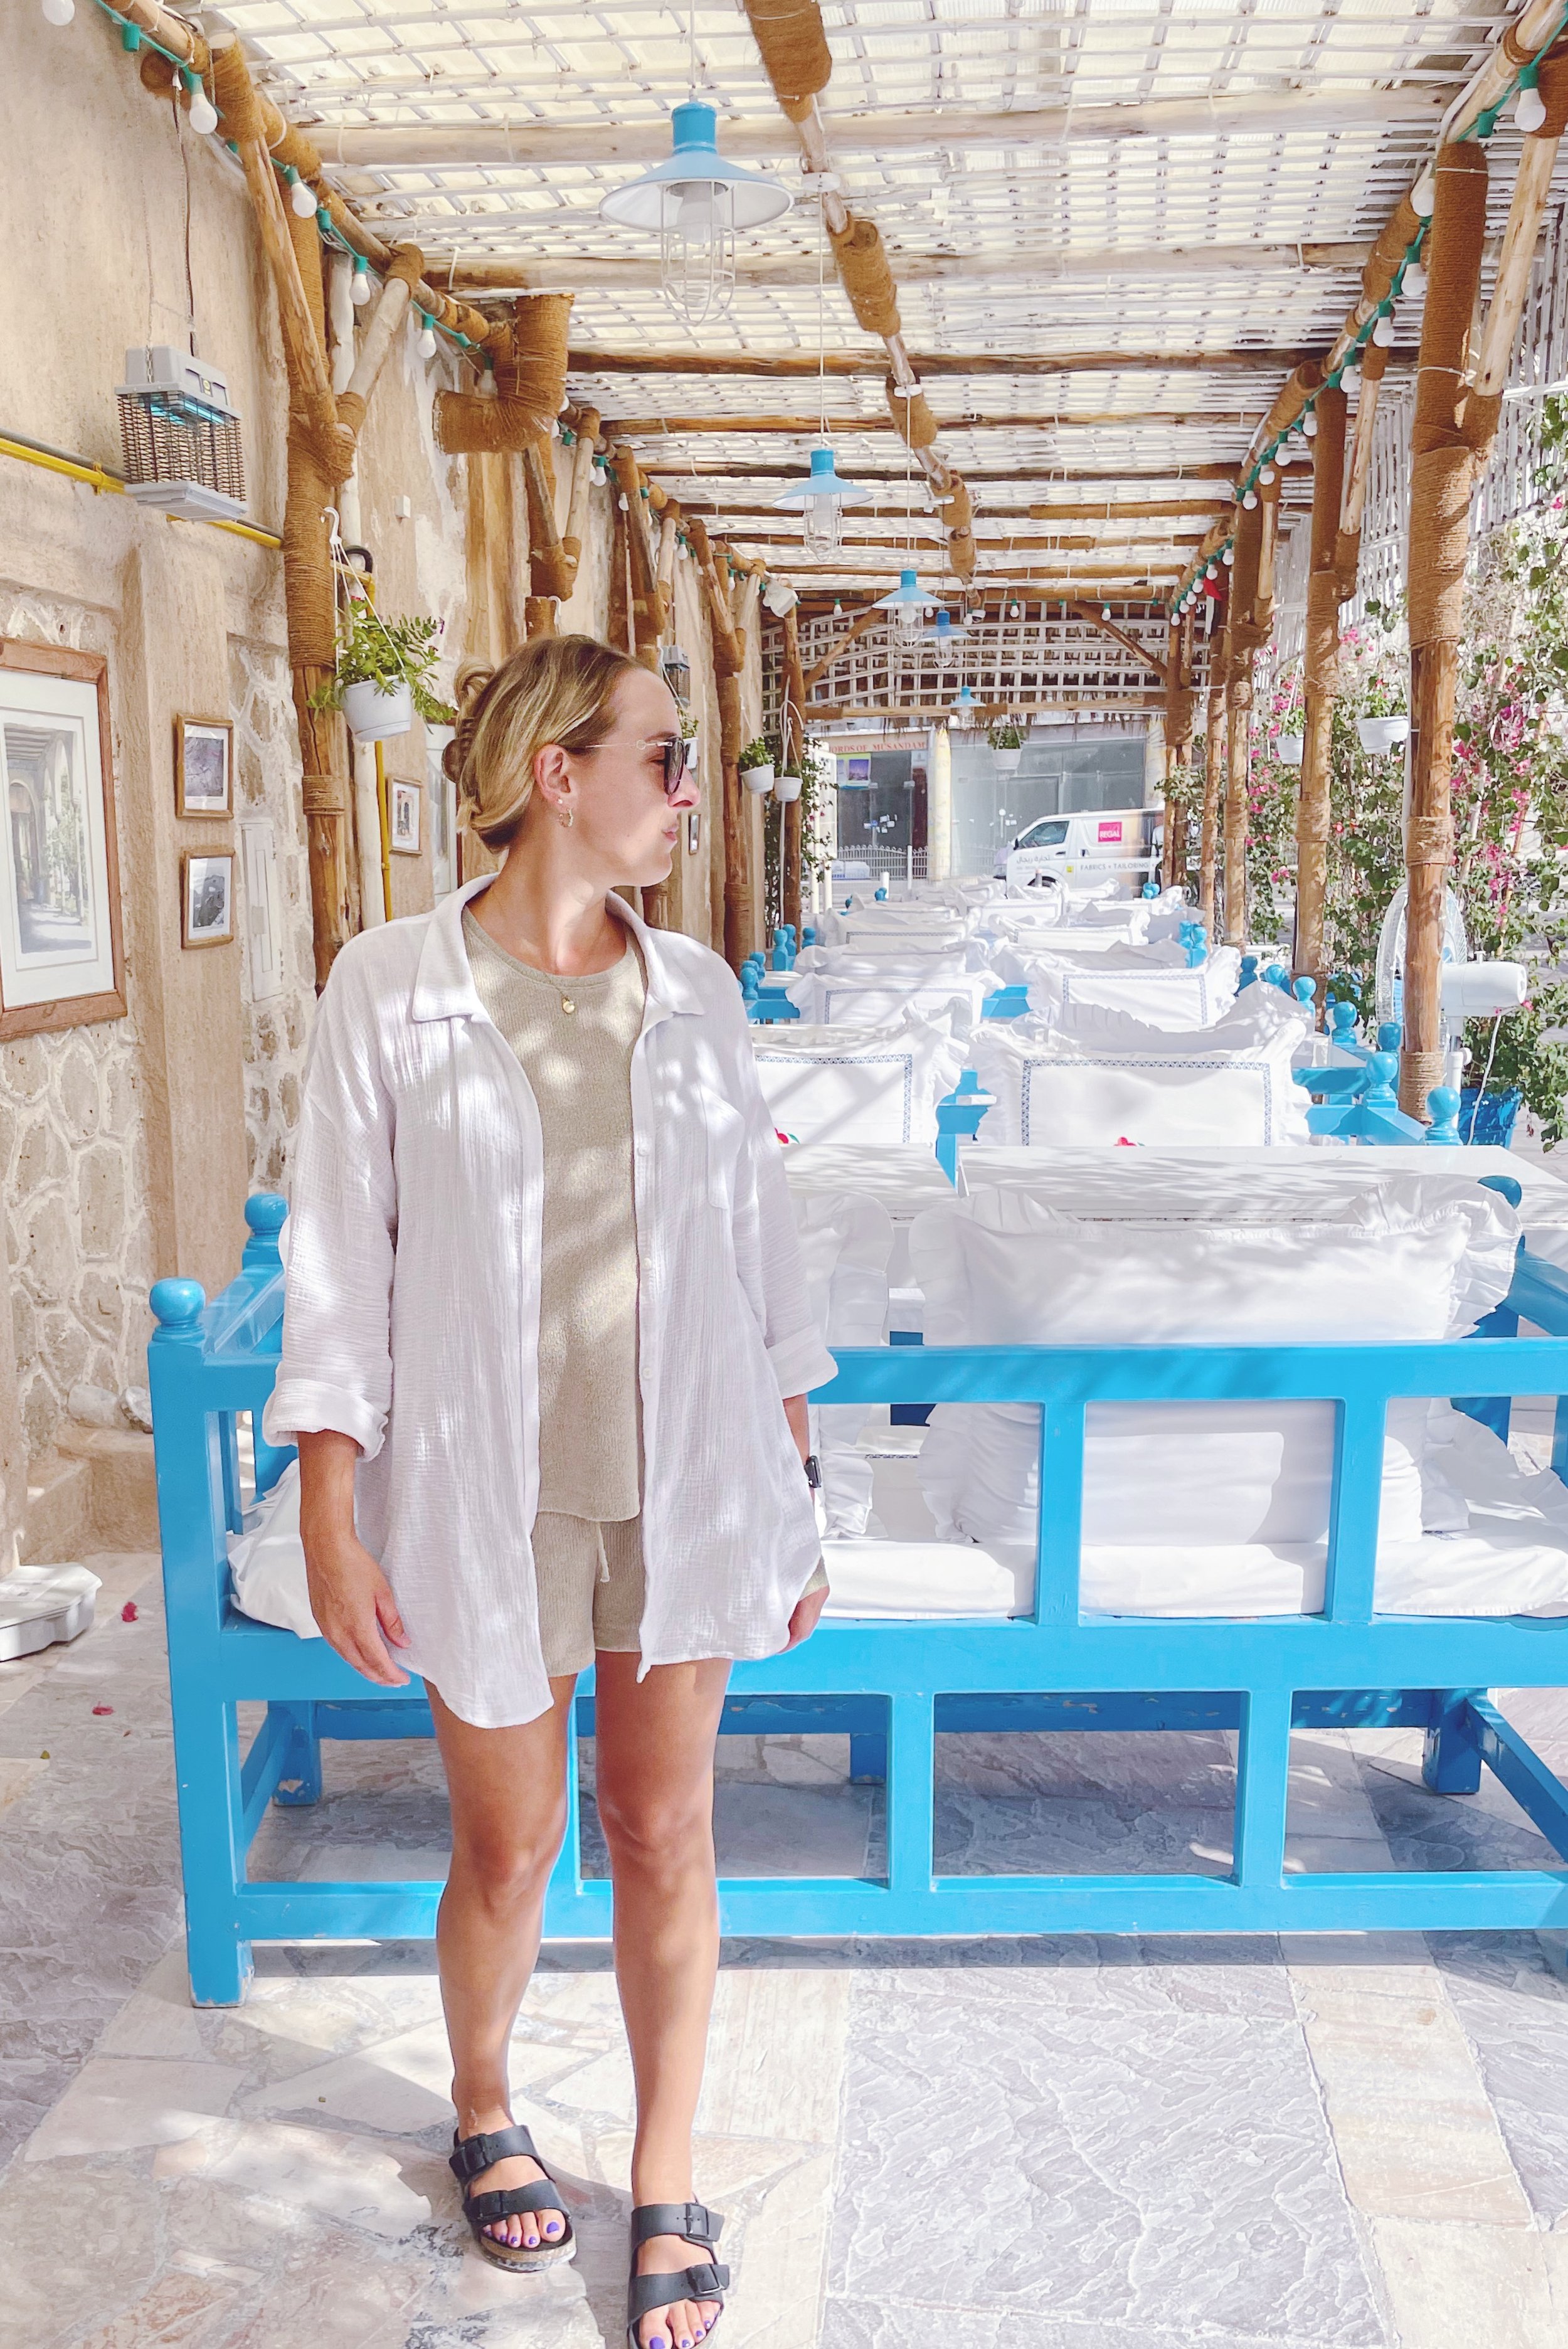
La Mer Beach: Row of cute places to eat

Mexican: Tortuga (Great view of the Burj Al Arab)

BEST Pizza: Pitfire Pizza

TIMEOUT Market: Drinks and various places to eat

Greek: OPA — authentic Greek food and traditions of smashing plates and music

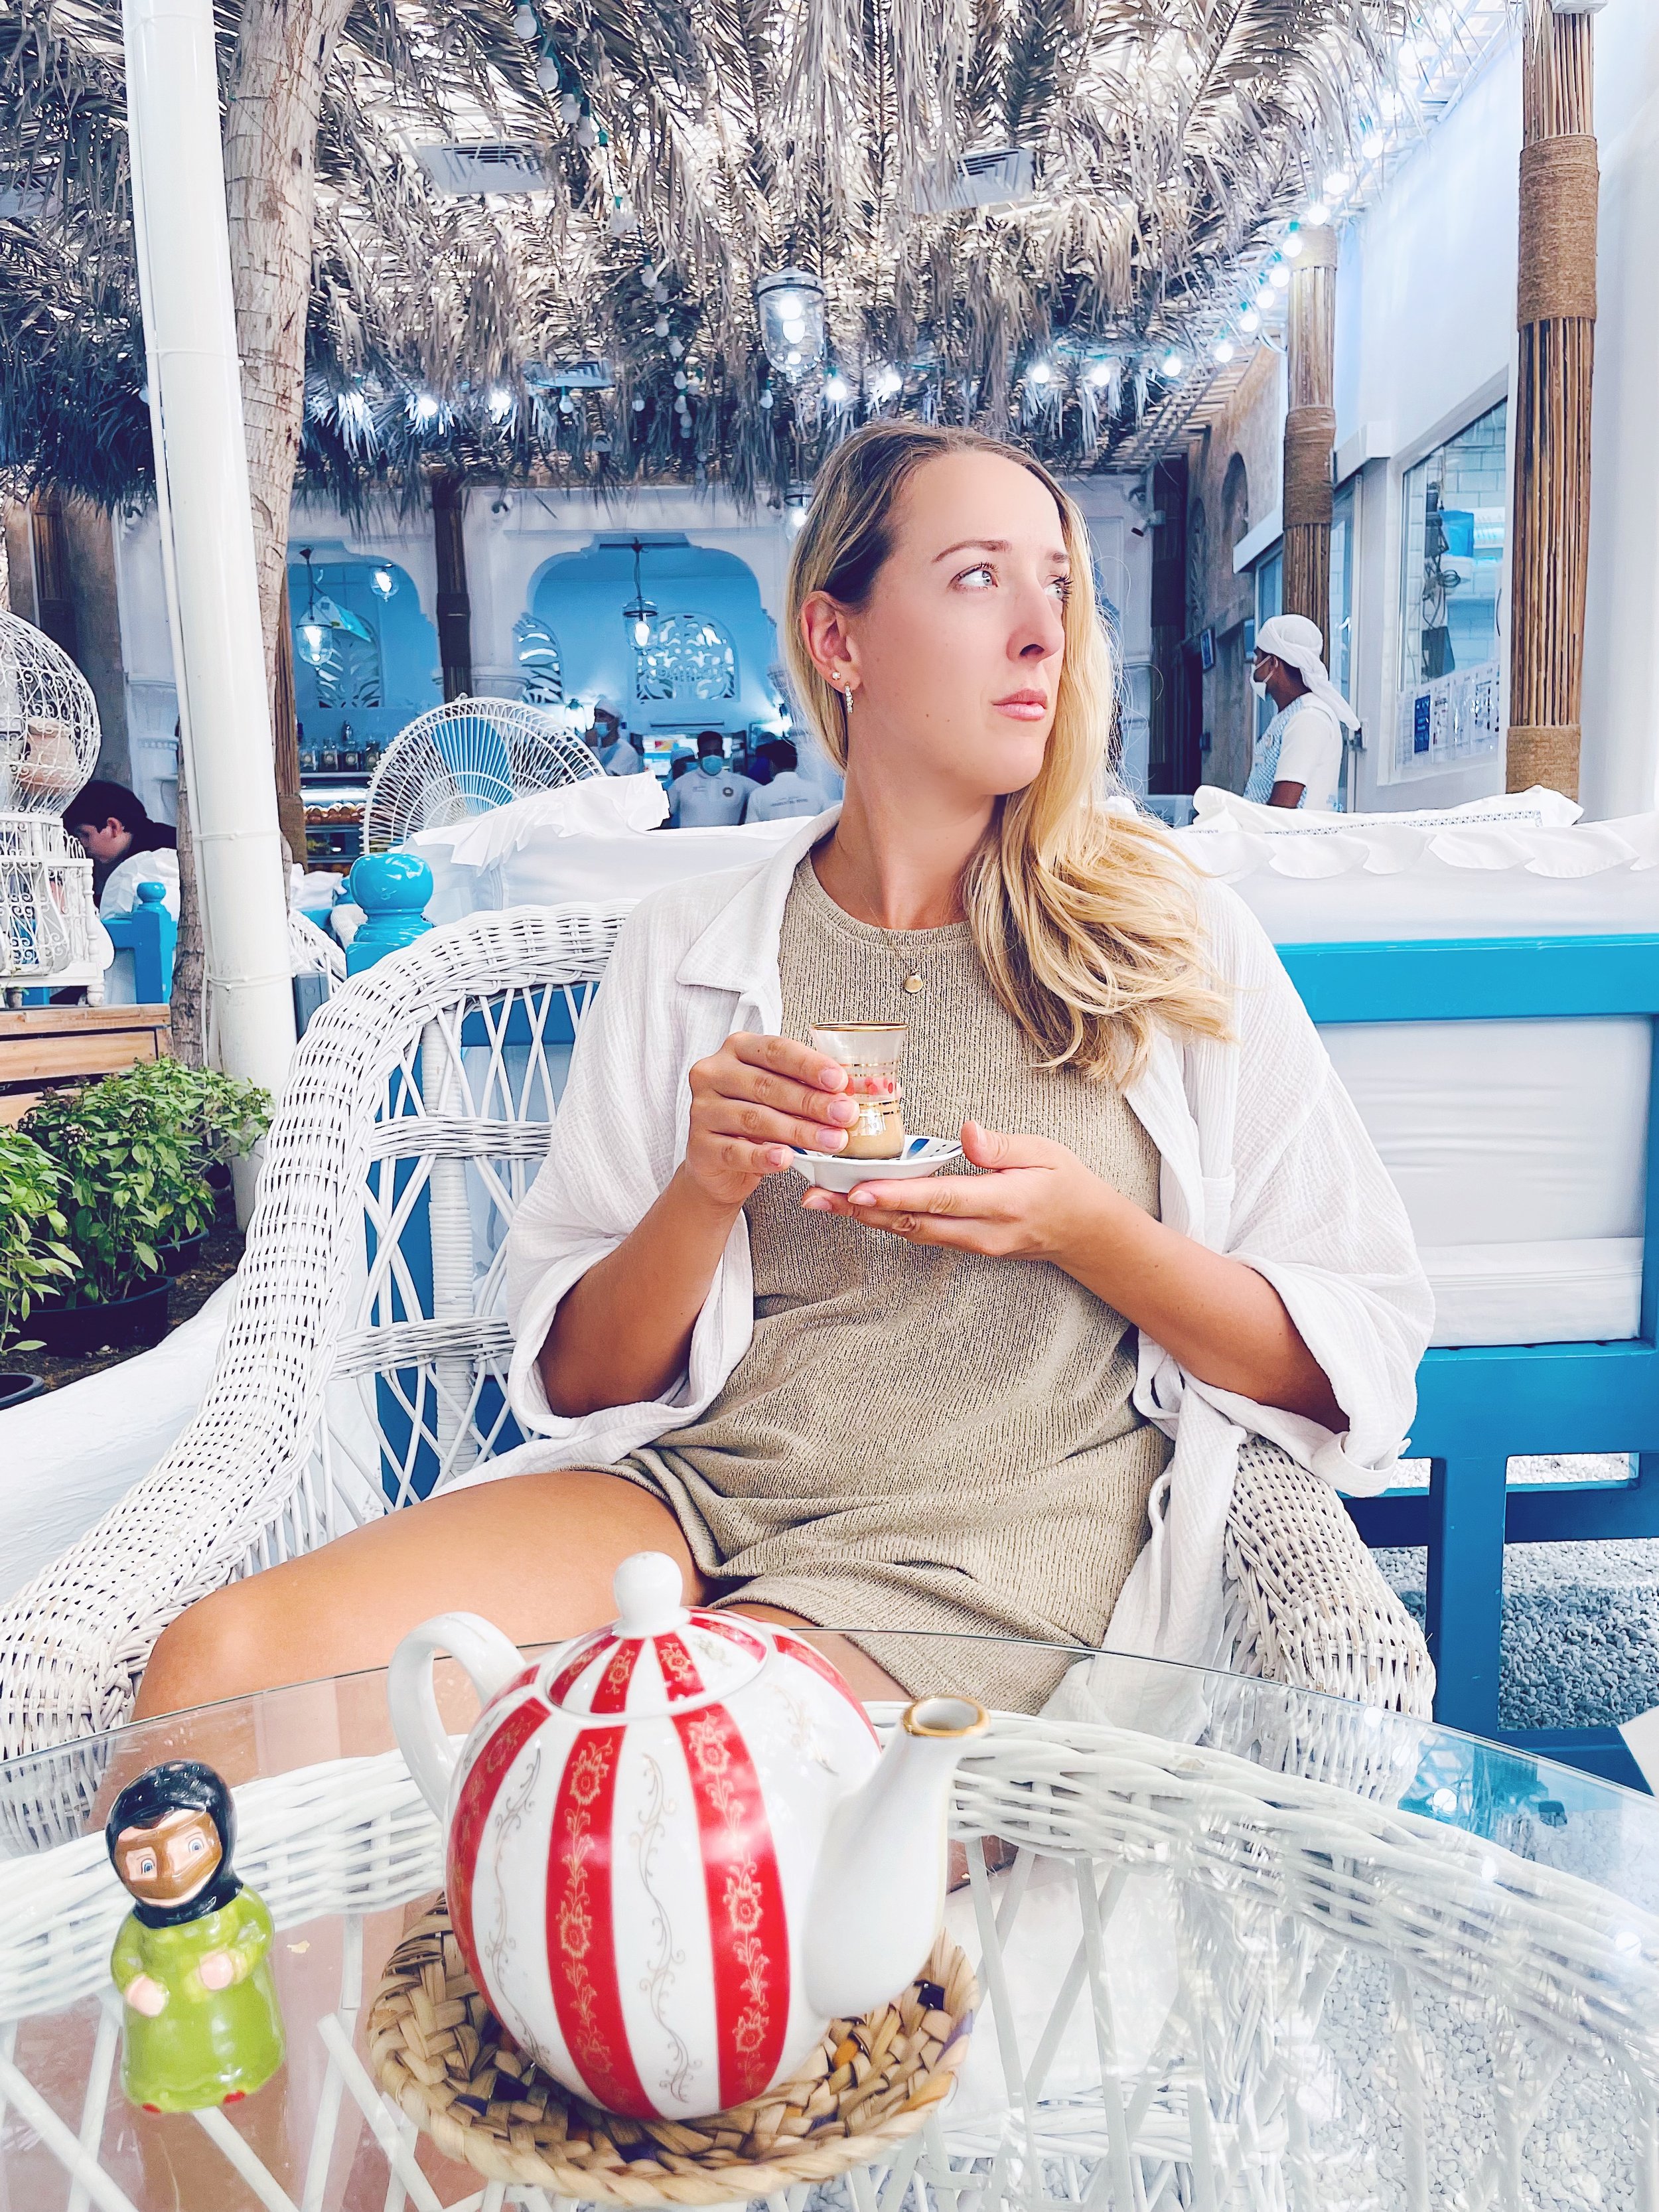
Local UAE Coffee: Arabica 100% (multiple locations)
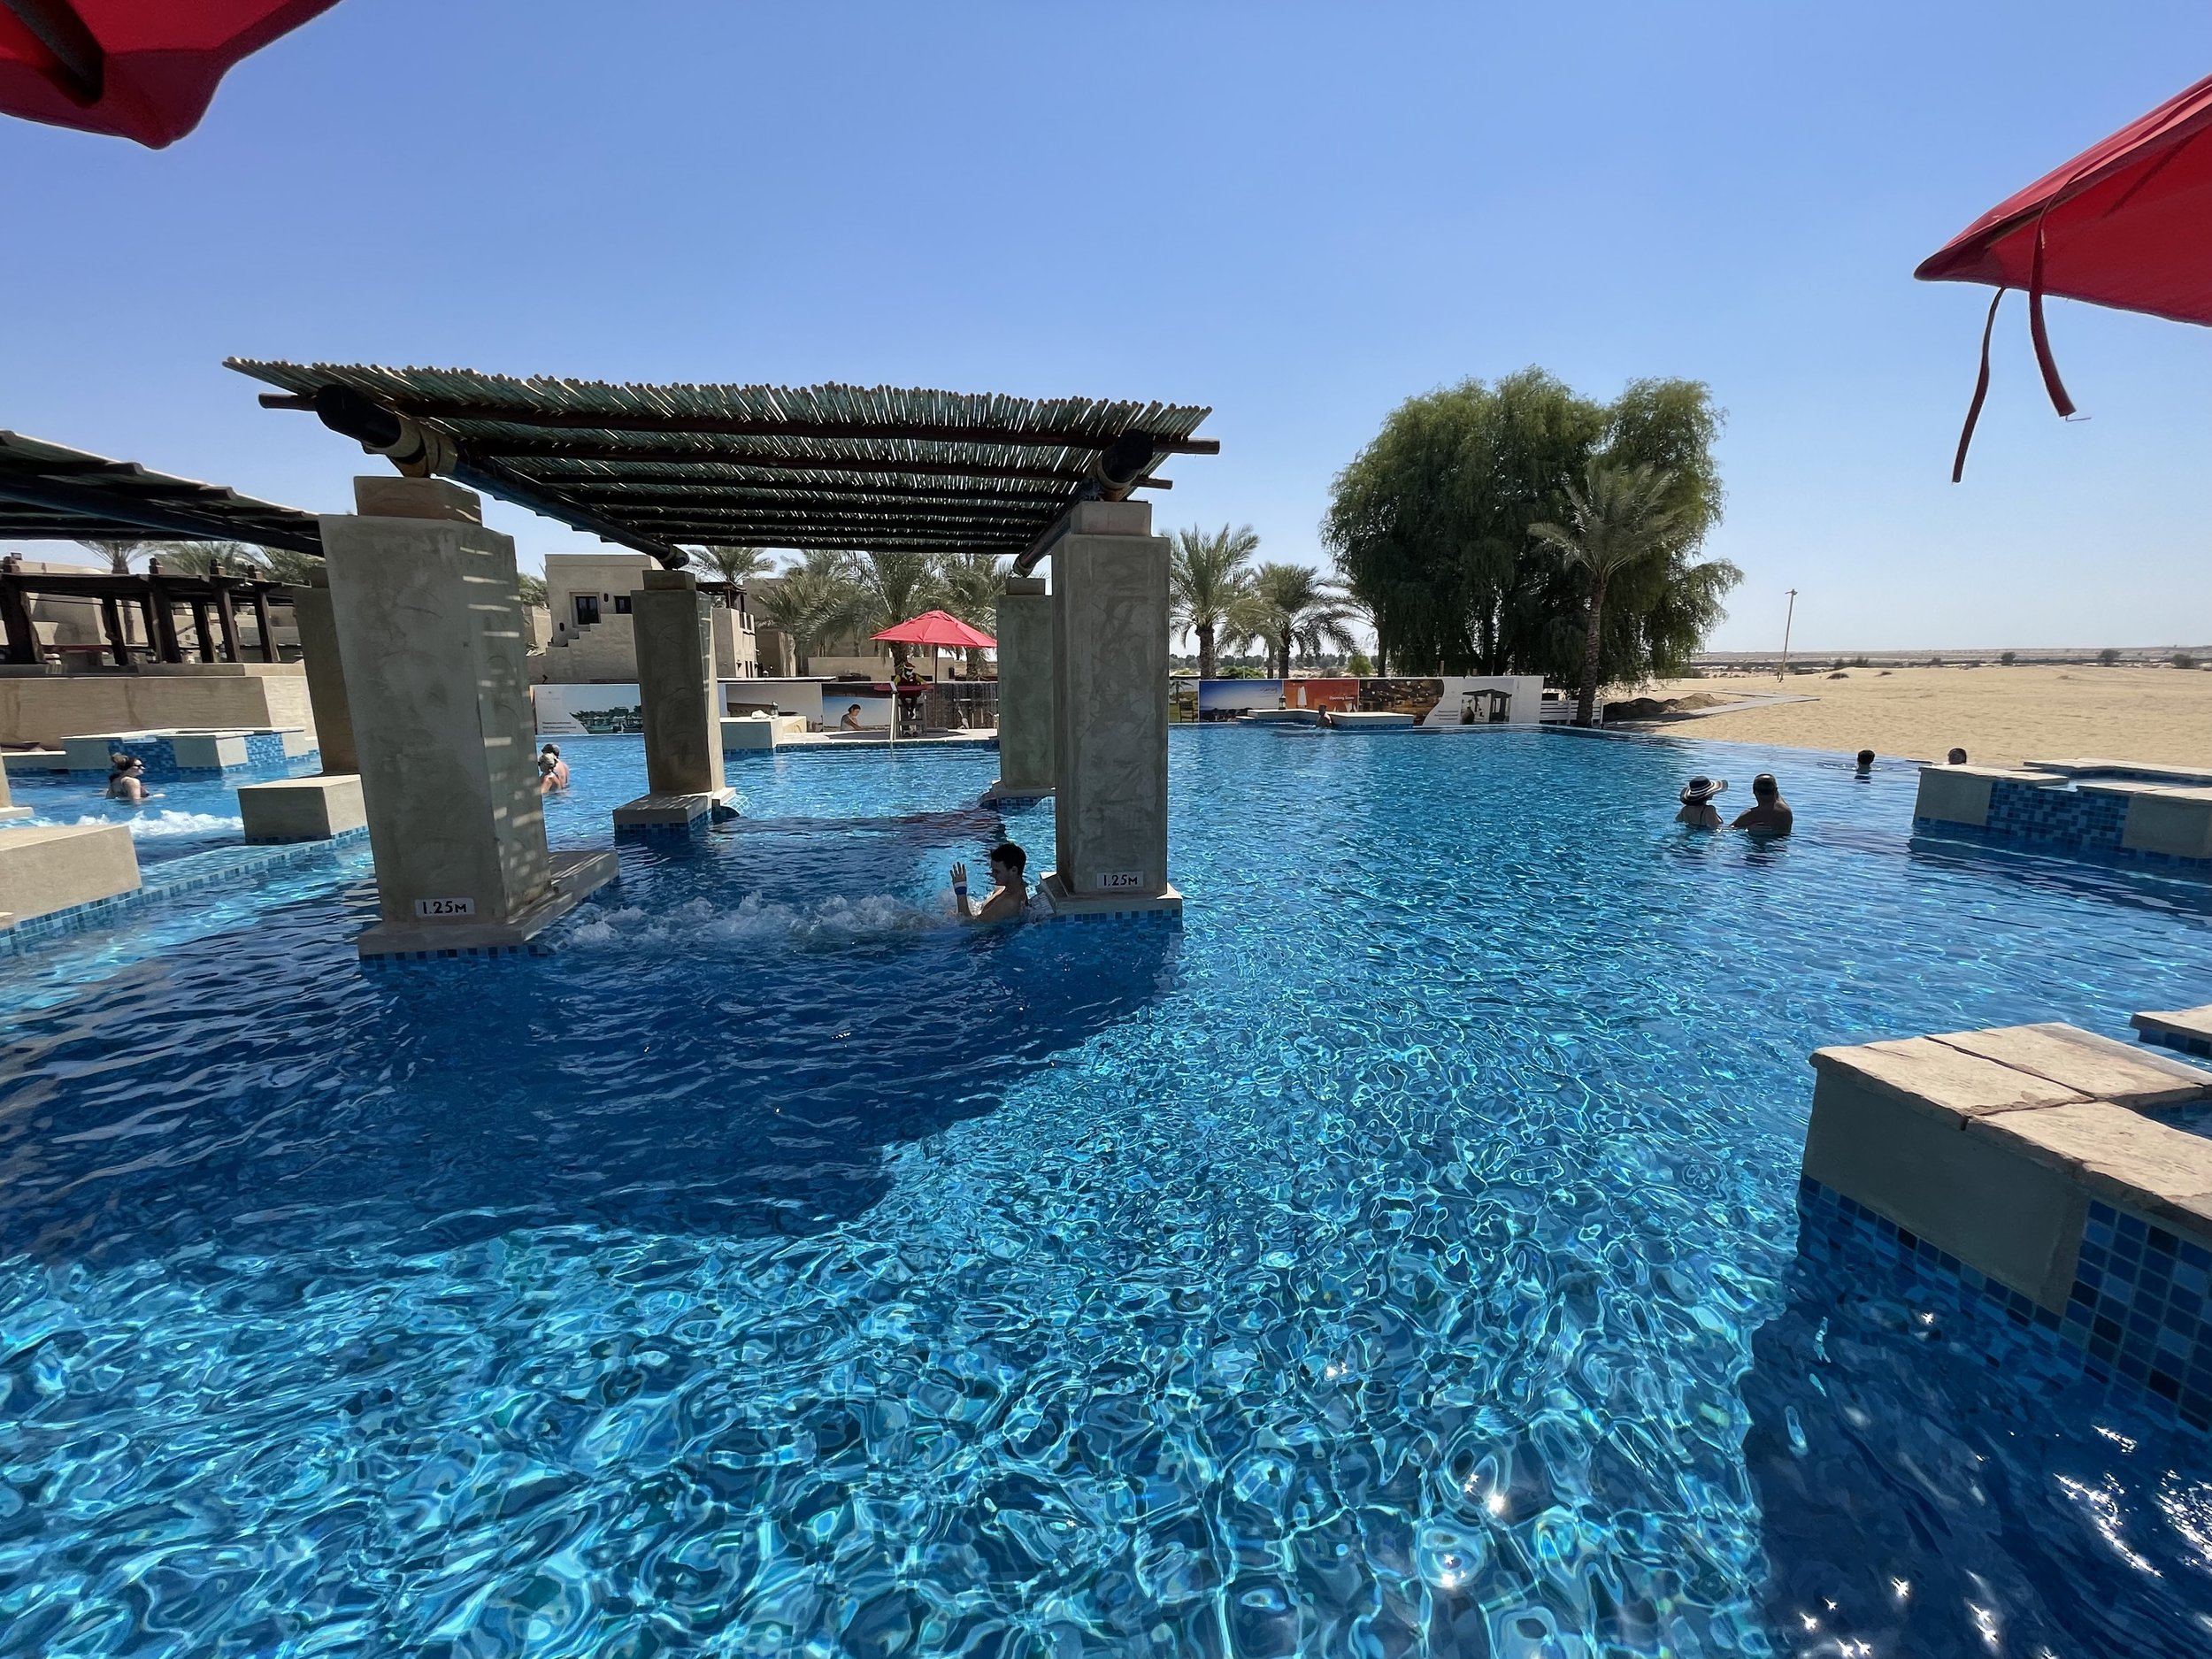
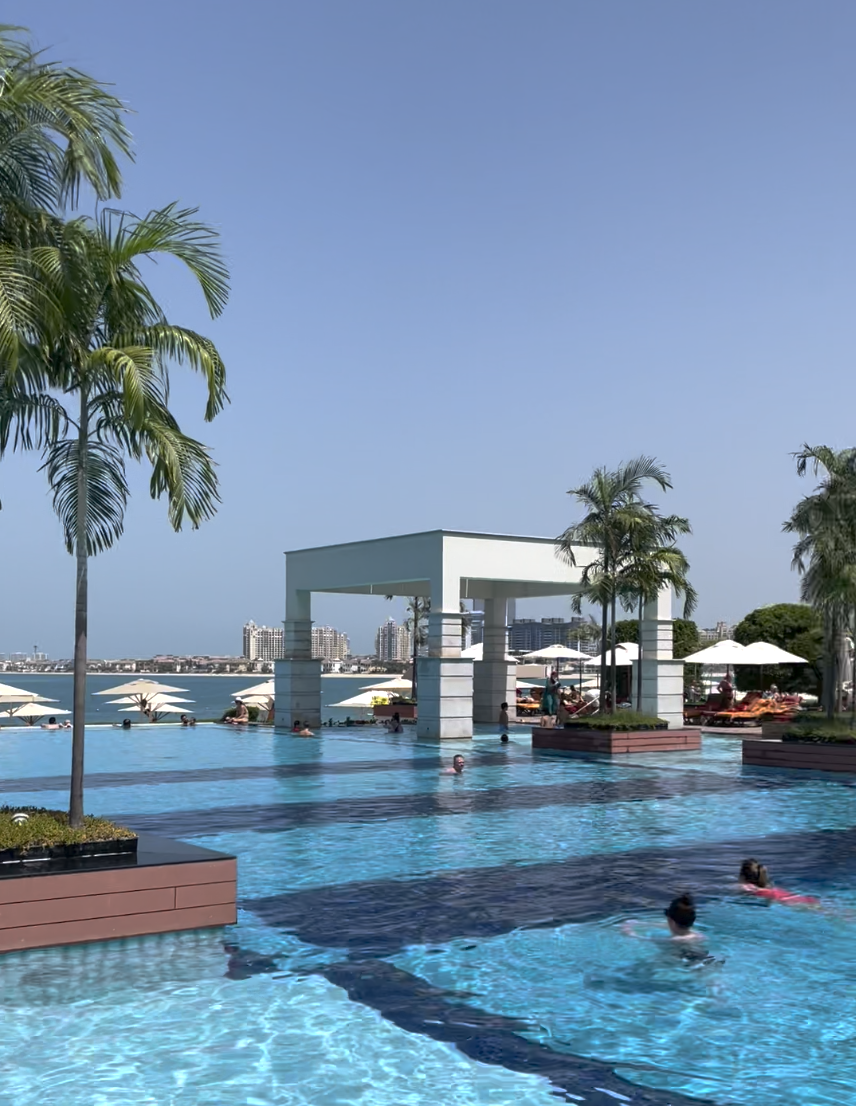
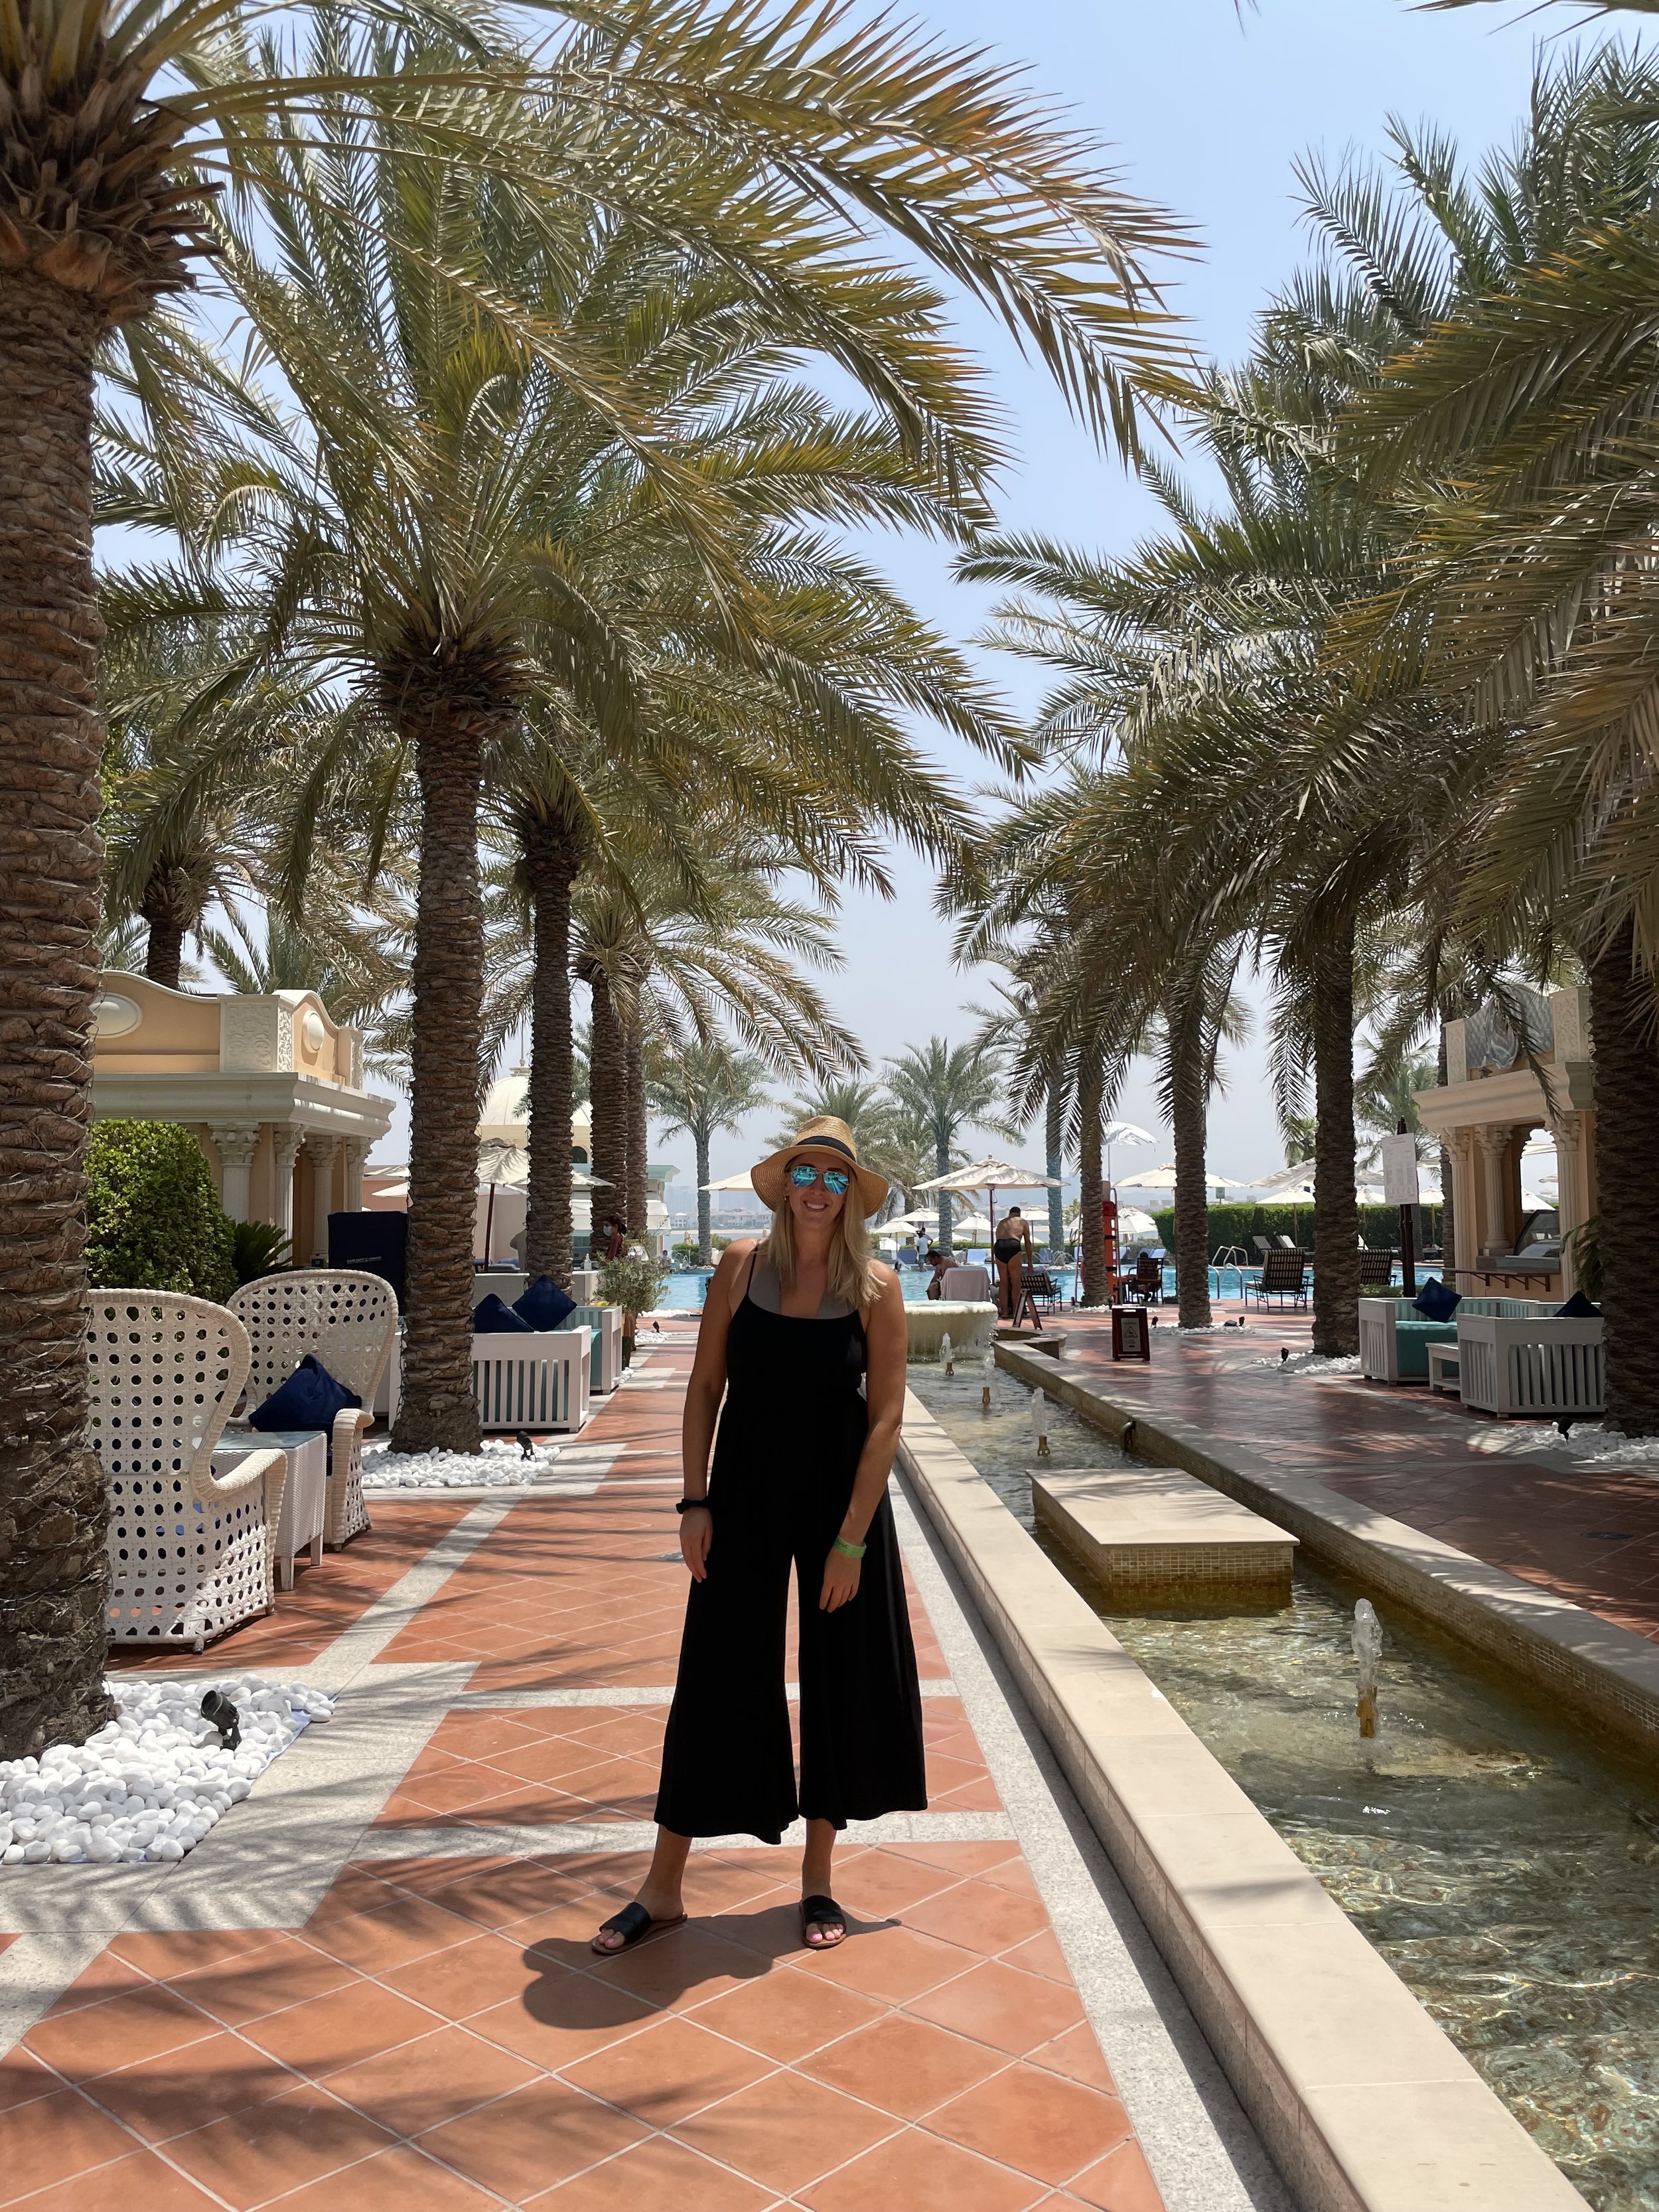
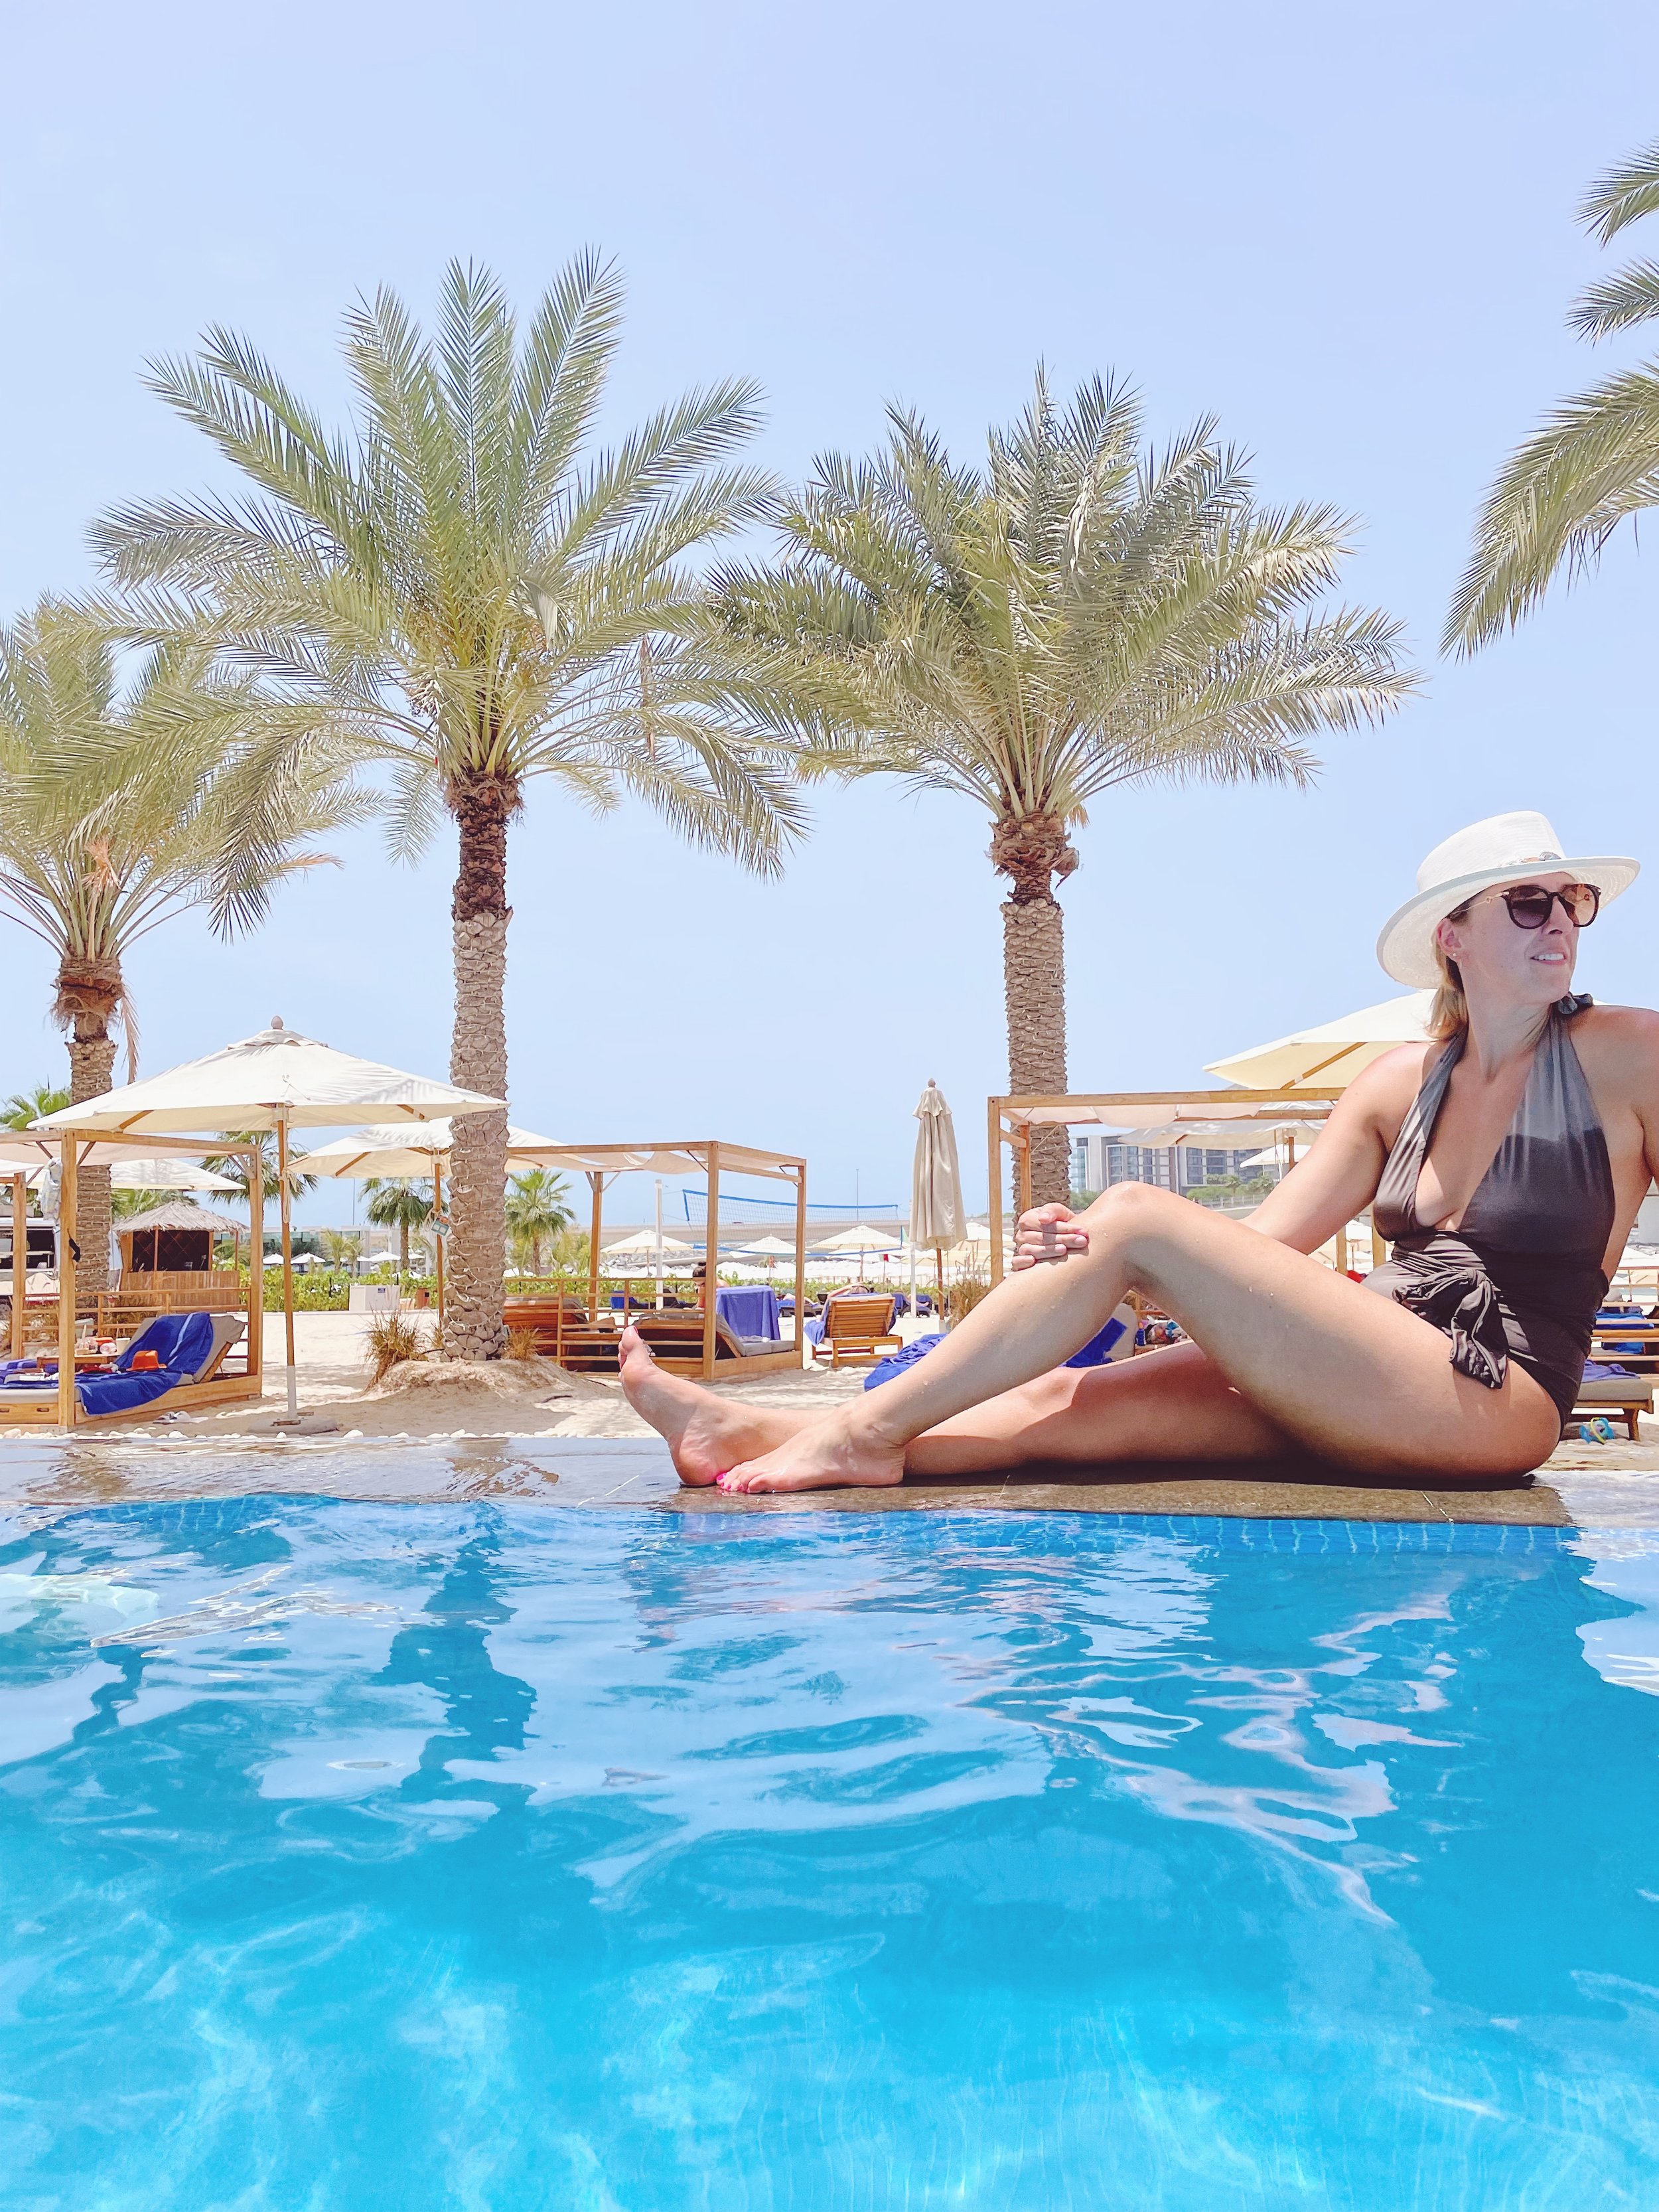
POOLS + BEACH CLUBS

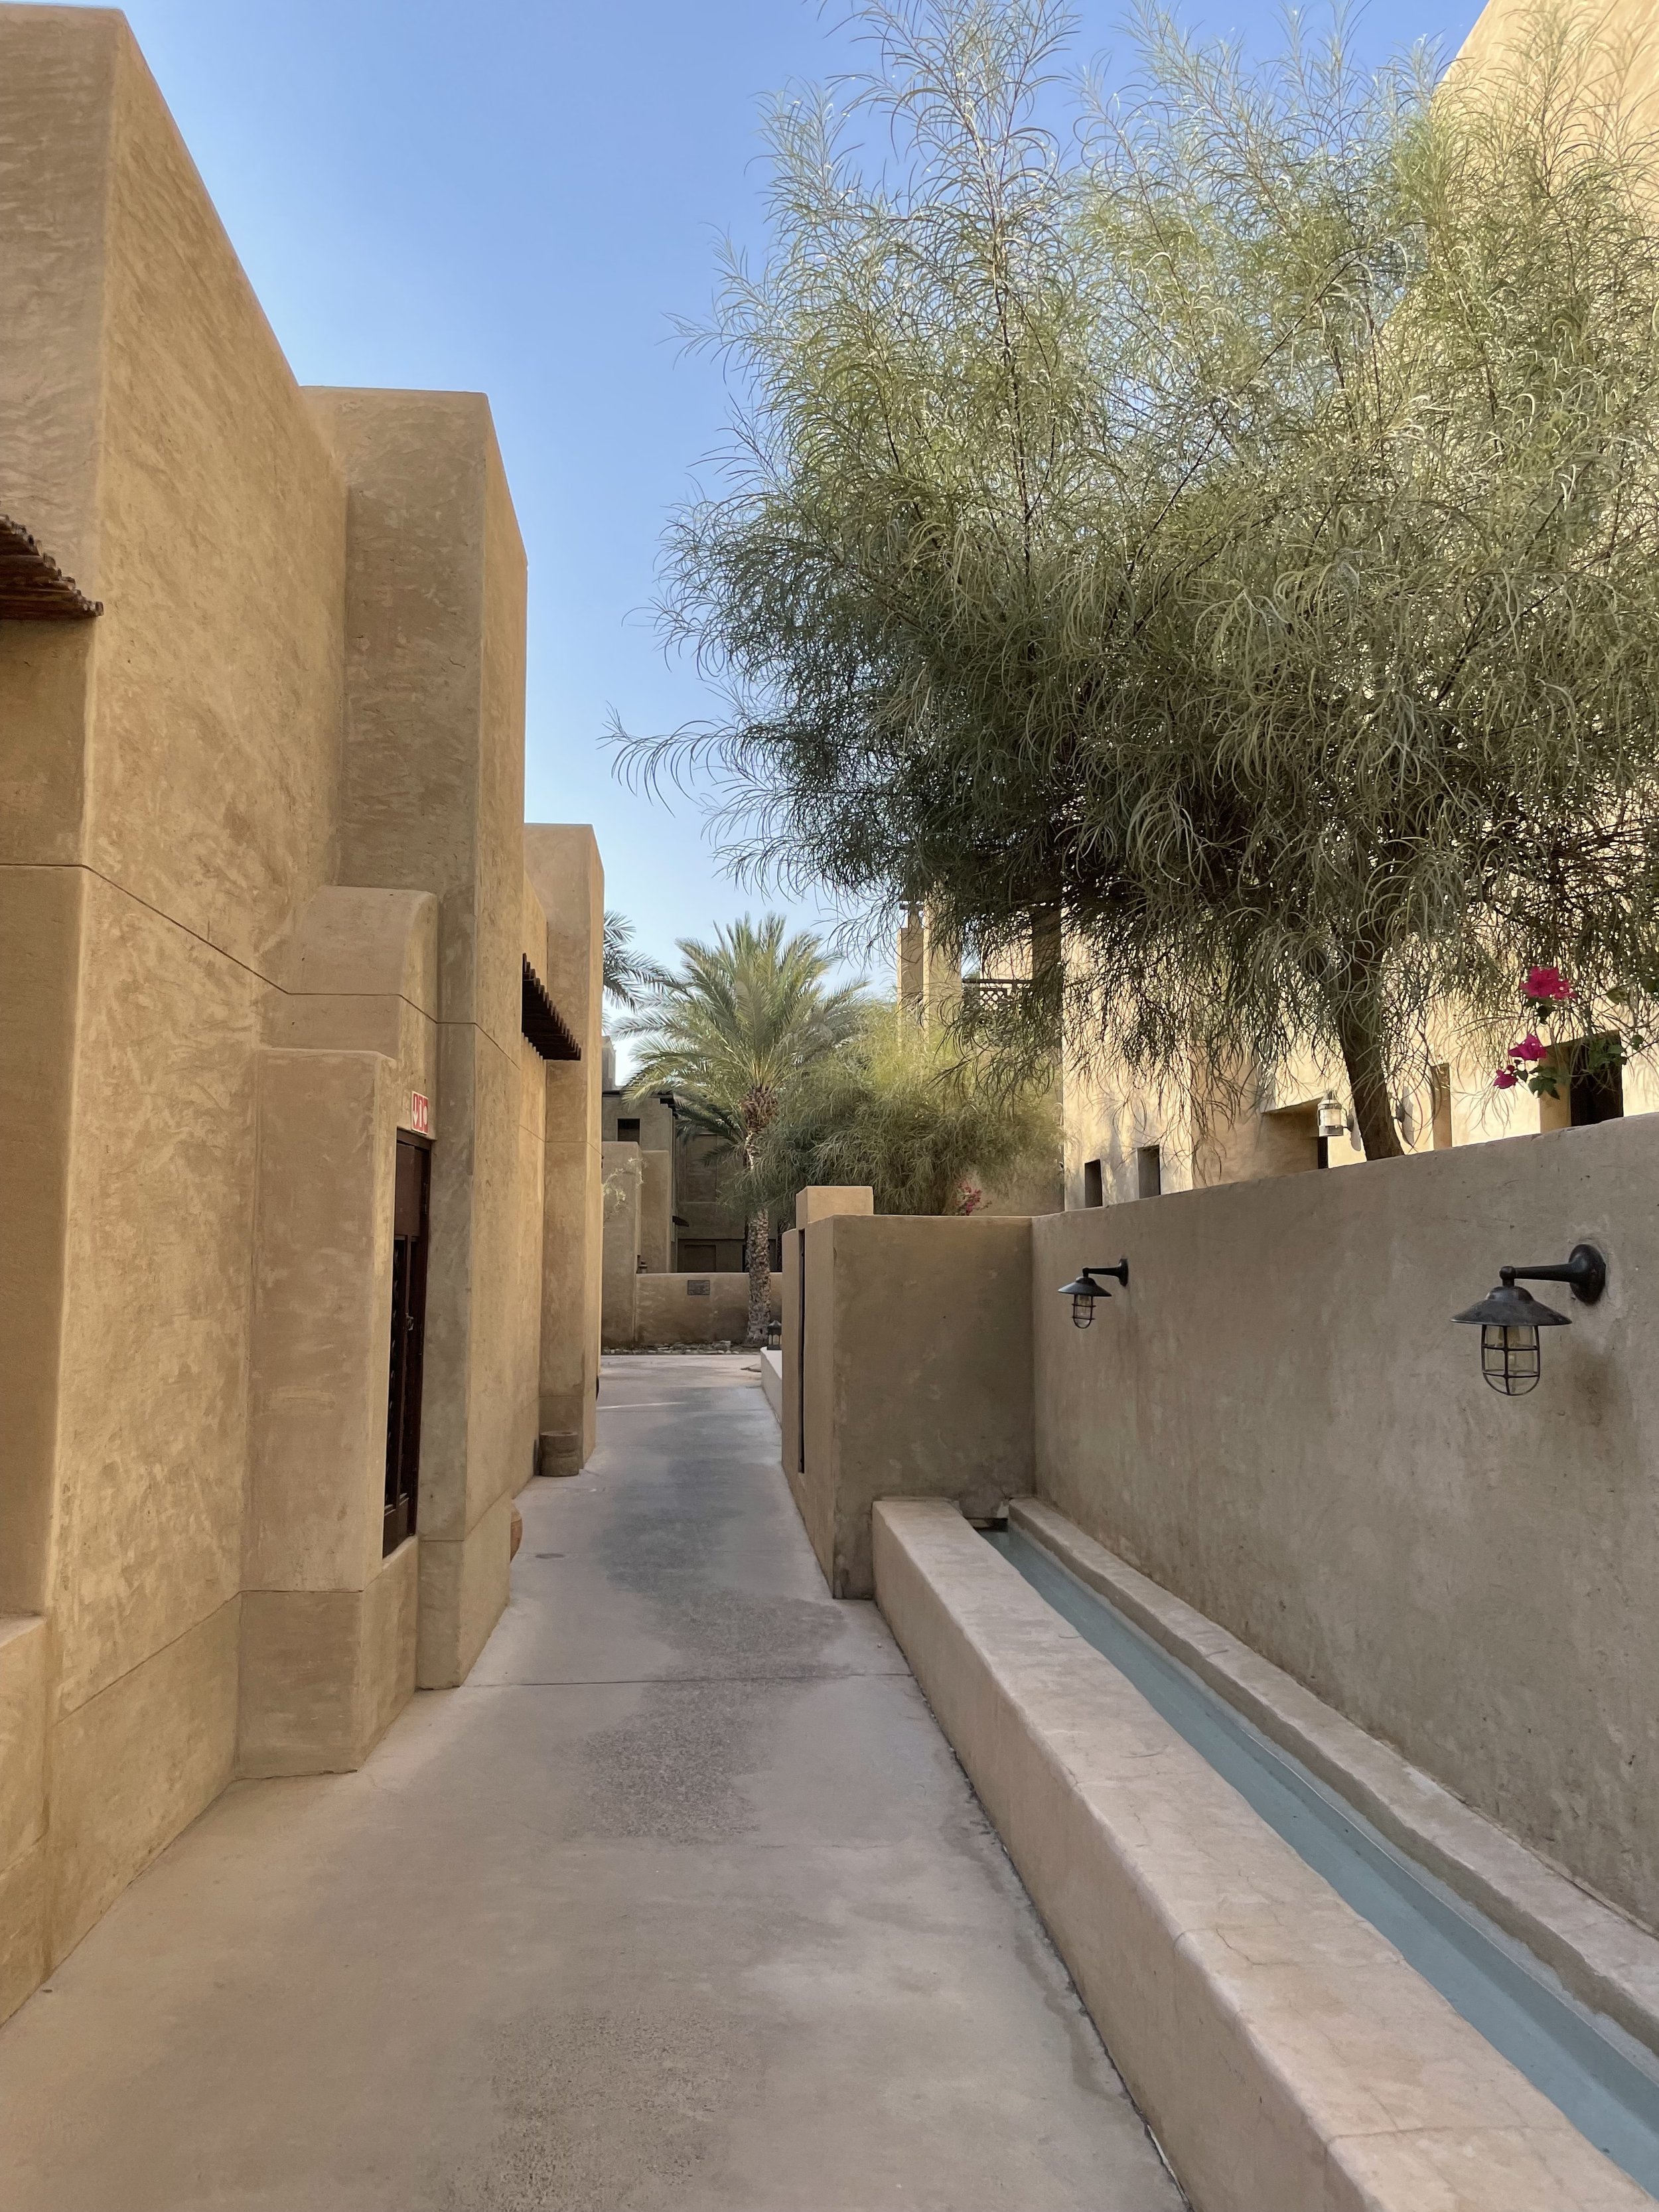
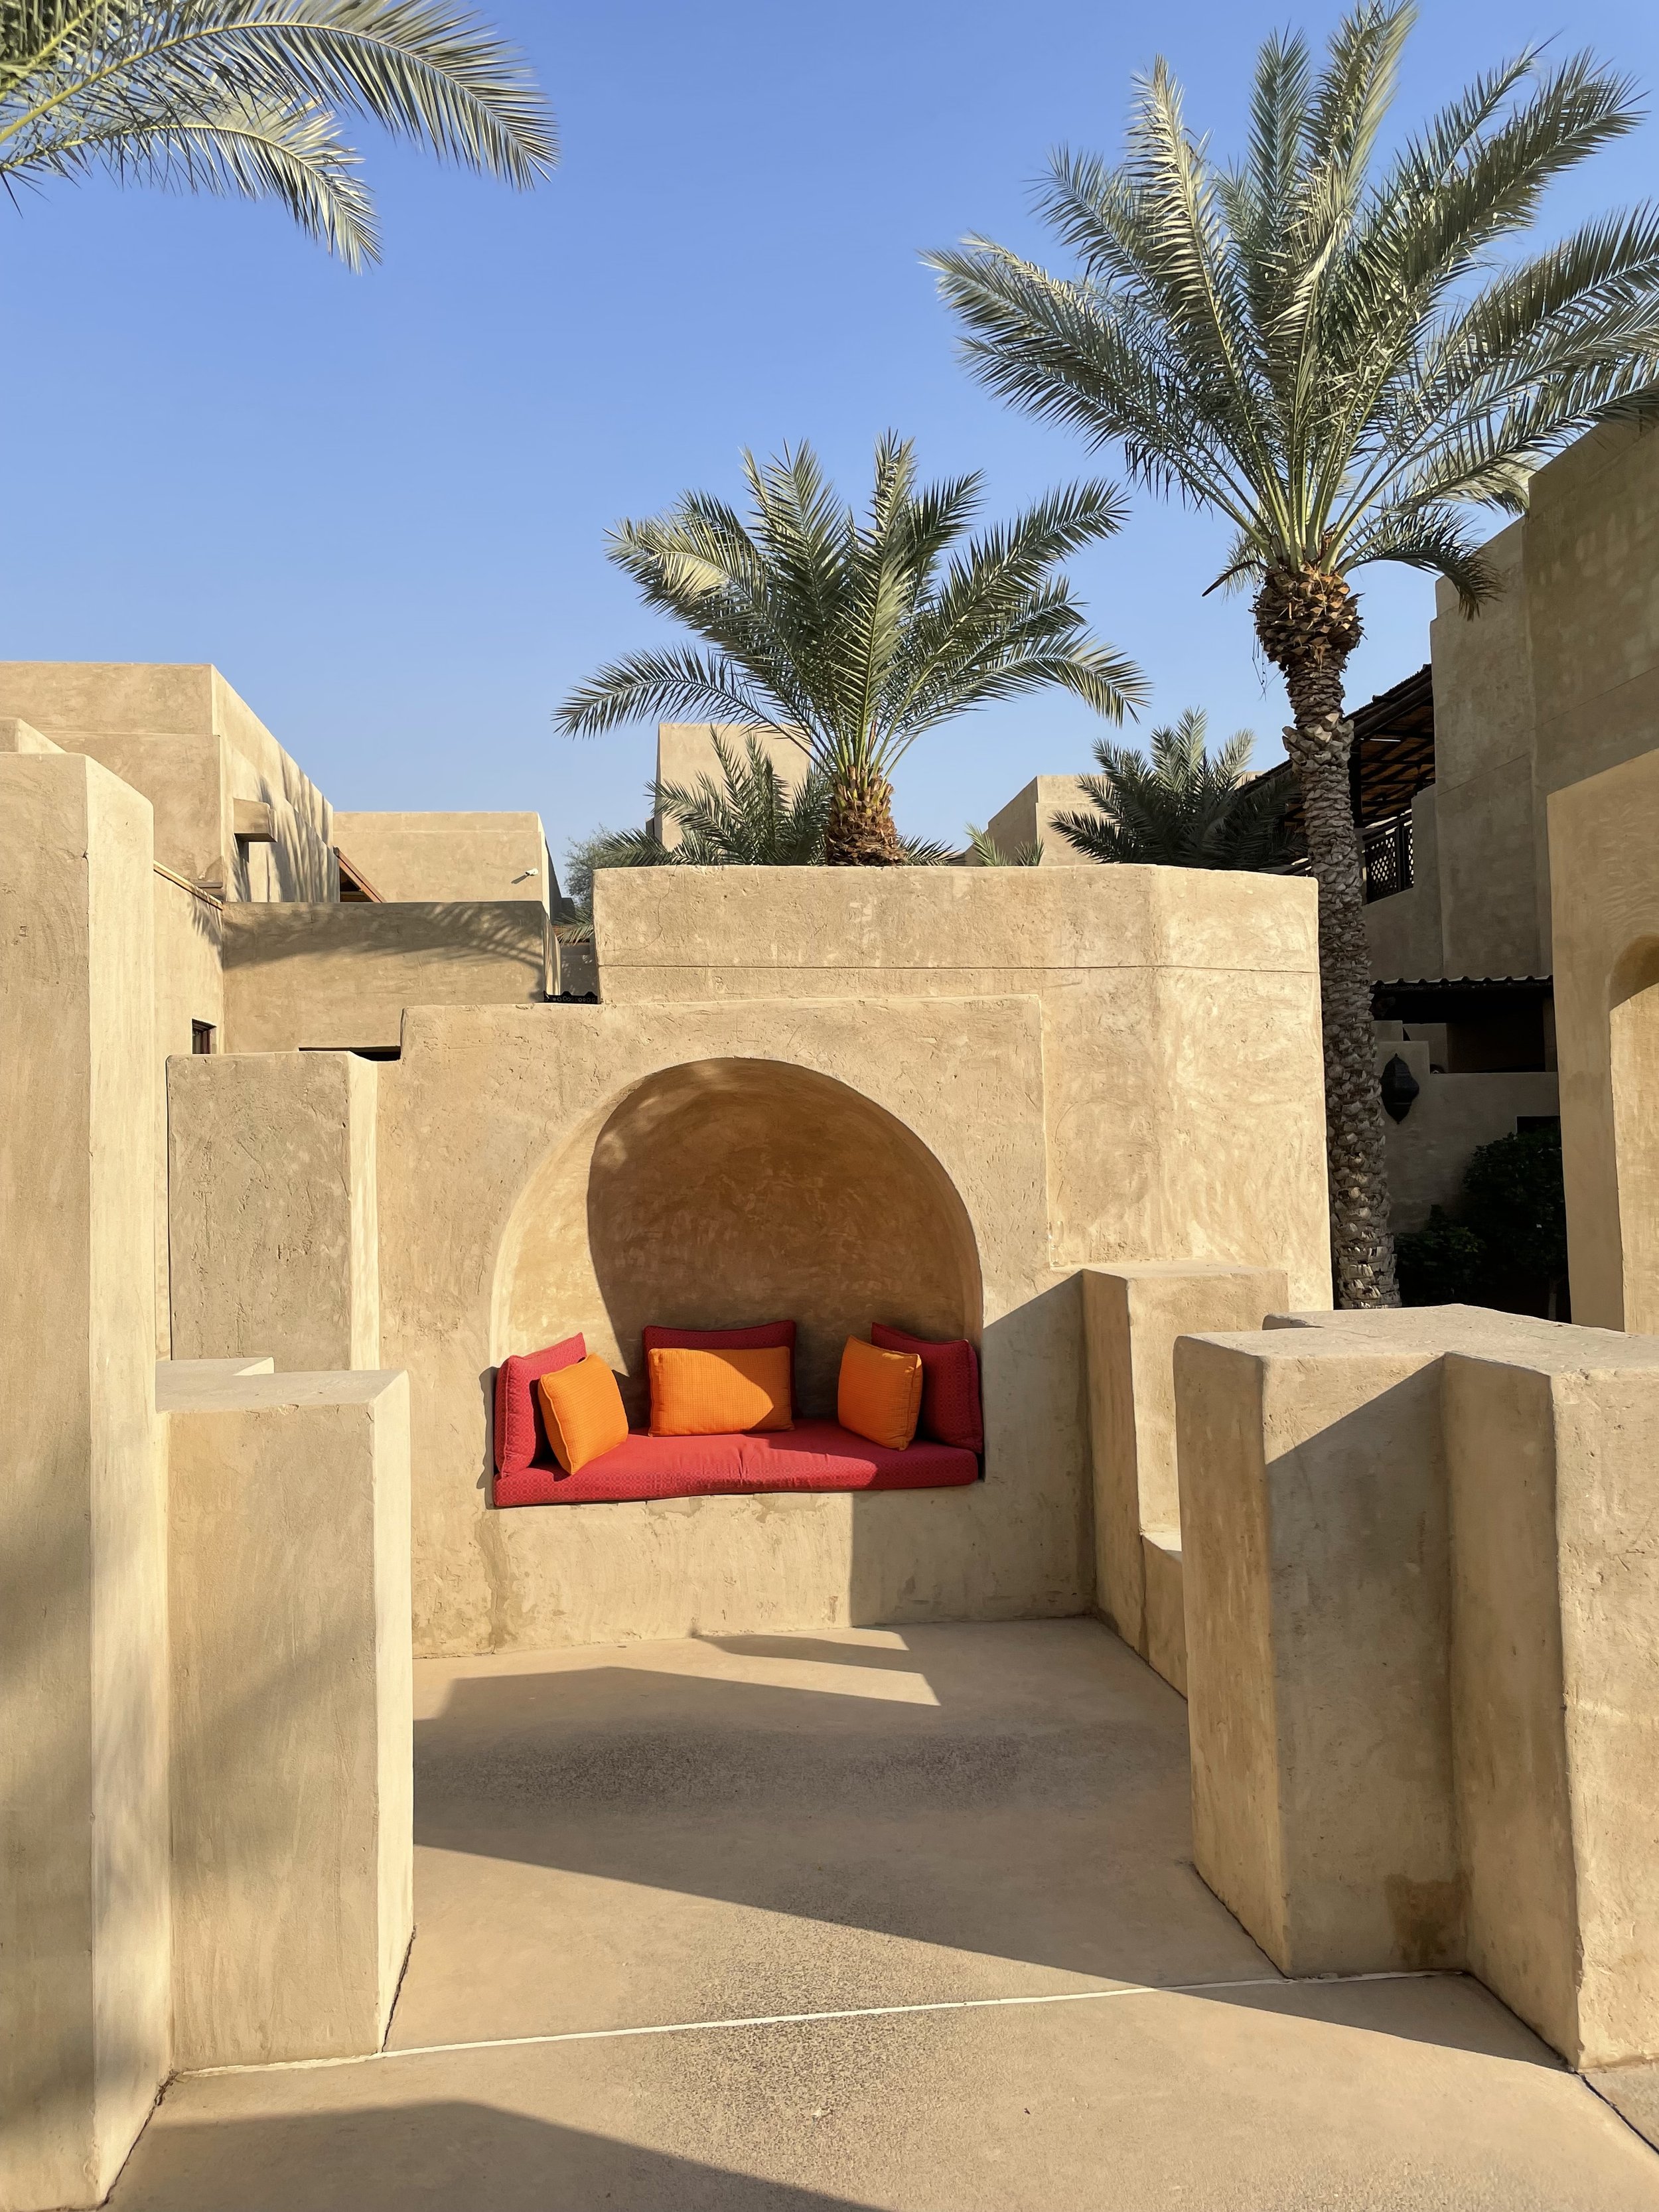
Bab Al Shams (In the desert): Leave the city and spend a day or overnight in this gorgeous, incredibly decorated hotel for a pool day including an insane lunch buffet or stay overnight.

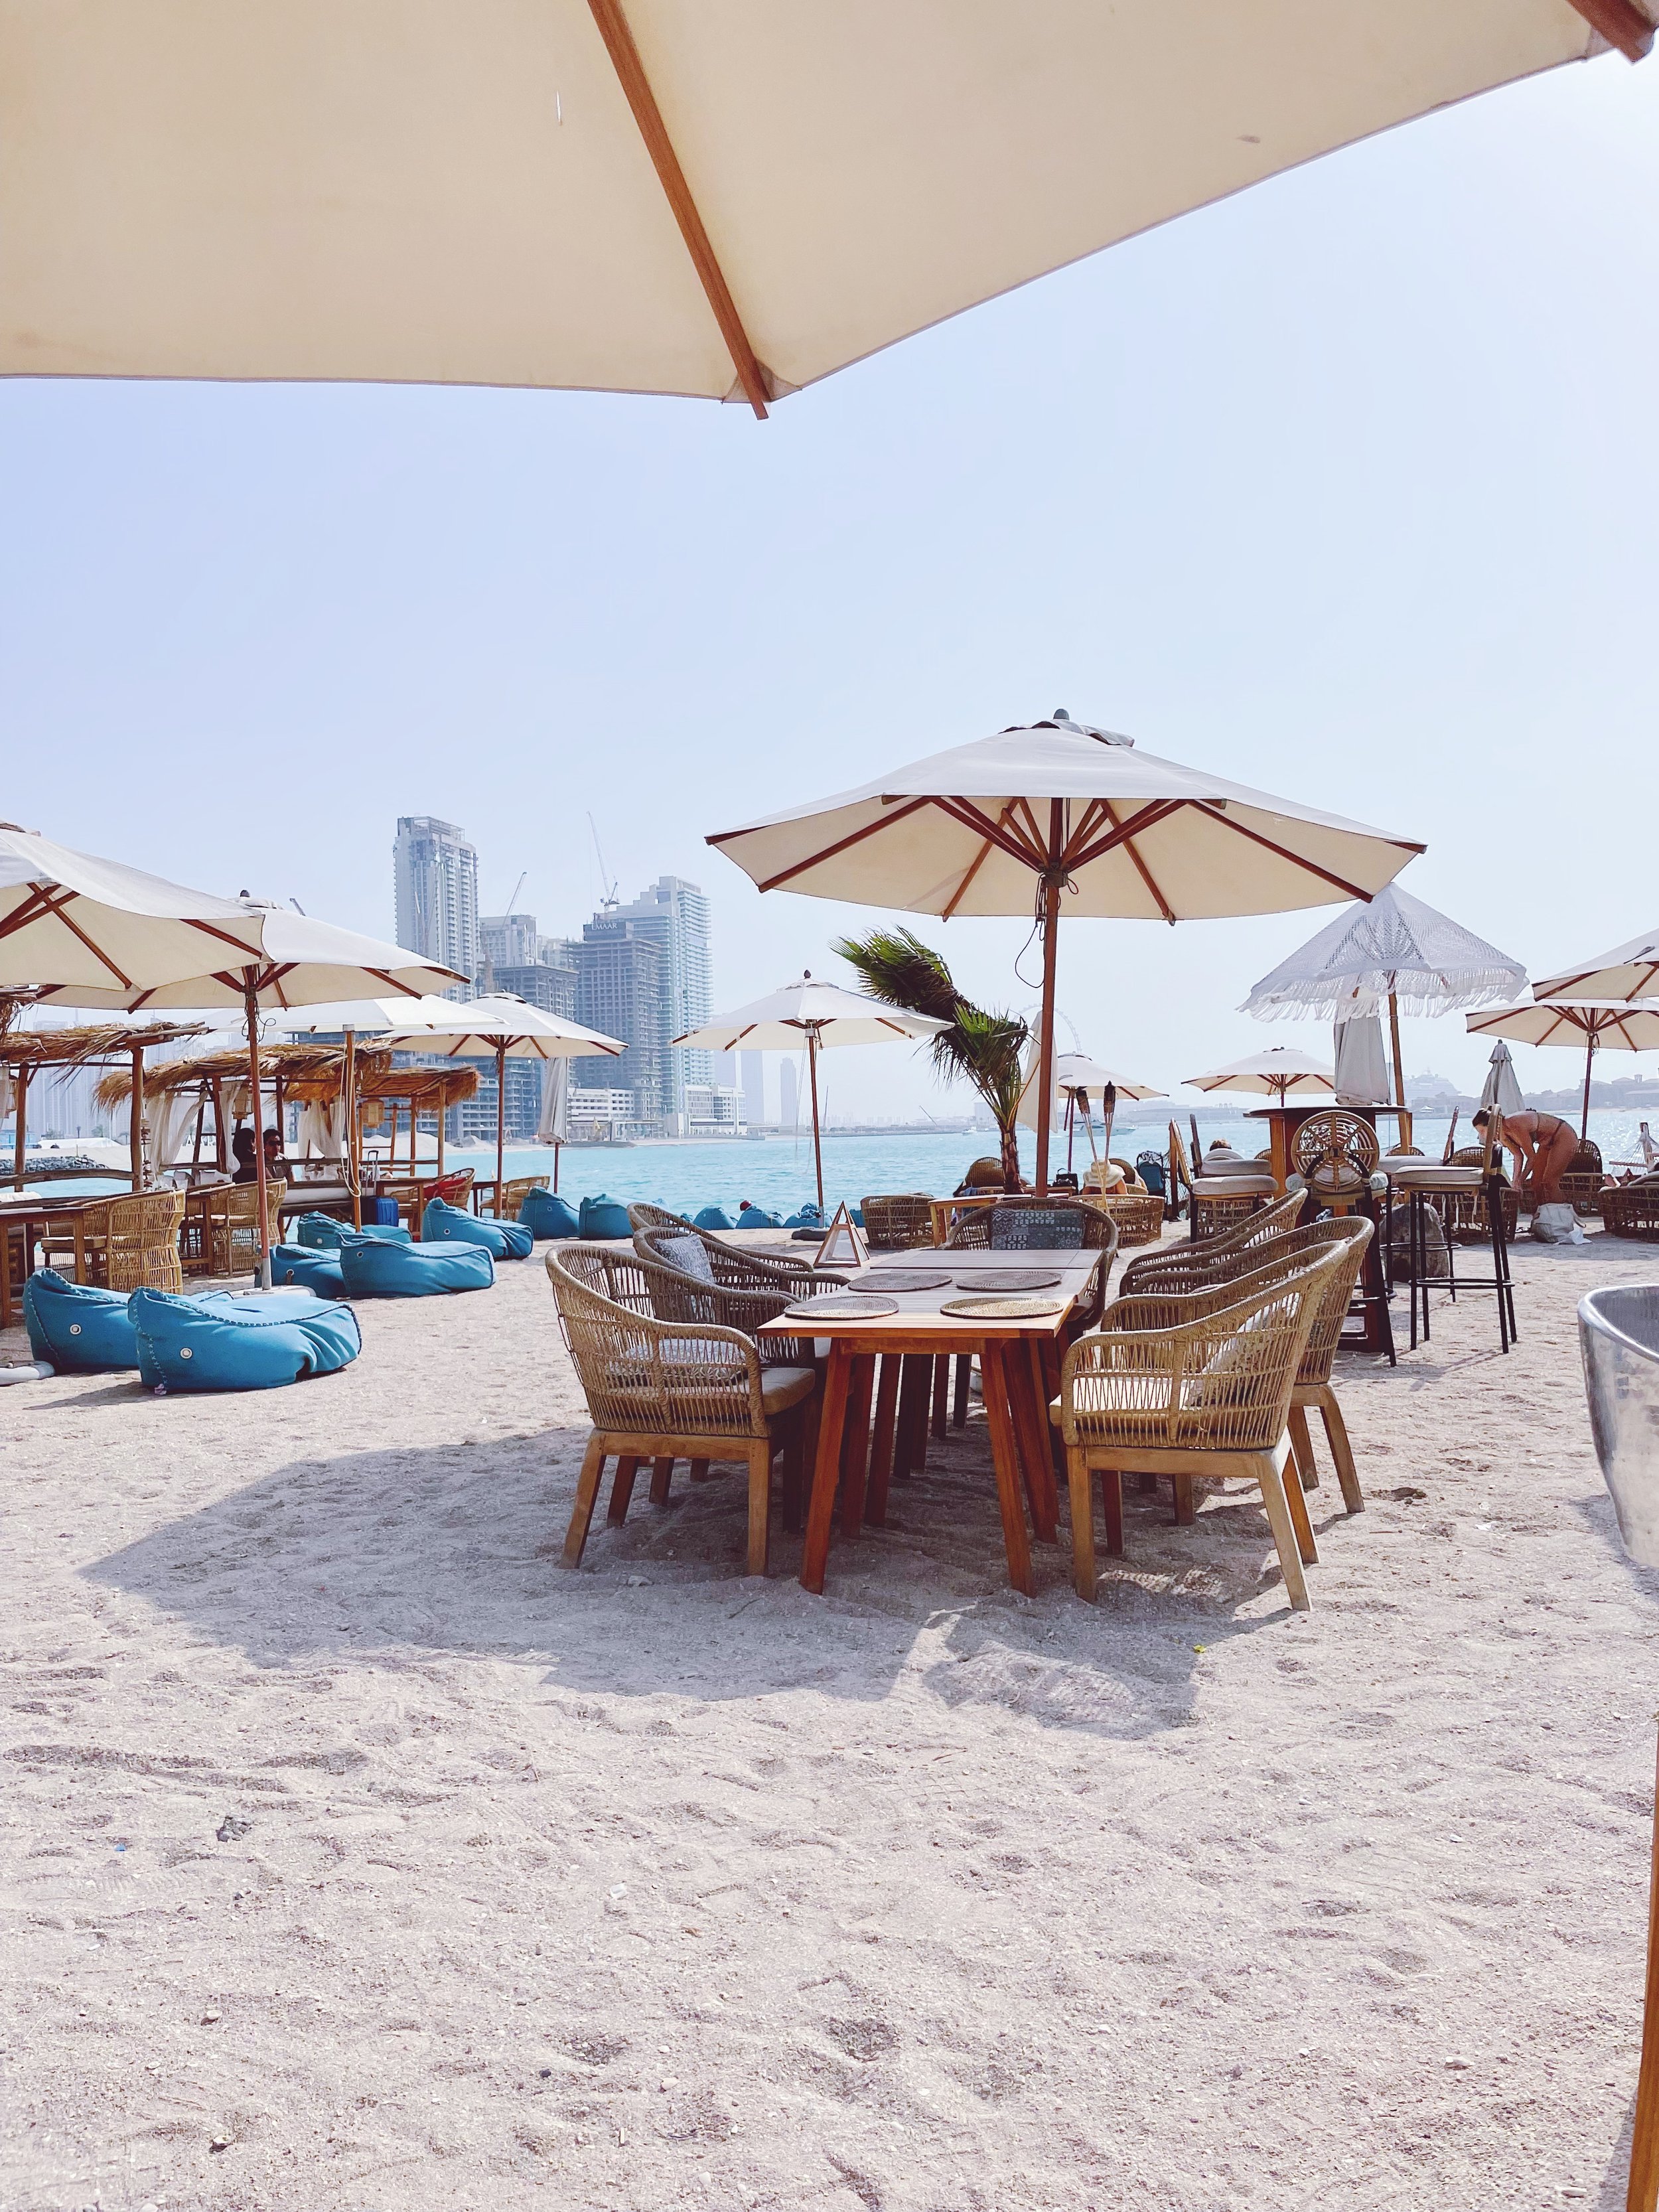
West Beach: Koko Bay, February 30, Lucky Fish — the West Bay beach clubs are such a vibe, feeling as if you’re almost in Mykonos. Good music, amazing ambiance and gorgeous drinks. Highly recommend for a day in the sun and water or for sunset drinks.

Chill Pool Day: Jumeriah Zabeel Saray Hotel - this hotel is on the palm and it has the most elegant vibe with a gorgeous pool overlooking the sea. The beach area is lovely as well as the drinks and food.

Chill Pool Day: Waldorf Astoria on the Palm

Chill Pool Day: Westin Hotel — check out the Heavenly Spa here as well. Probably one of the best massages I’ve had, ever.

Chill Pool Day: The Address Fountain Views

Party Pool Days: Zero Gravity or BLA BLA


BRUNCHING & GOING OUT

There is a never-ending amount of things to do when it comes to going out and spending the day partying, drinking and hanging with friends. Here is a list of a few of my favorite places and activities I’d recommend.

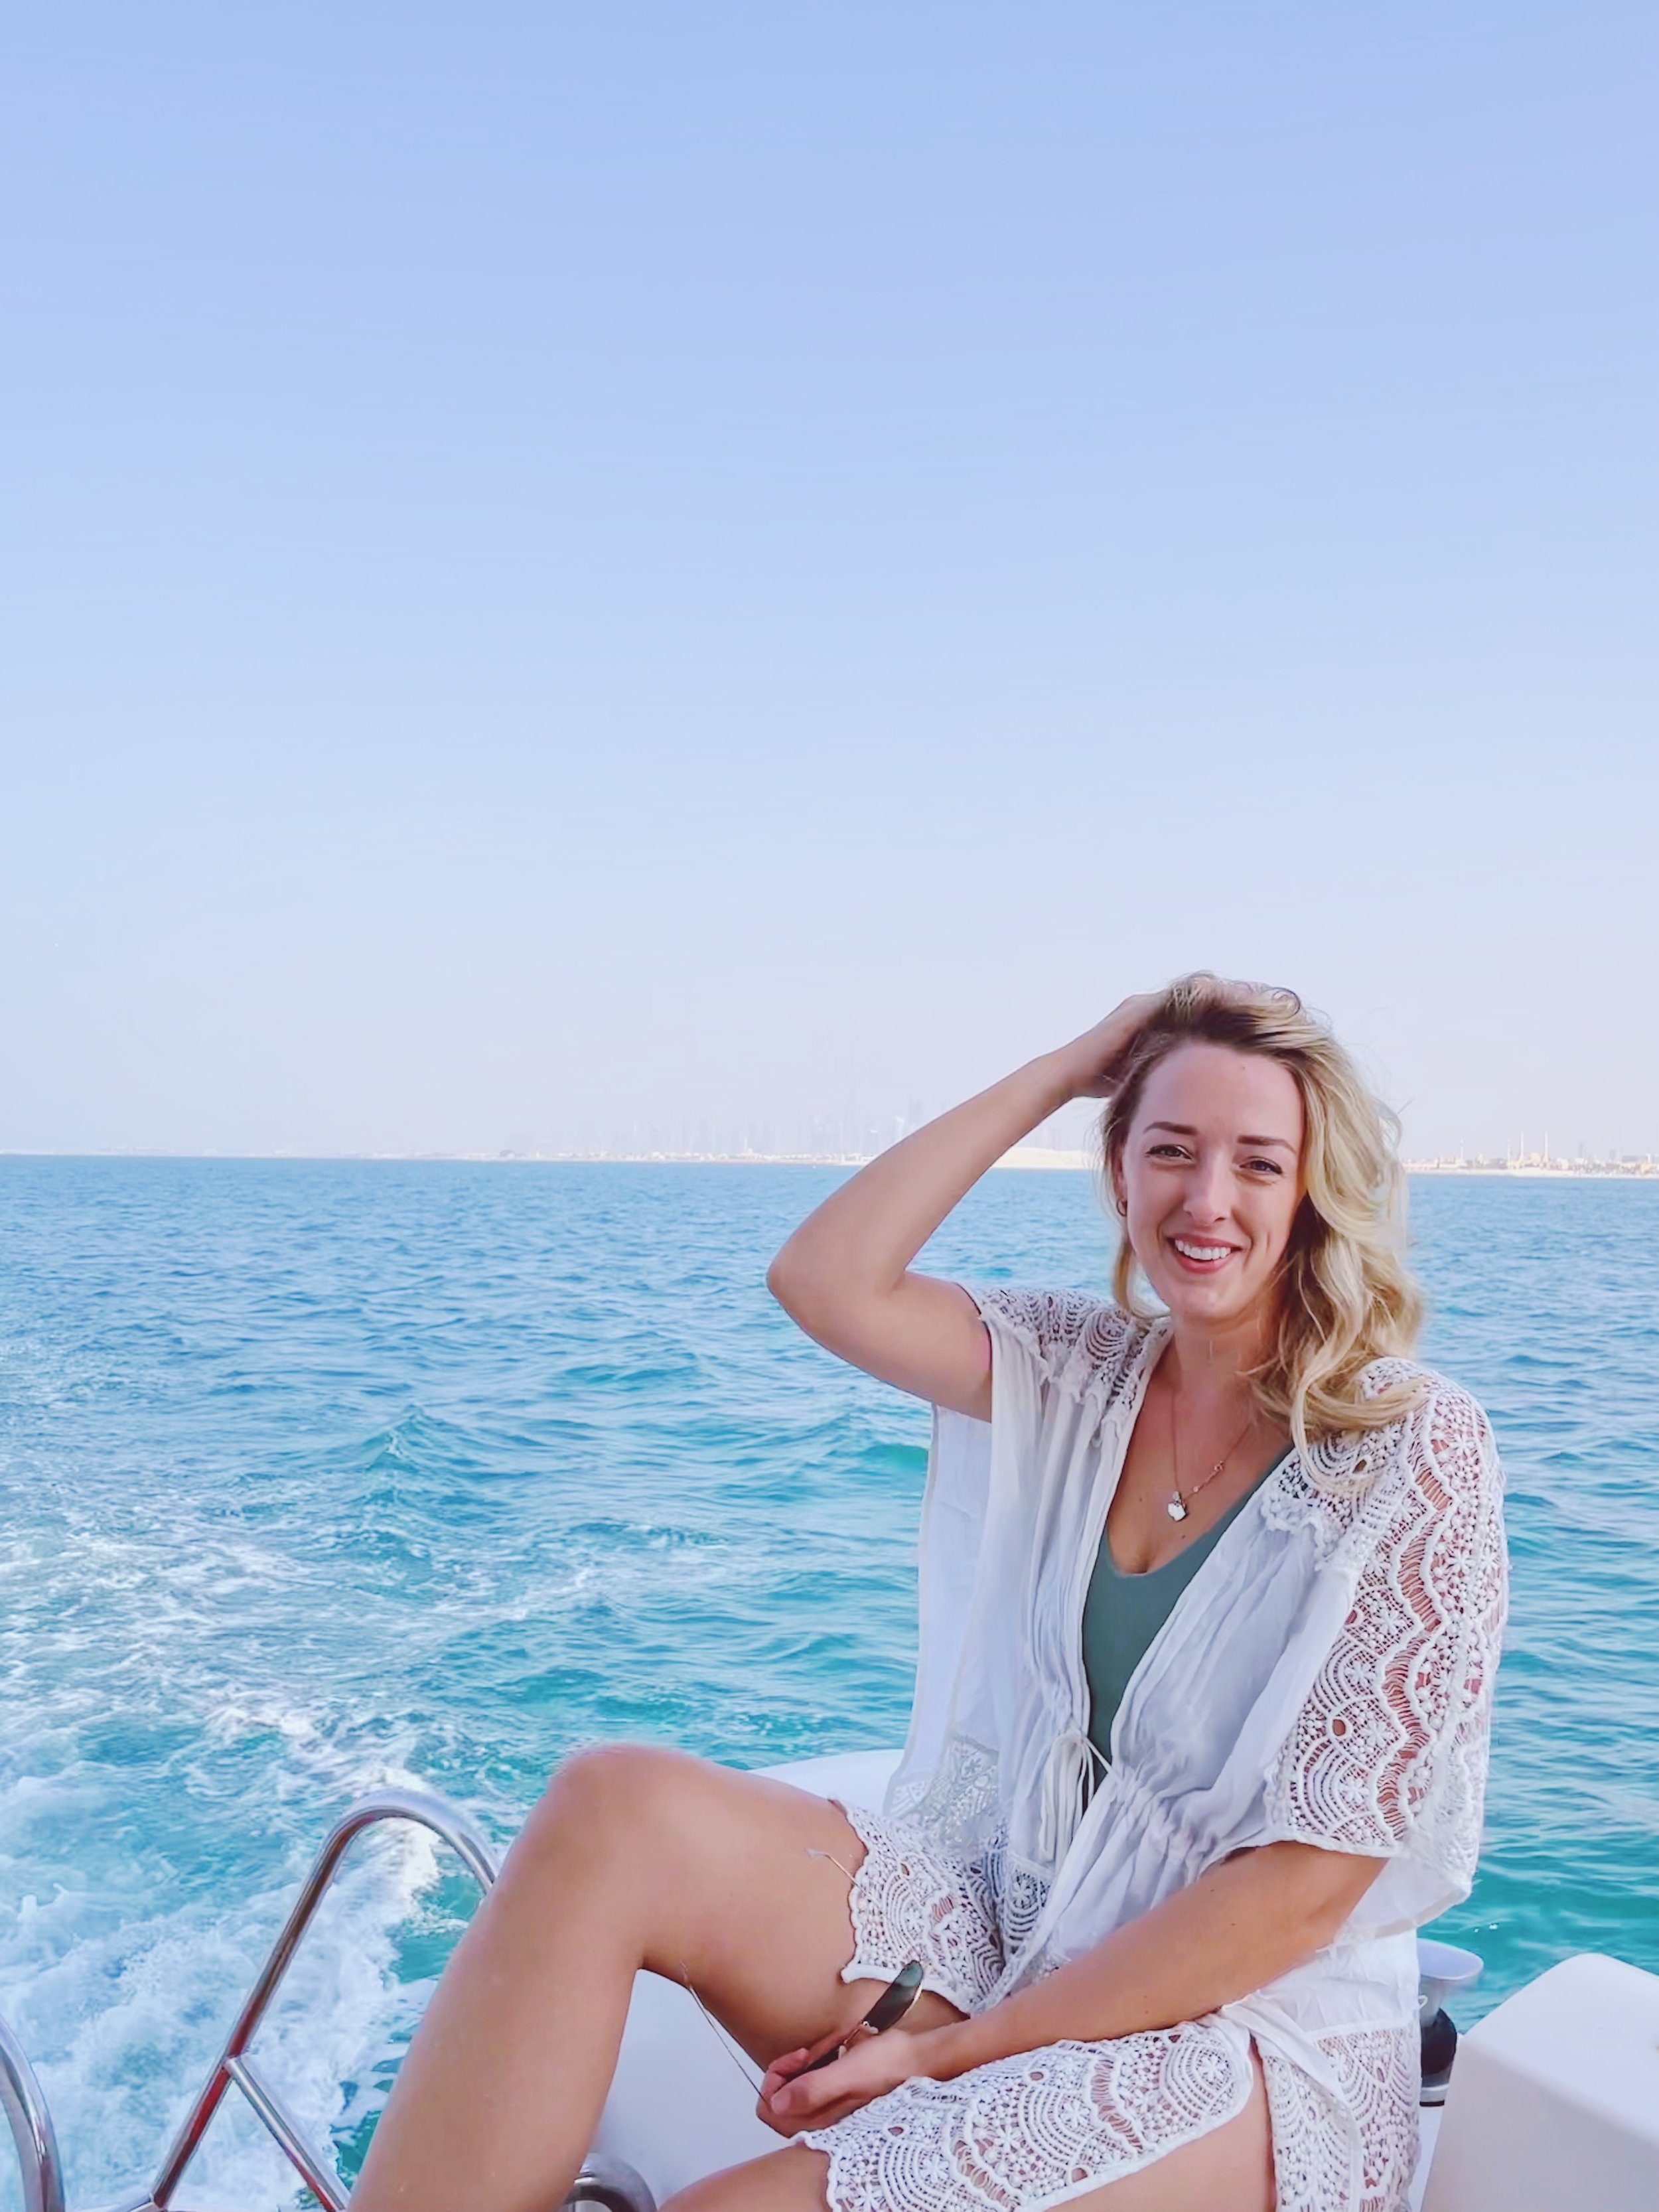
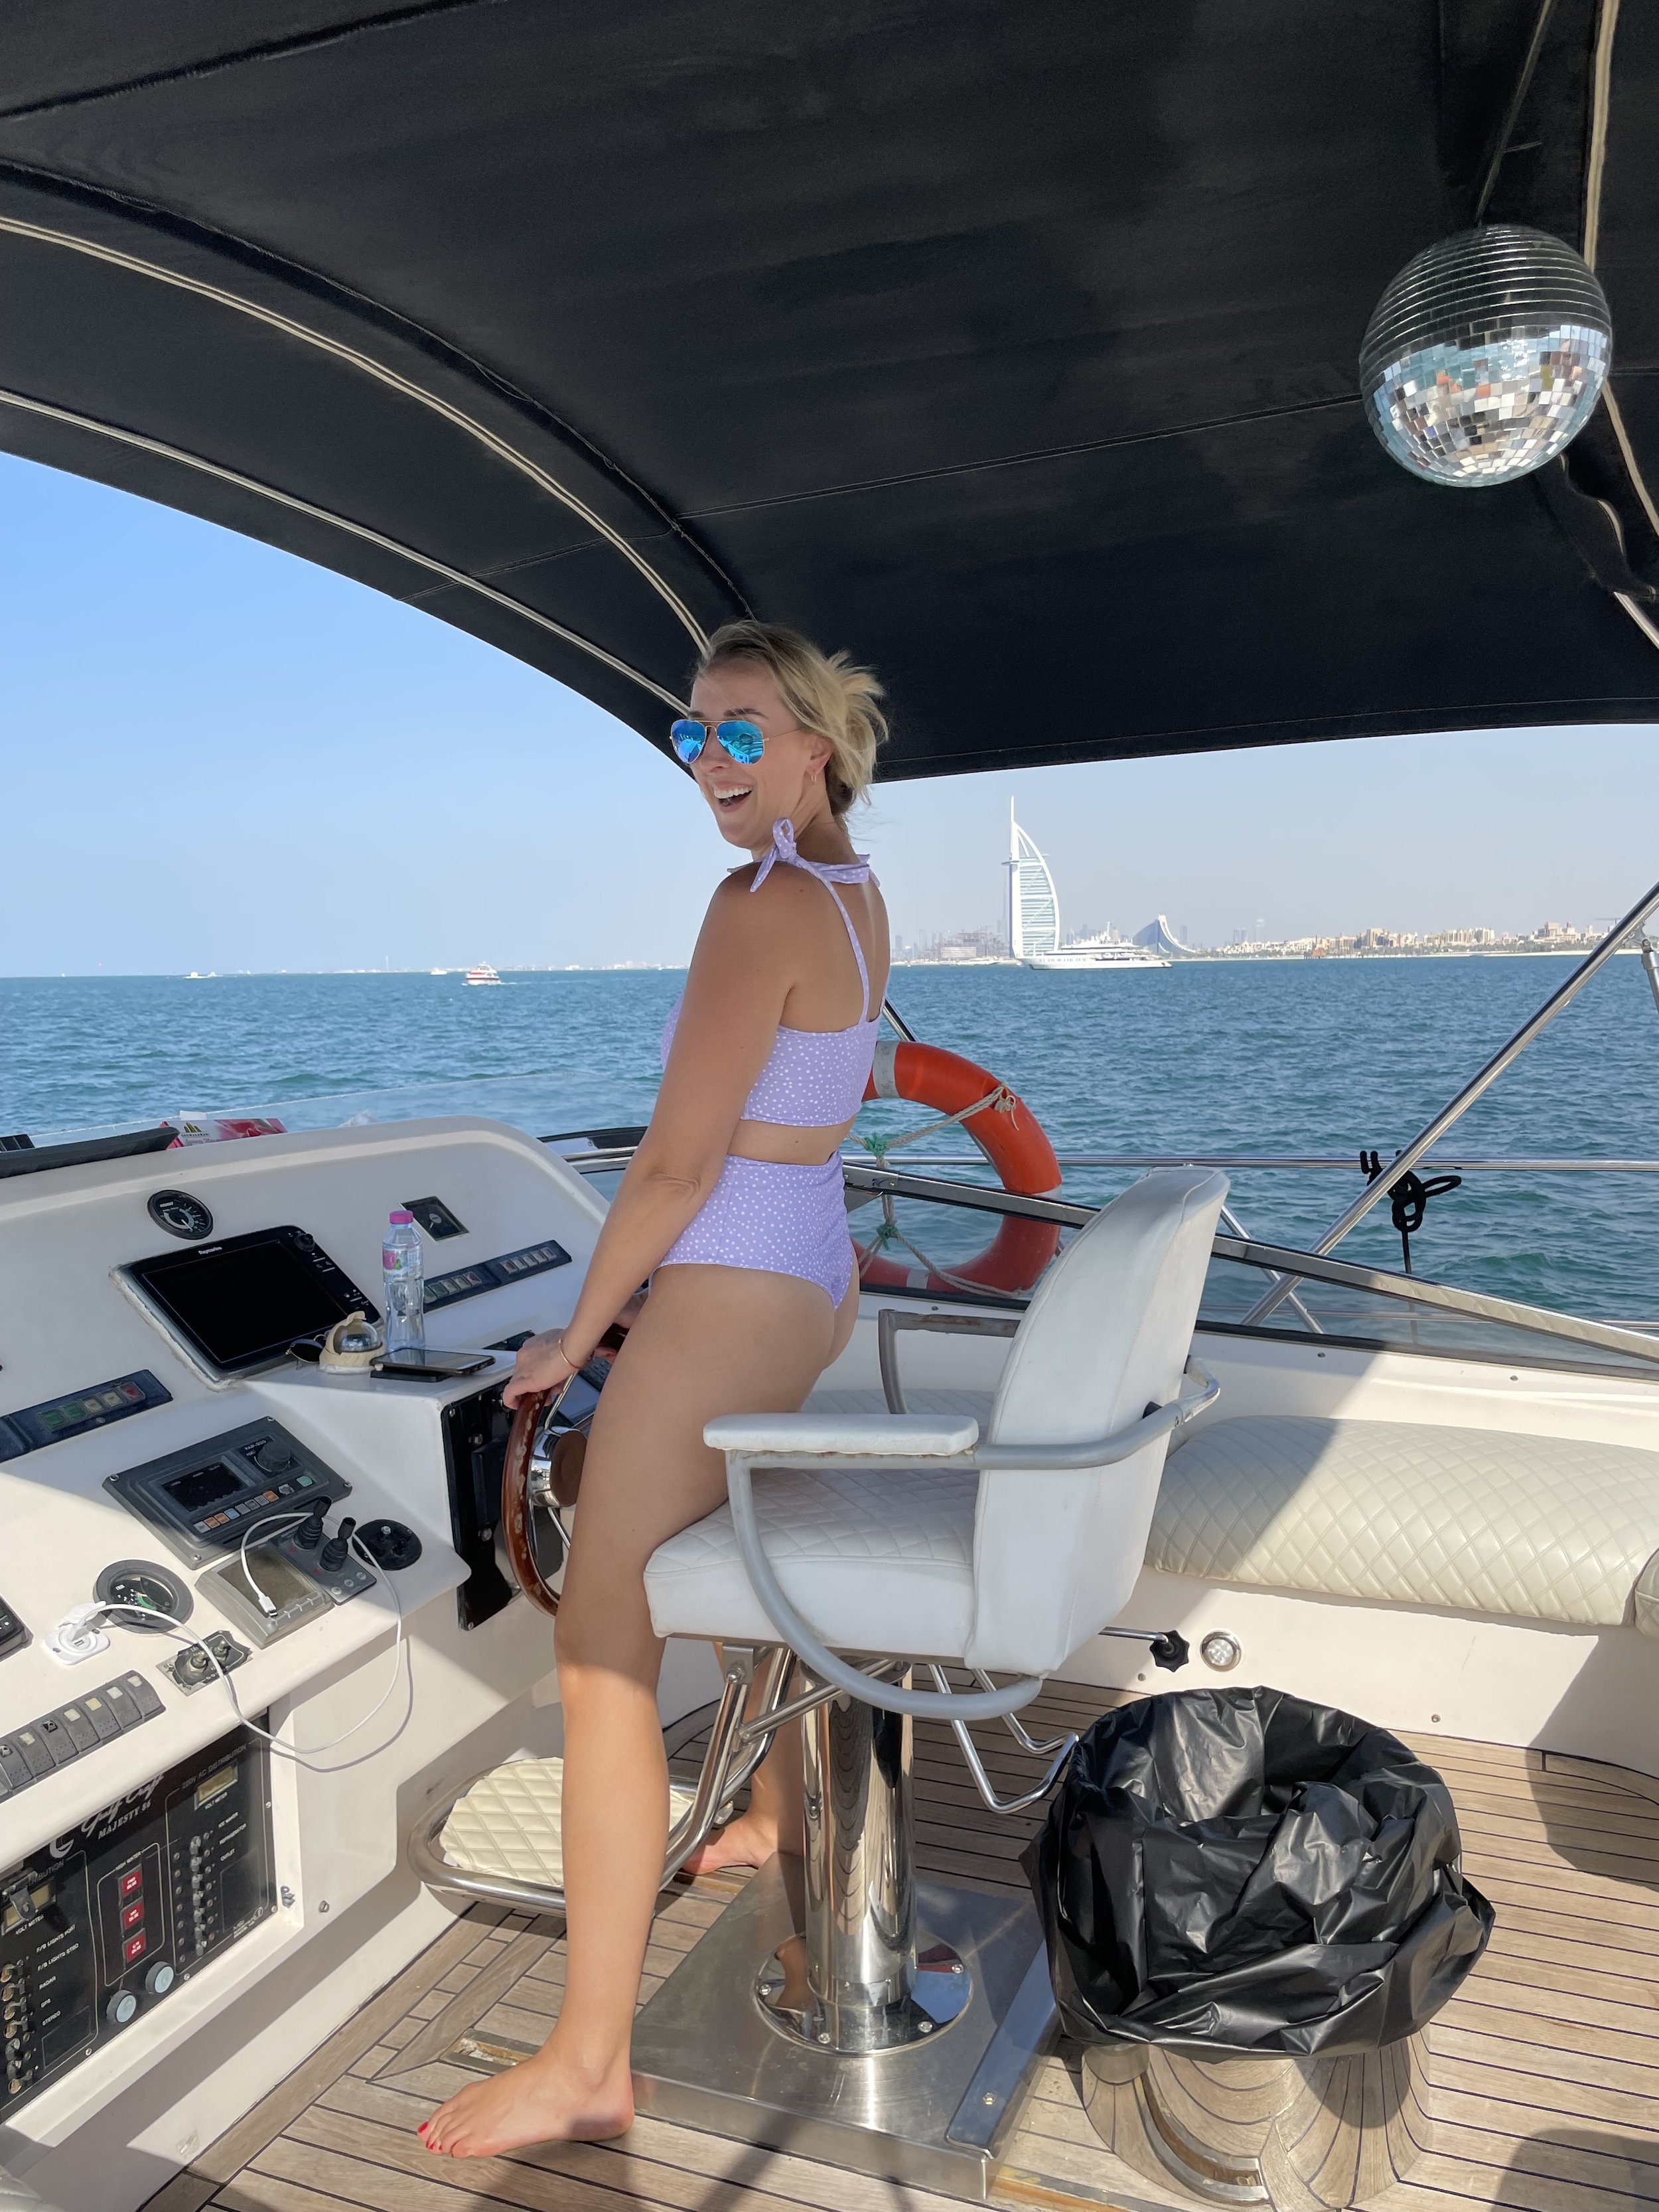
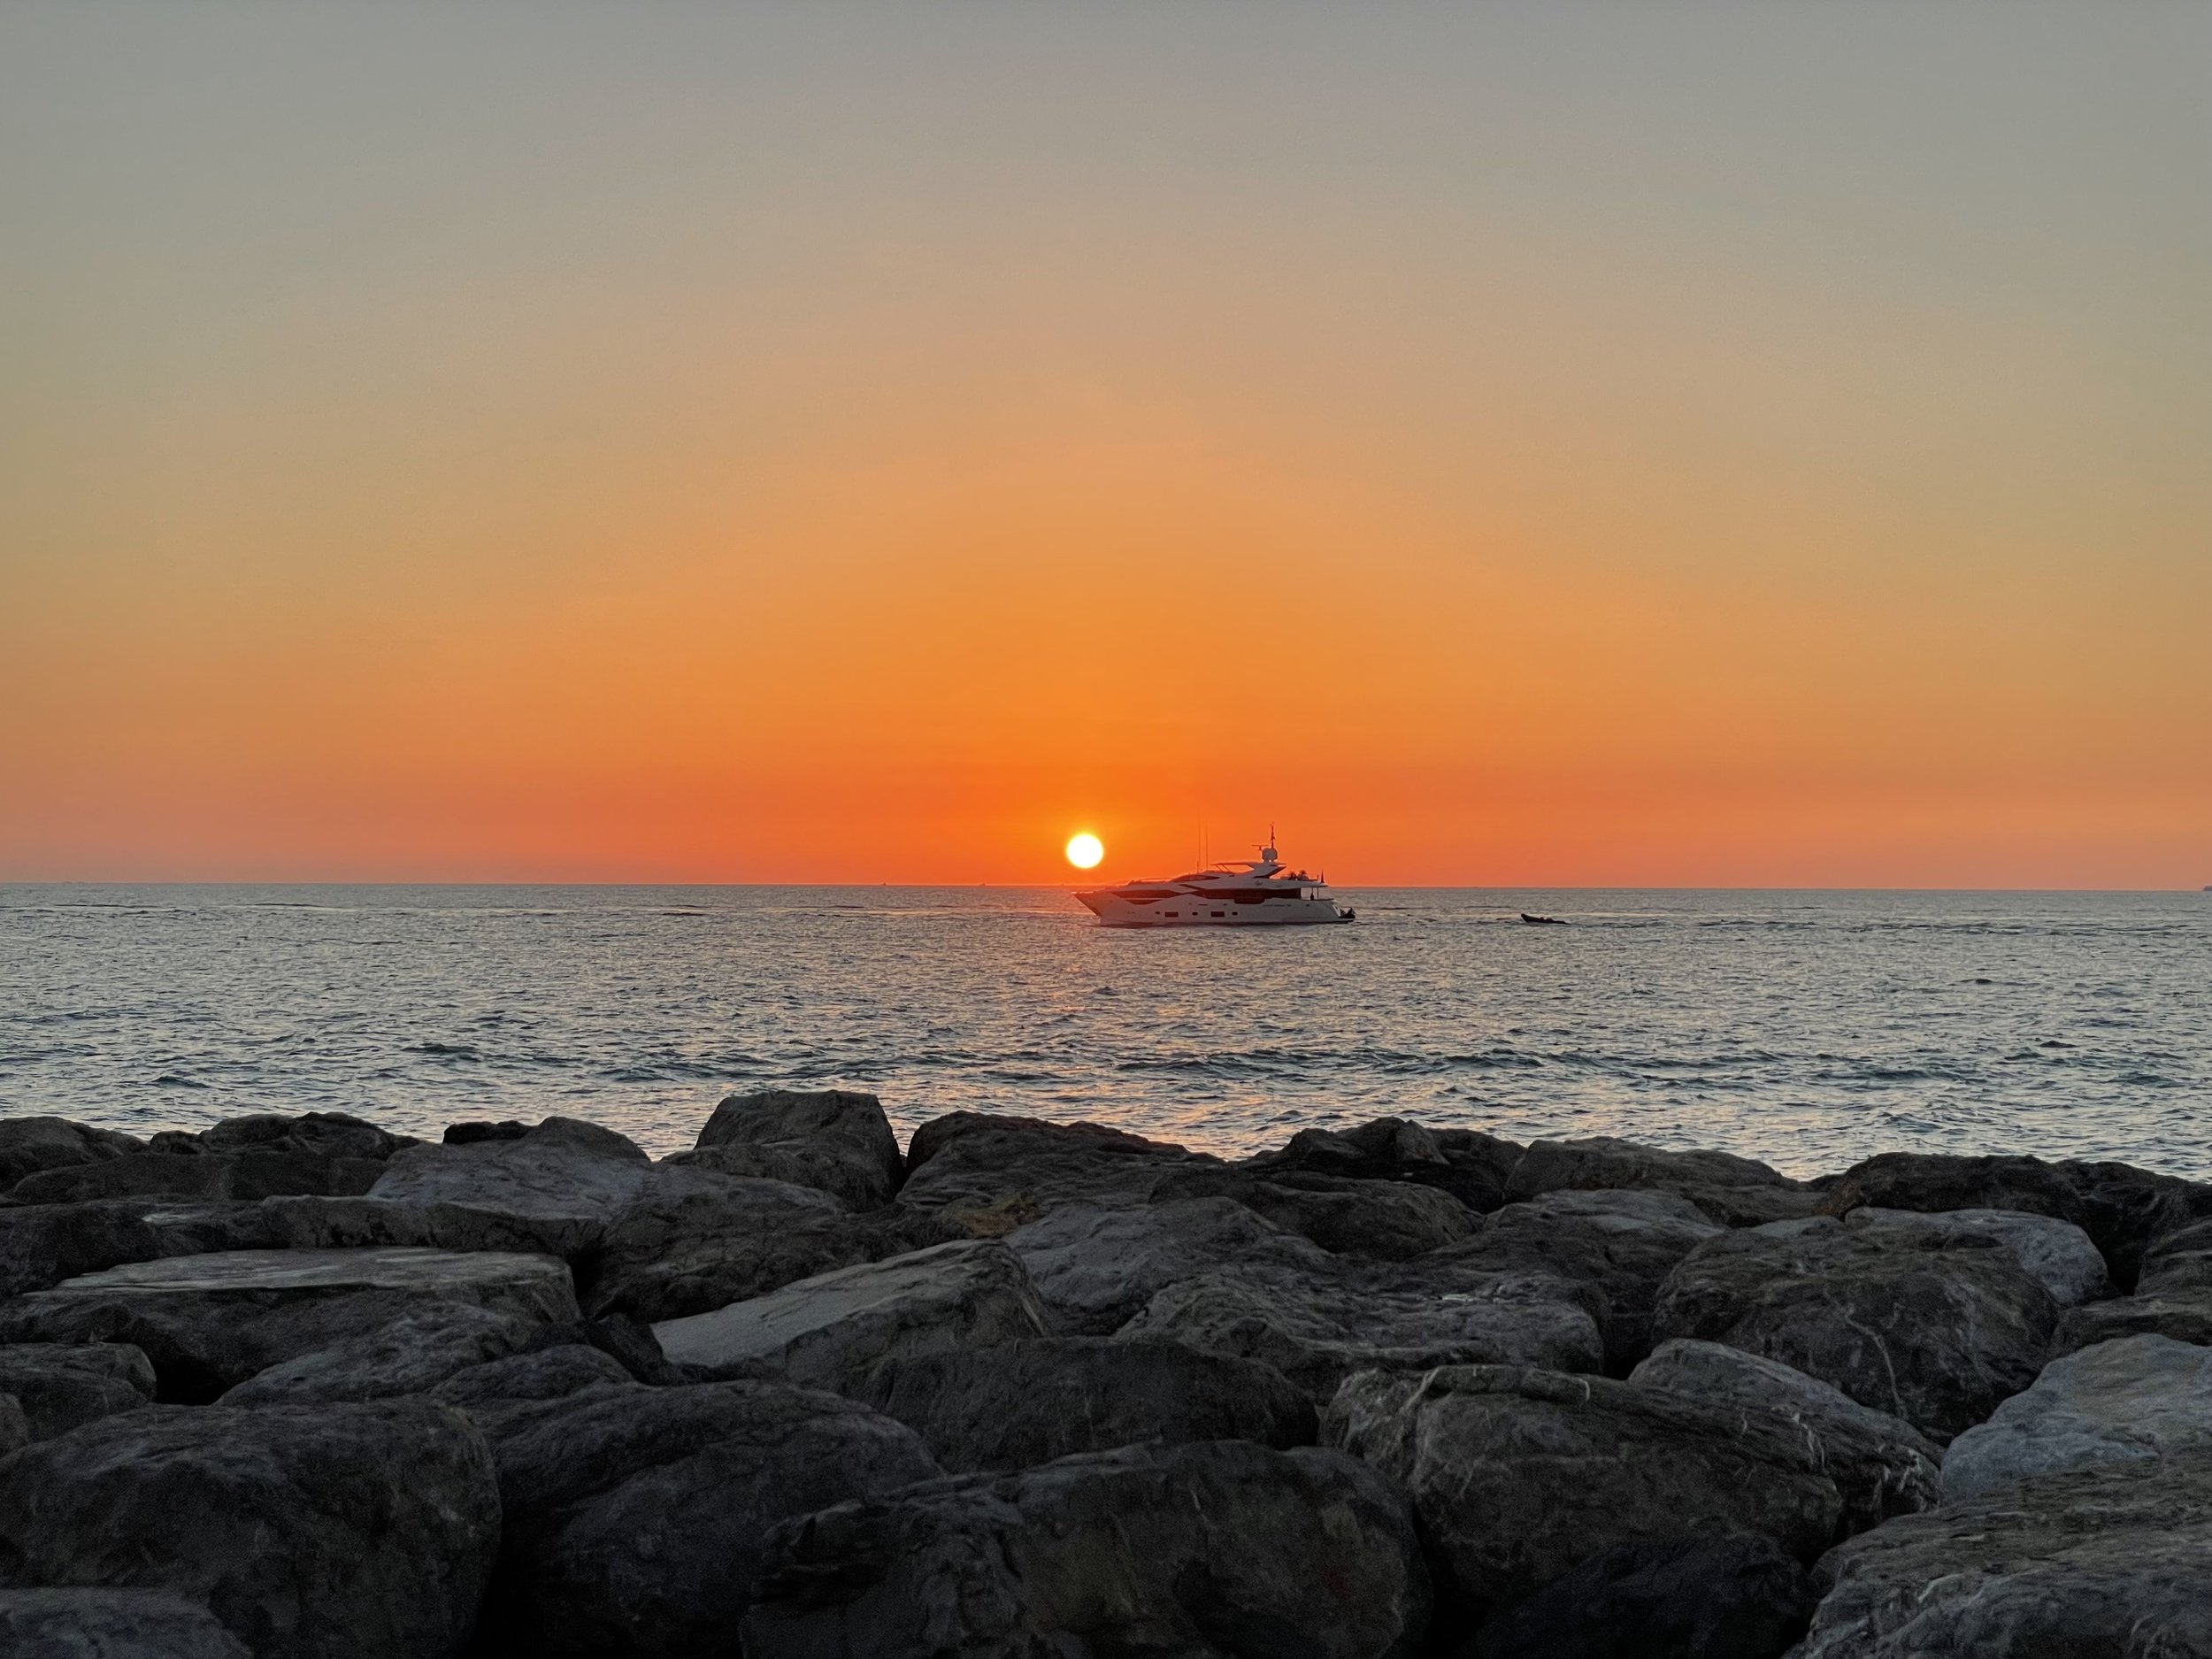
Boating: Find yourself a boat to get on — for any reason, birthday, goodbye party, or just for fun. Being out on the water is absolutely incredible and you’ll get to have the best views of the city.

Brunch: Treehouse, Saffron at the Atlantis, KOYO, Lucky Voice, Amazonico, Mr. Myagis, Seven Sisters

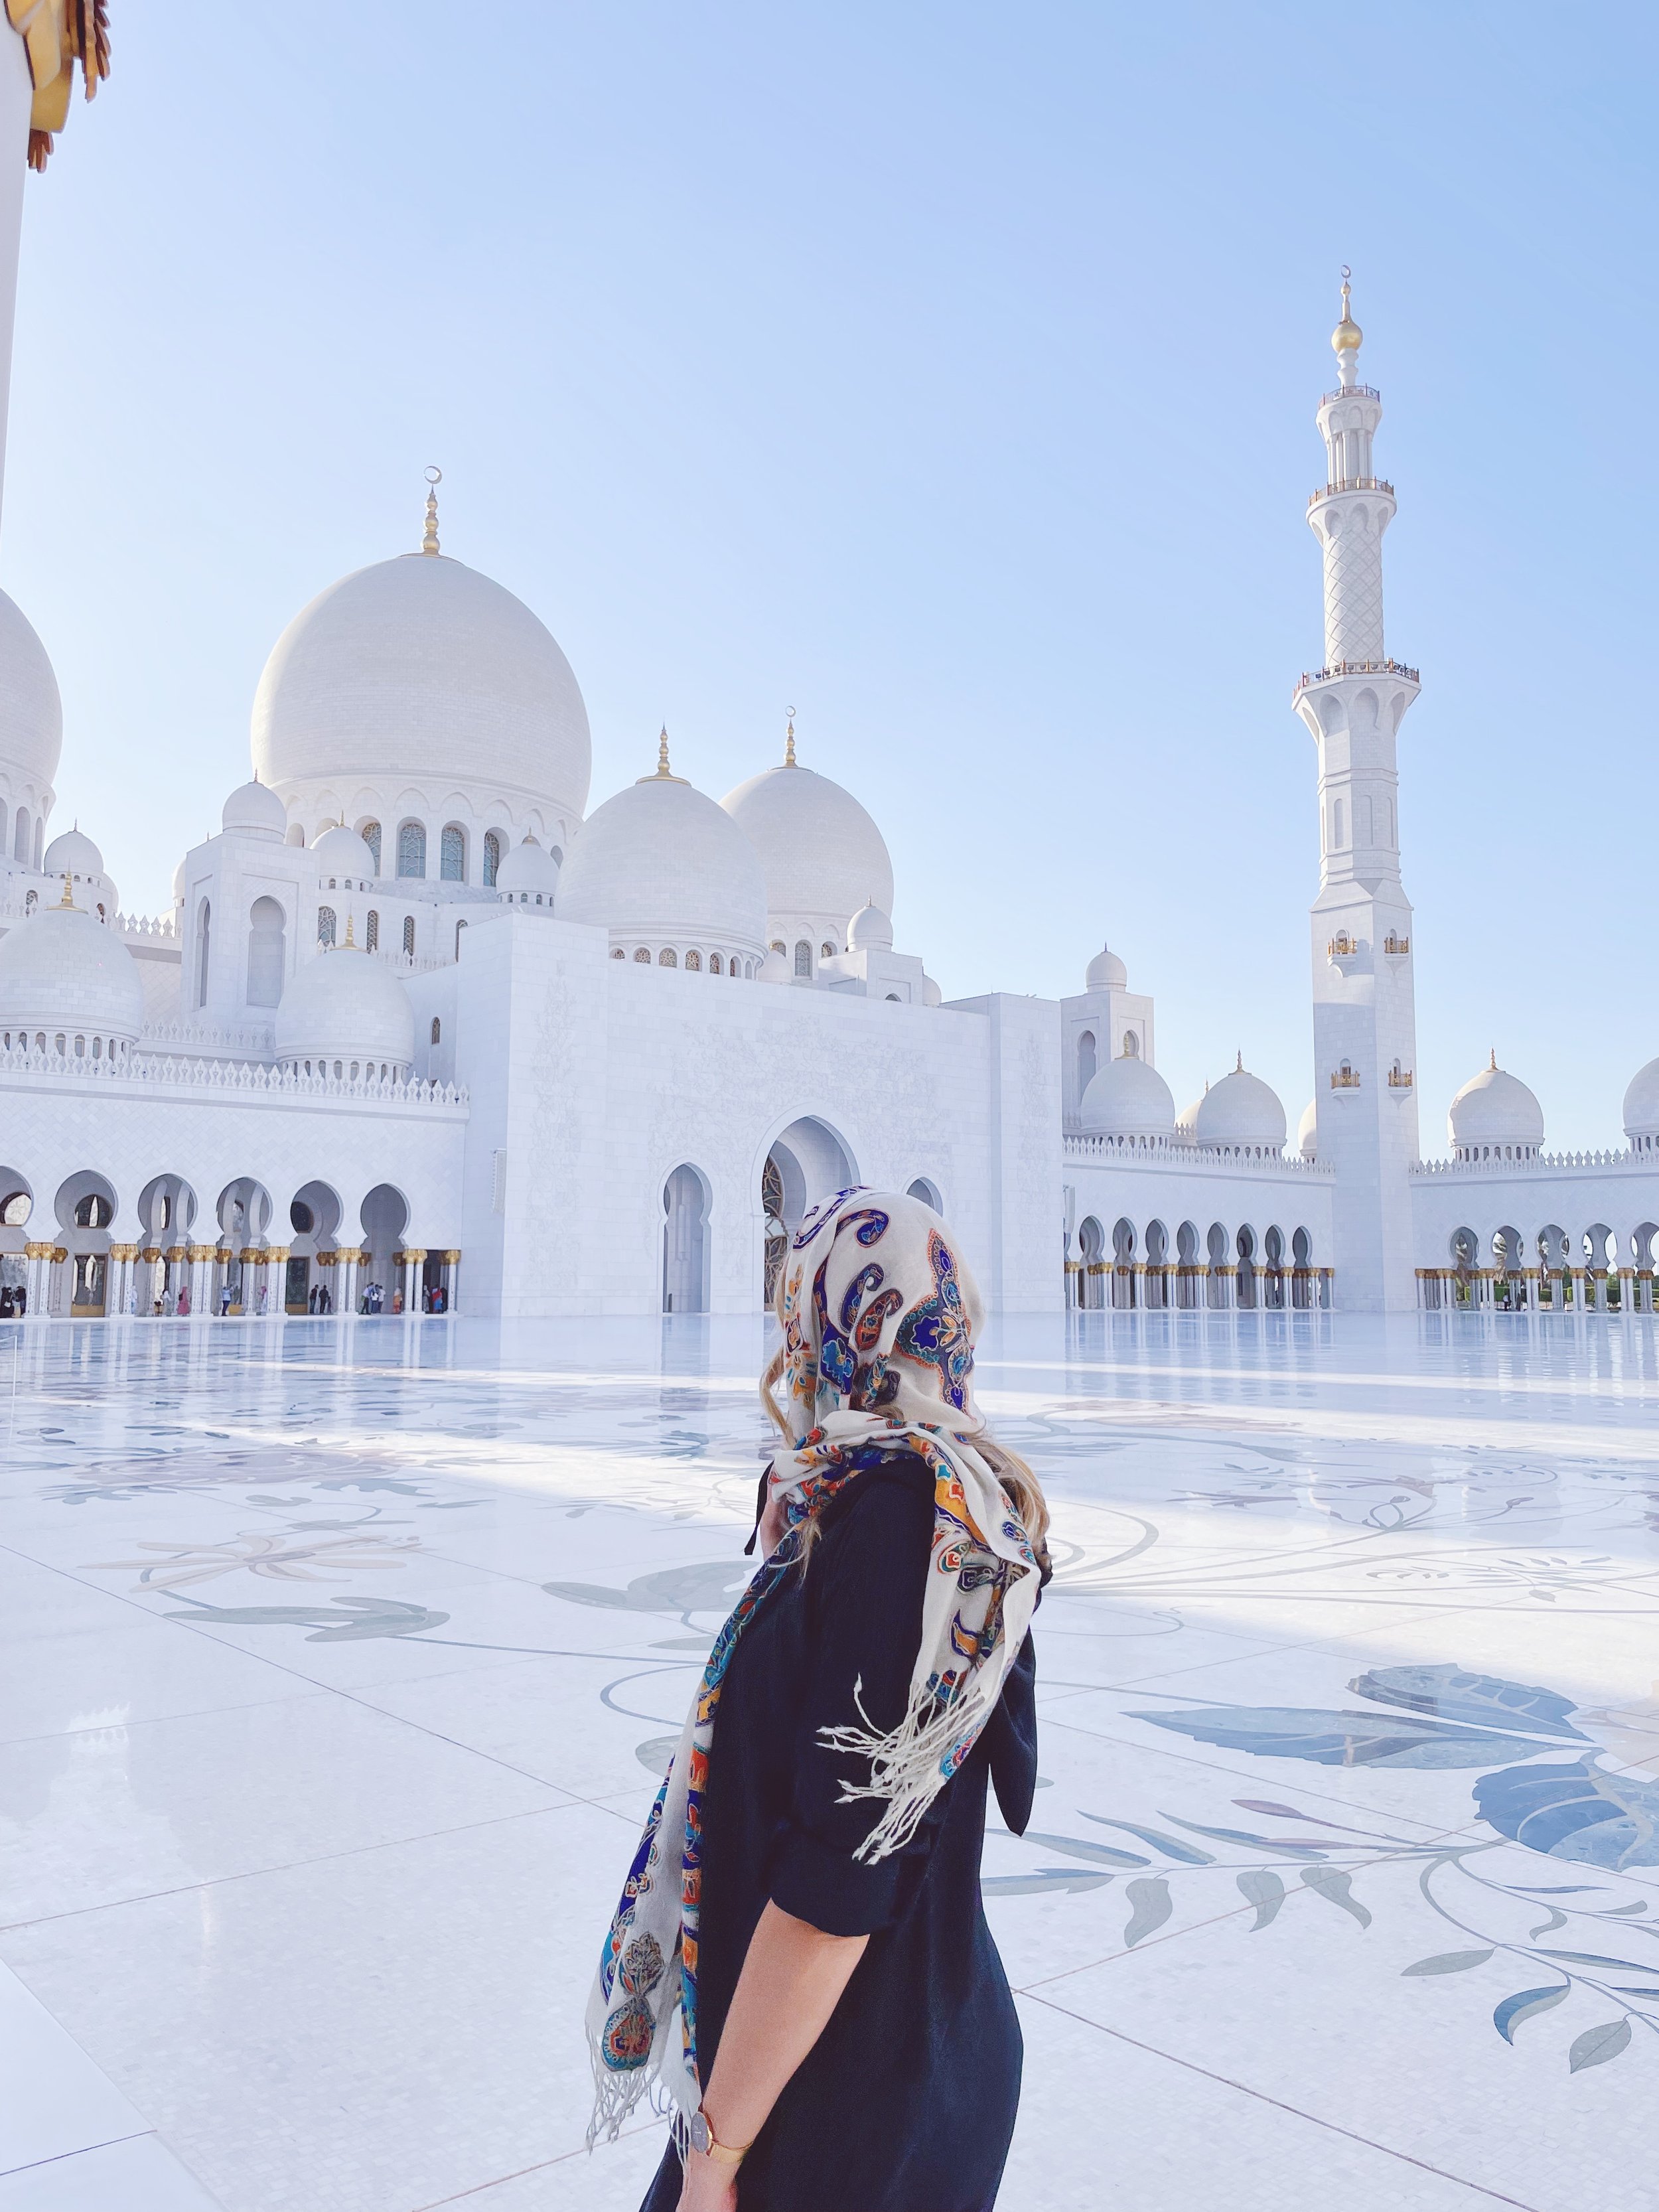
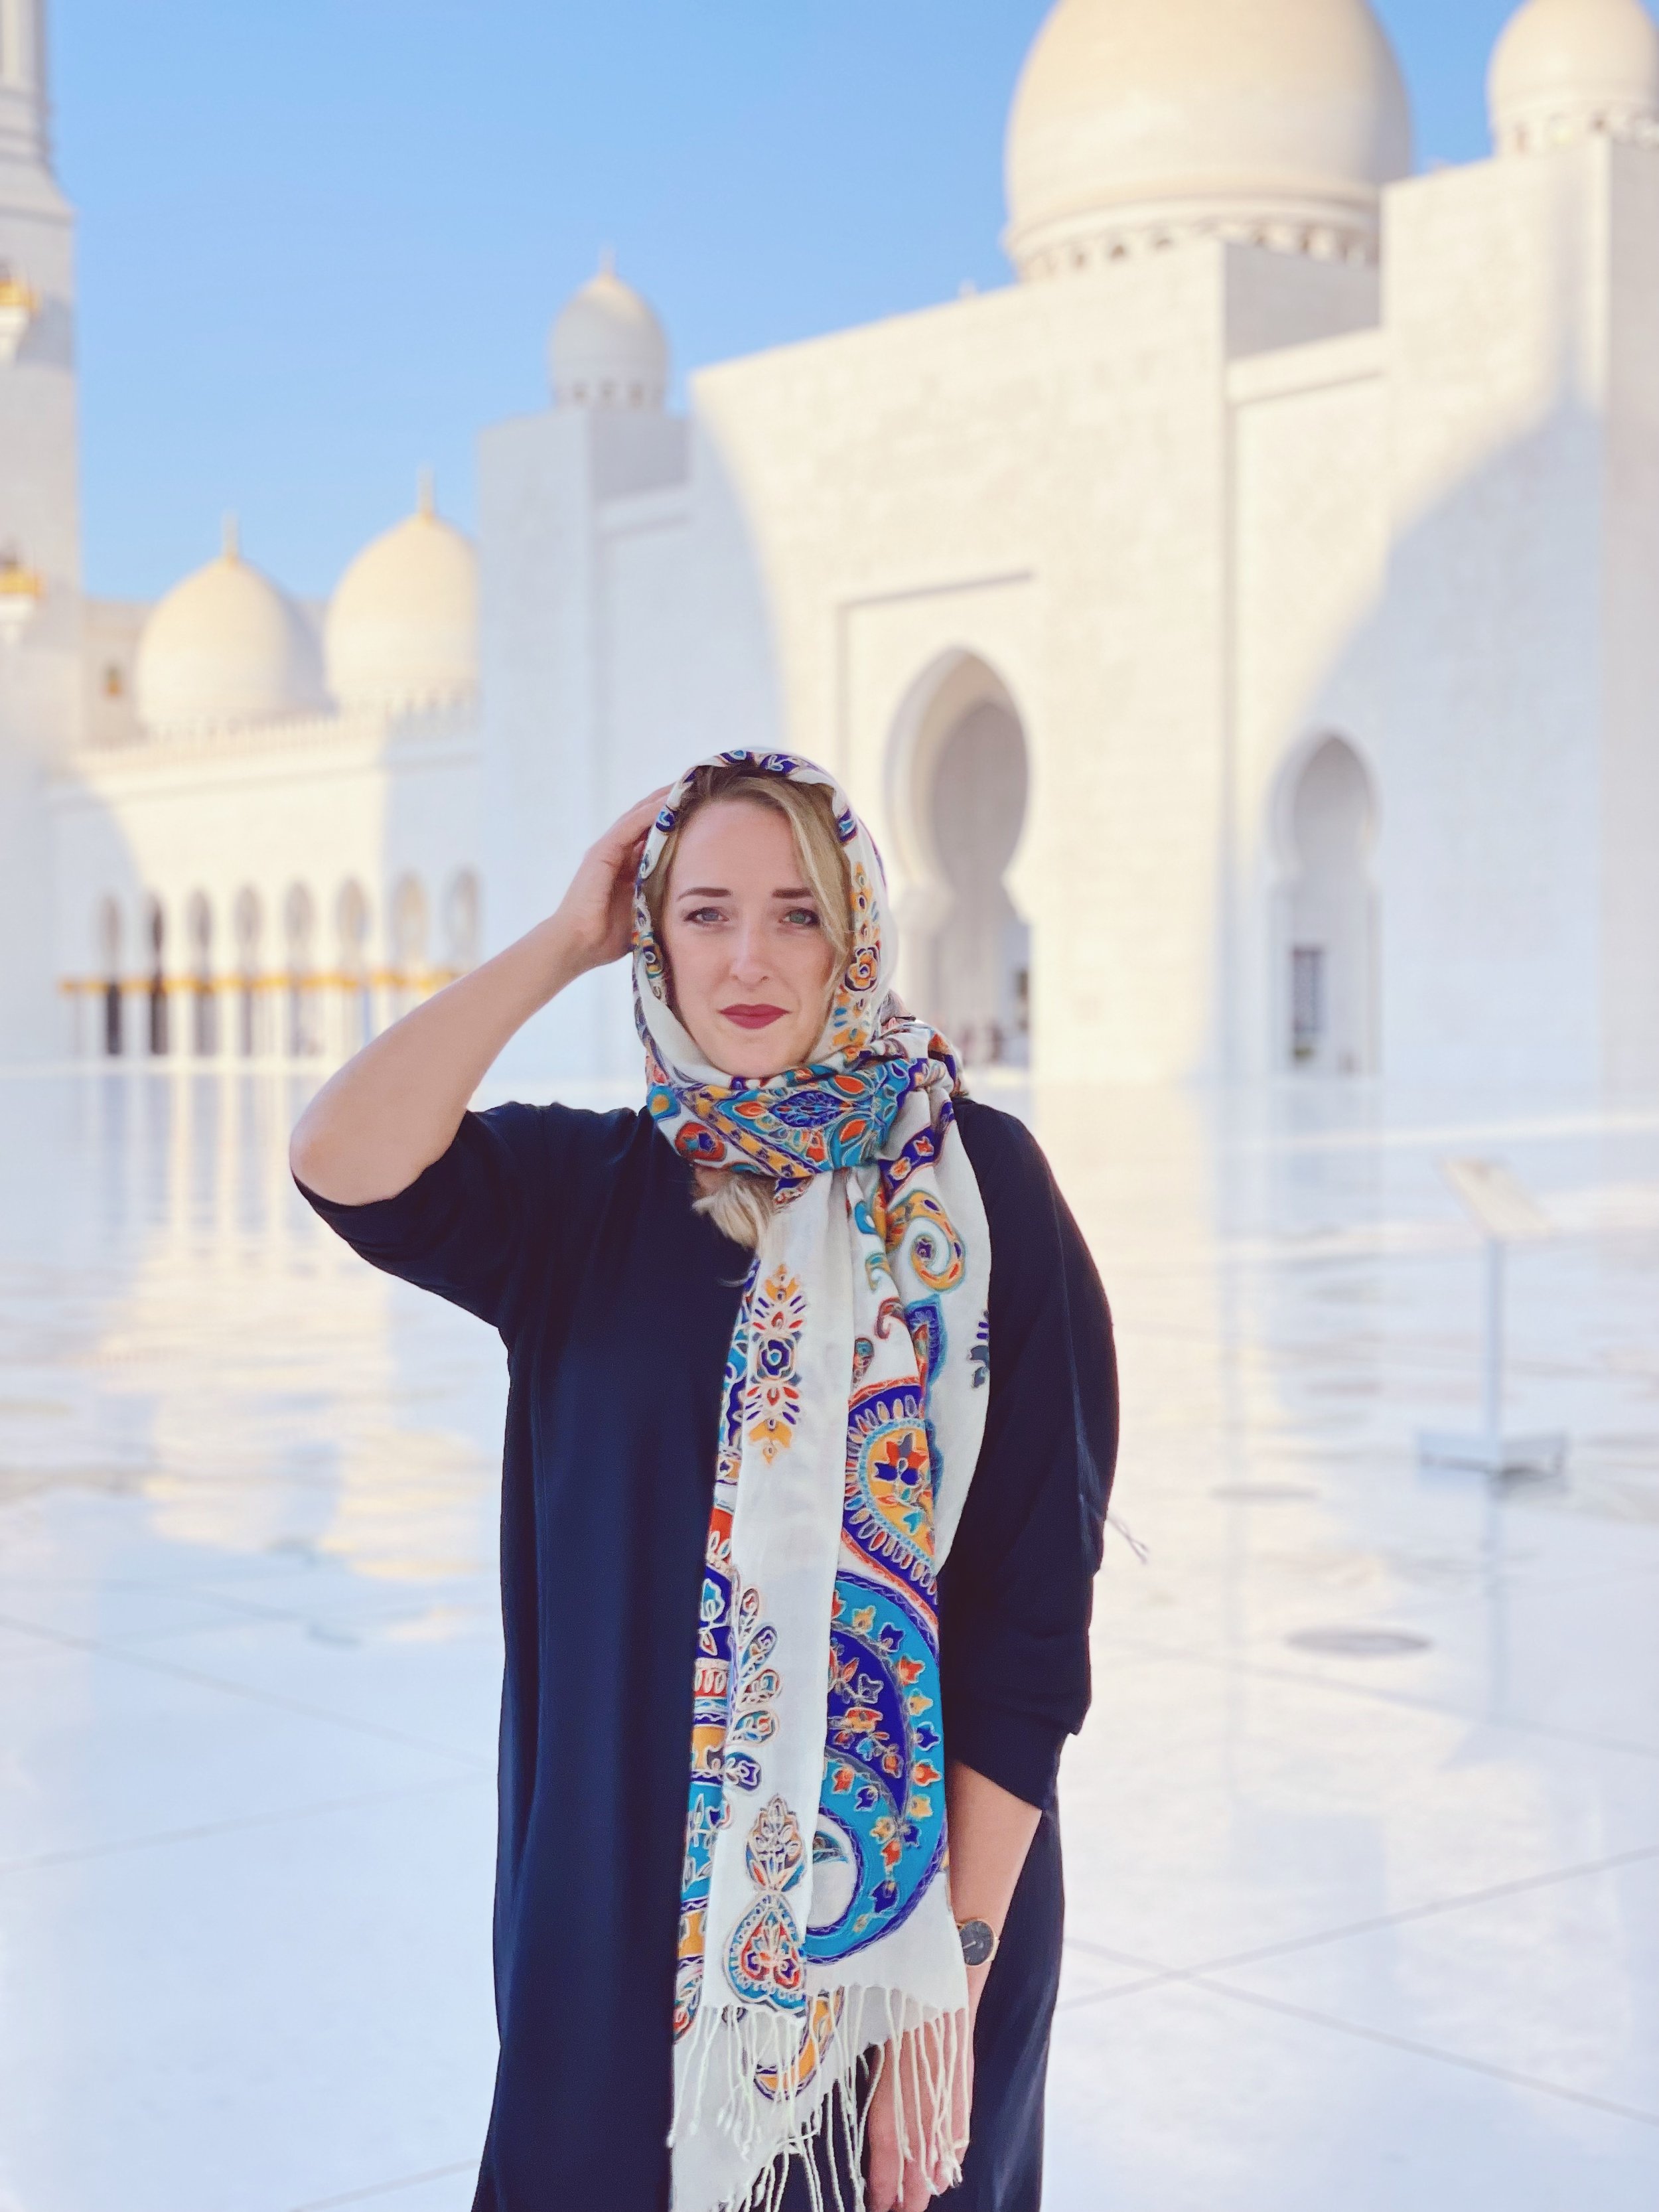
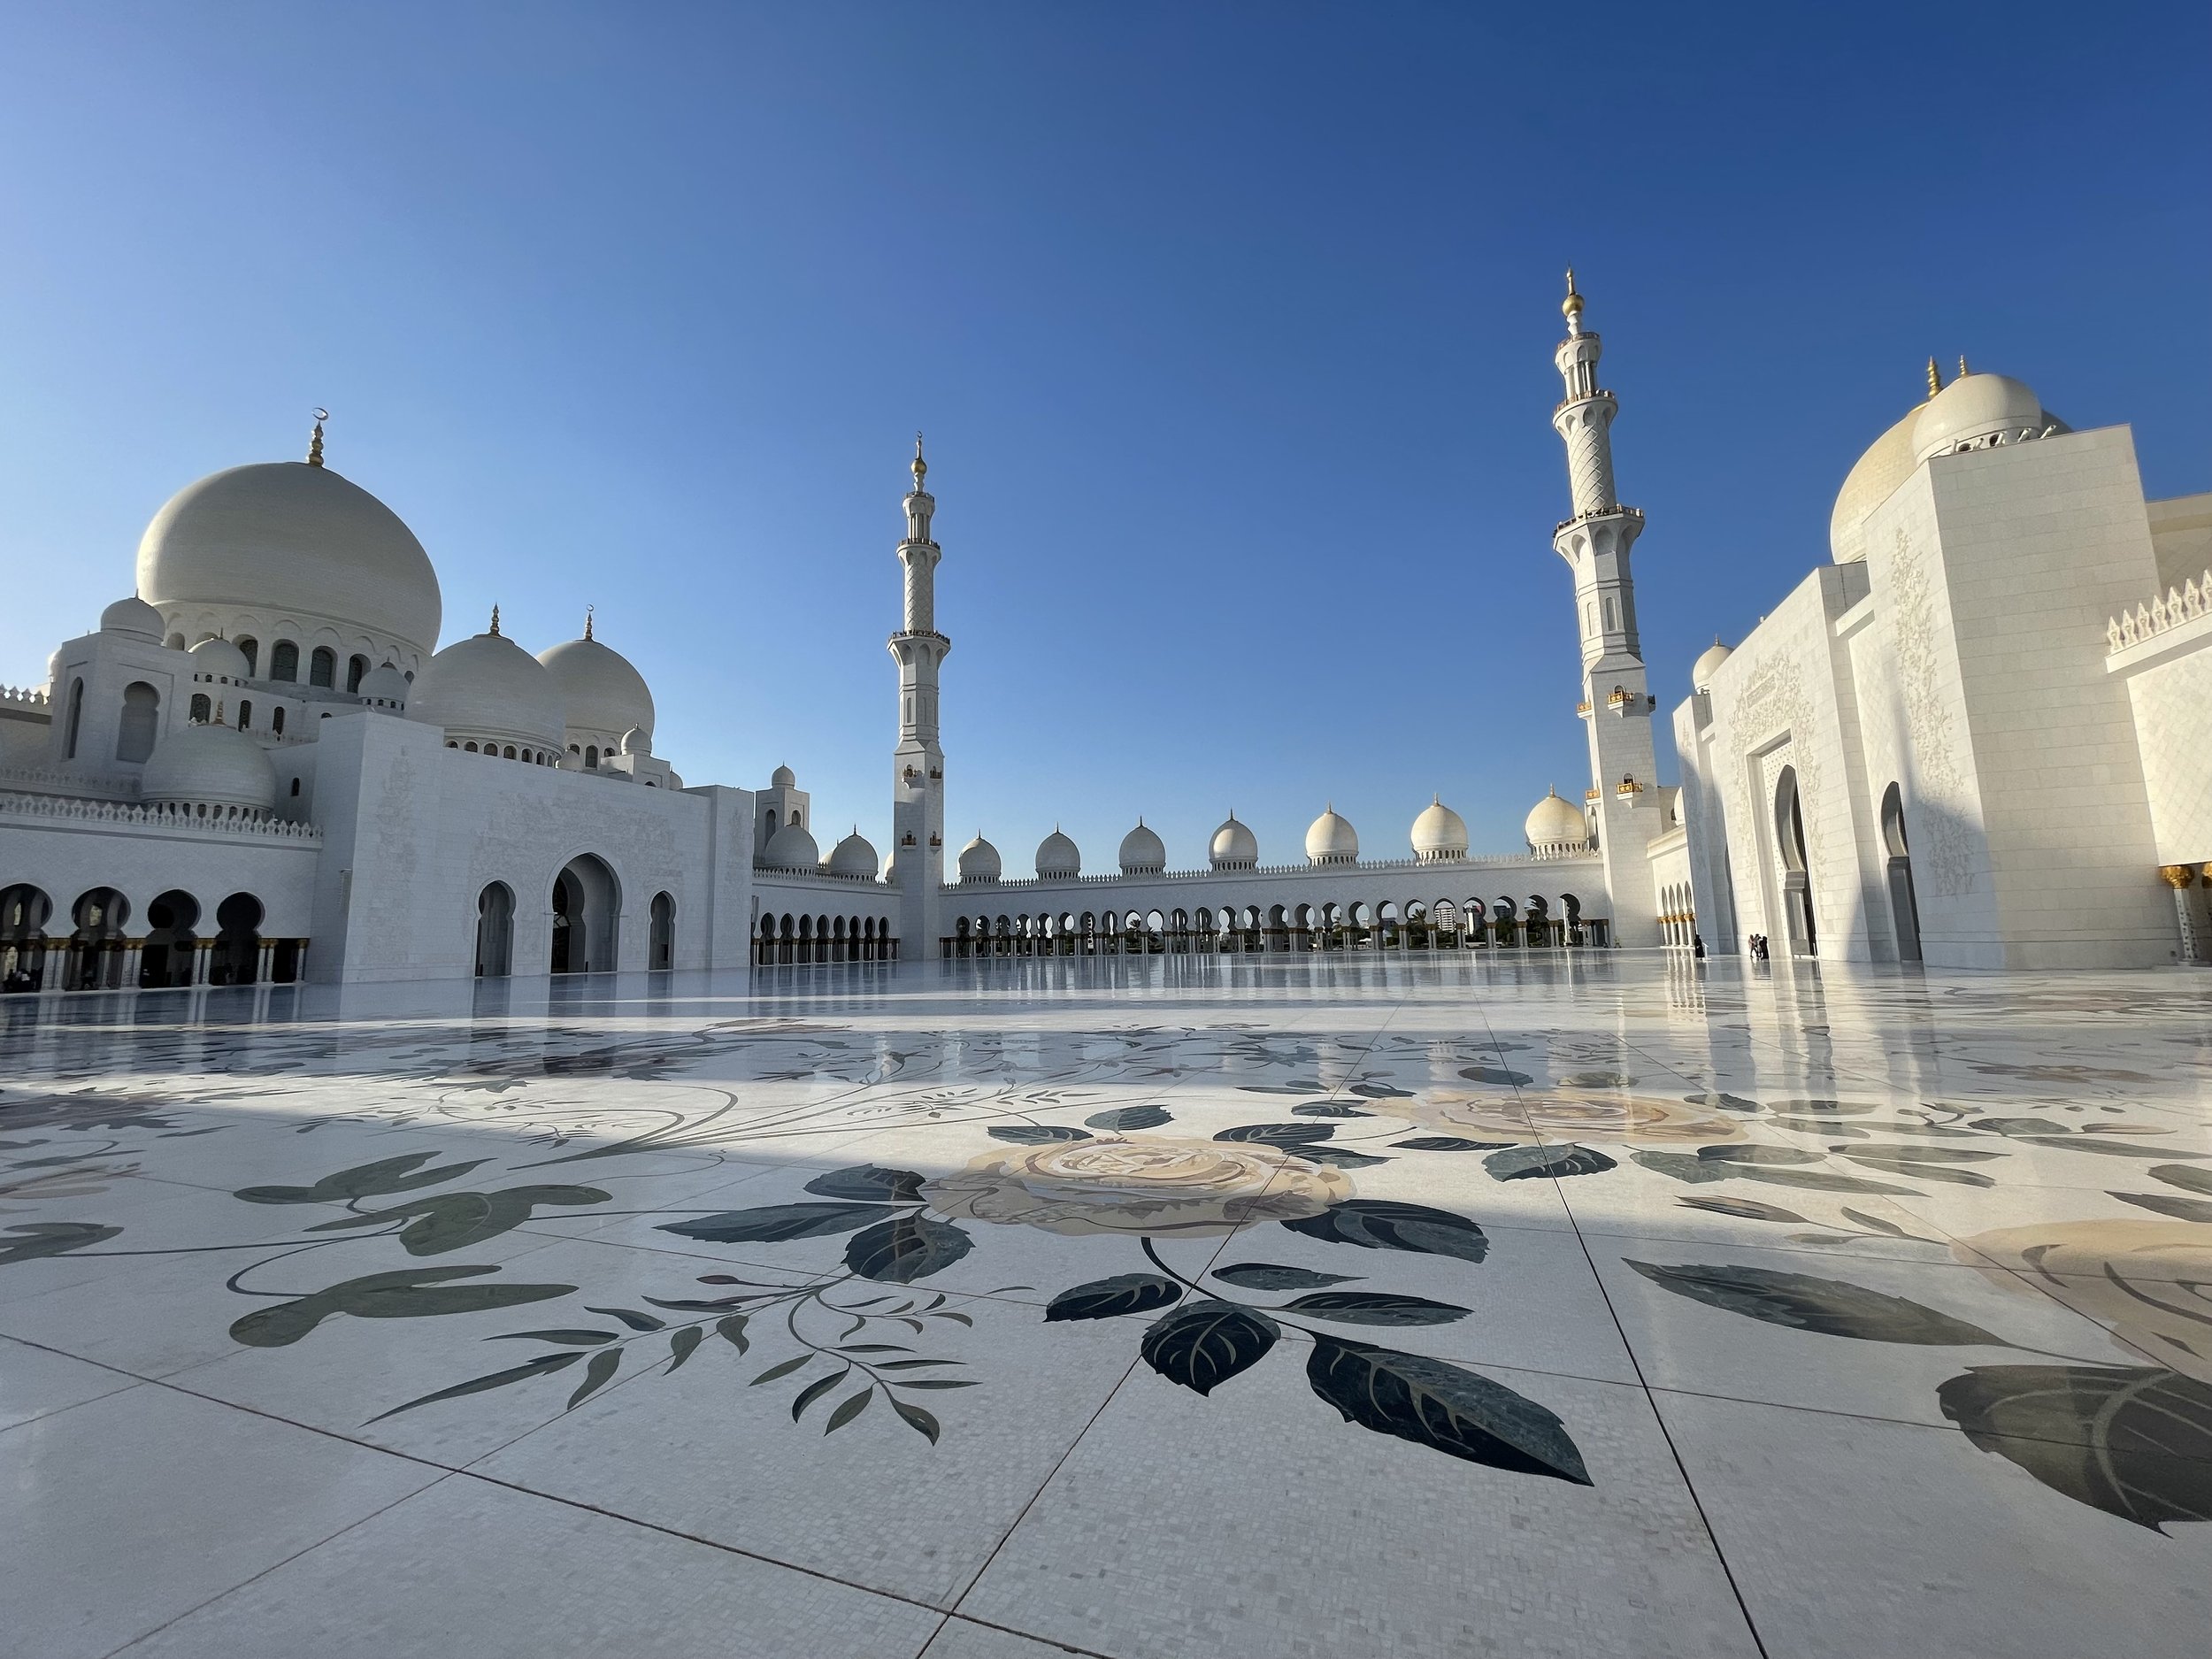
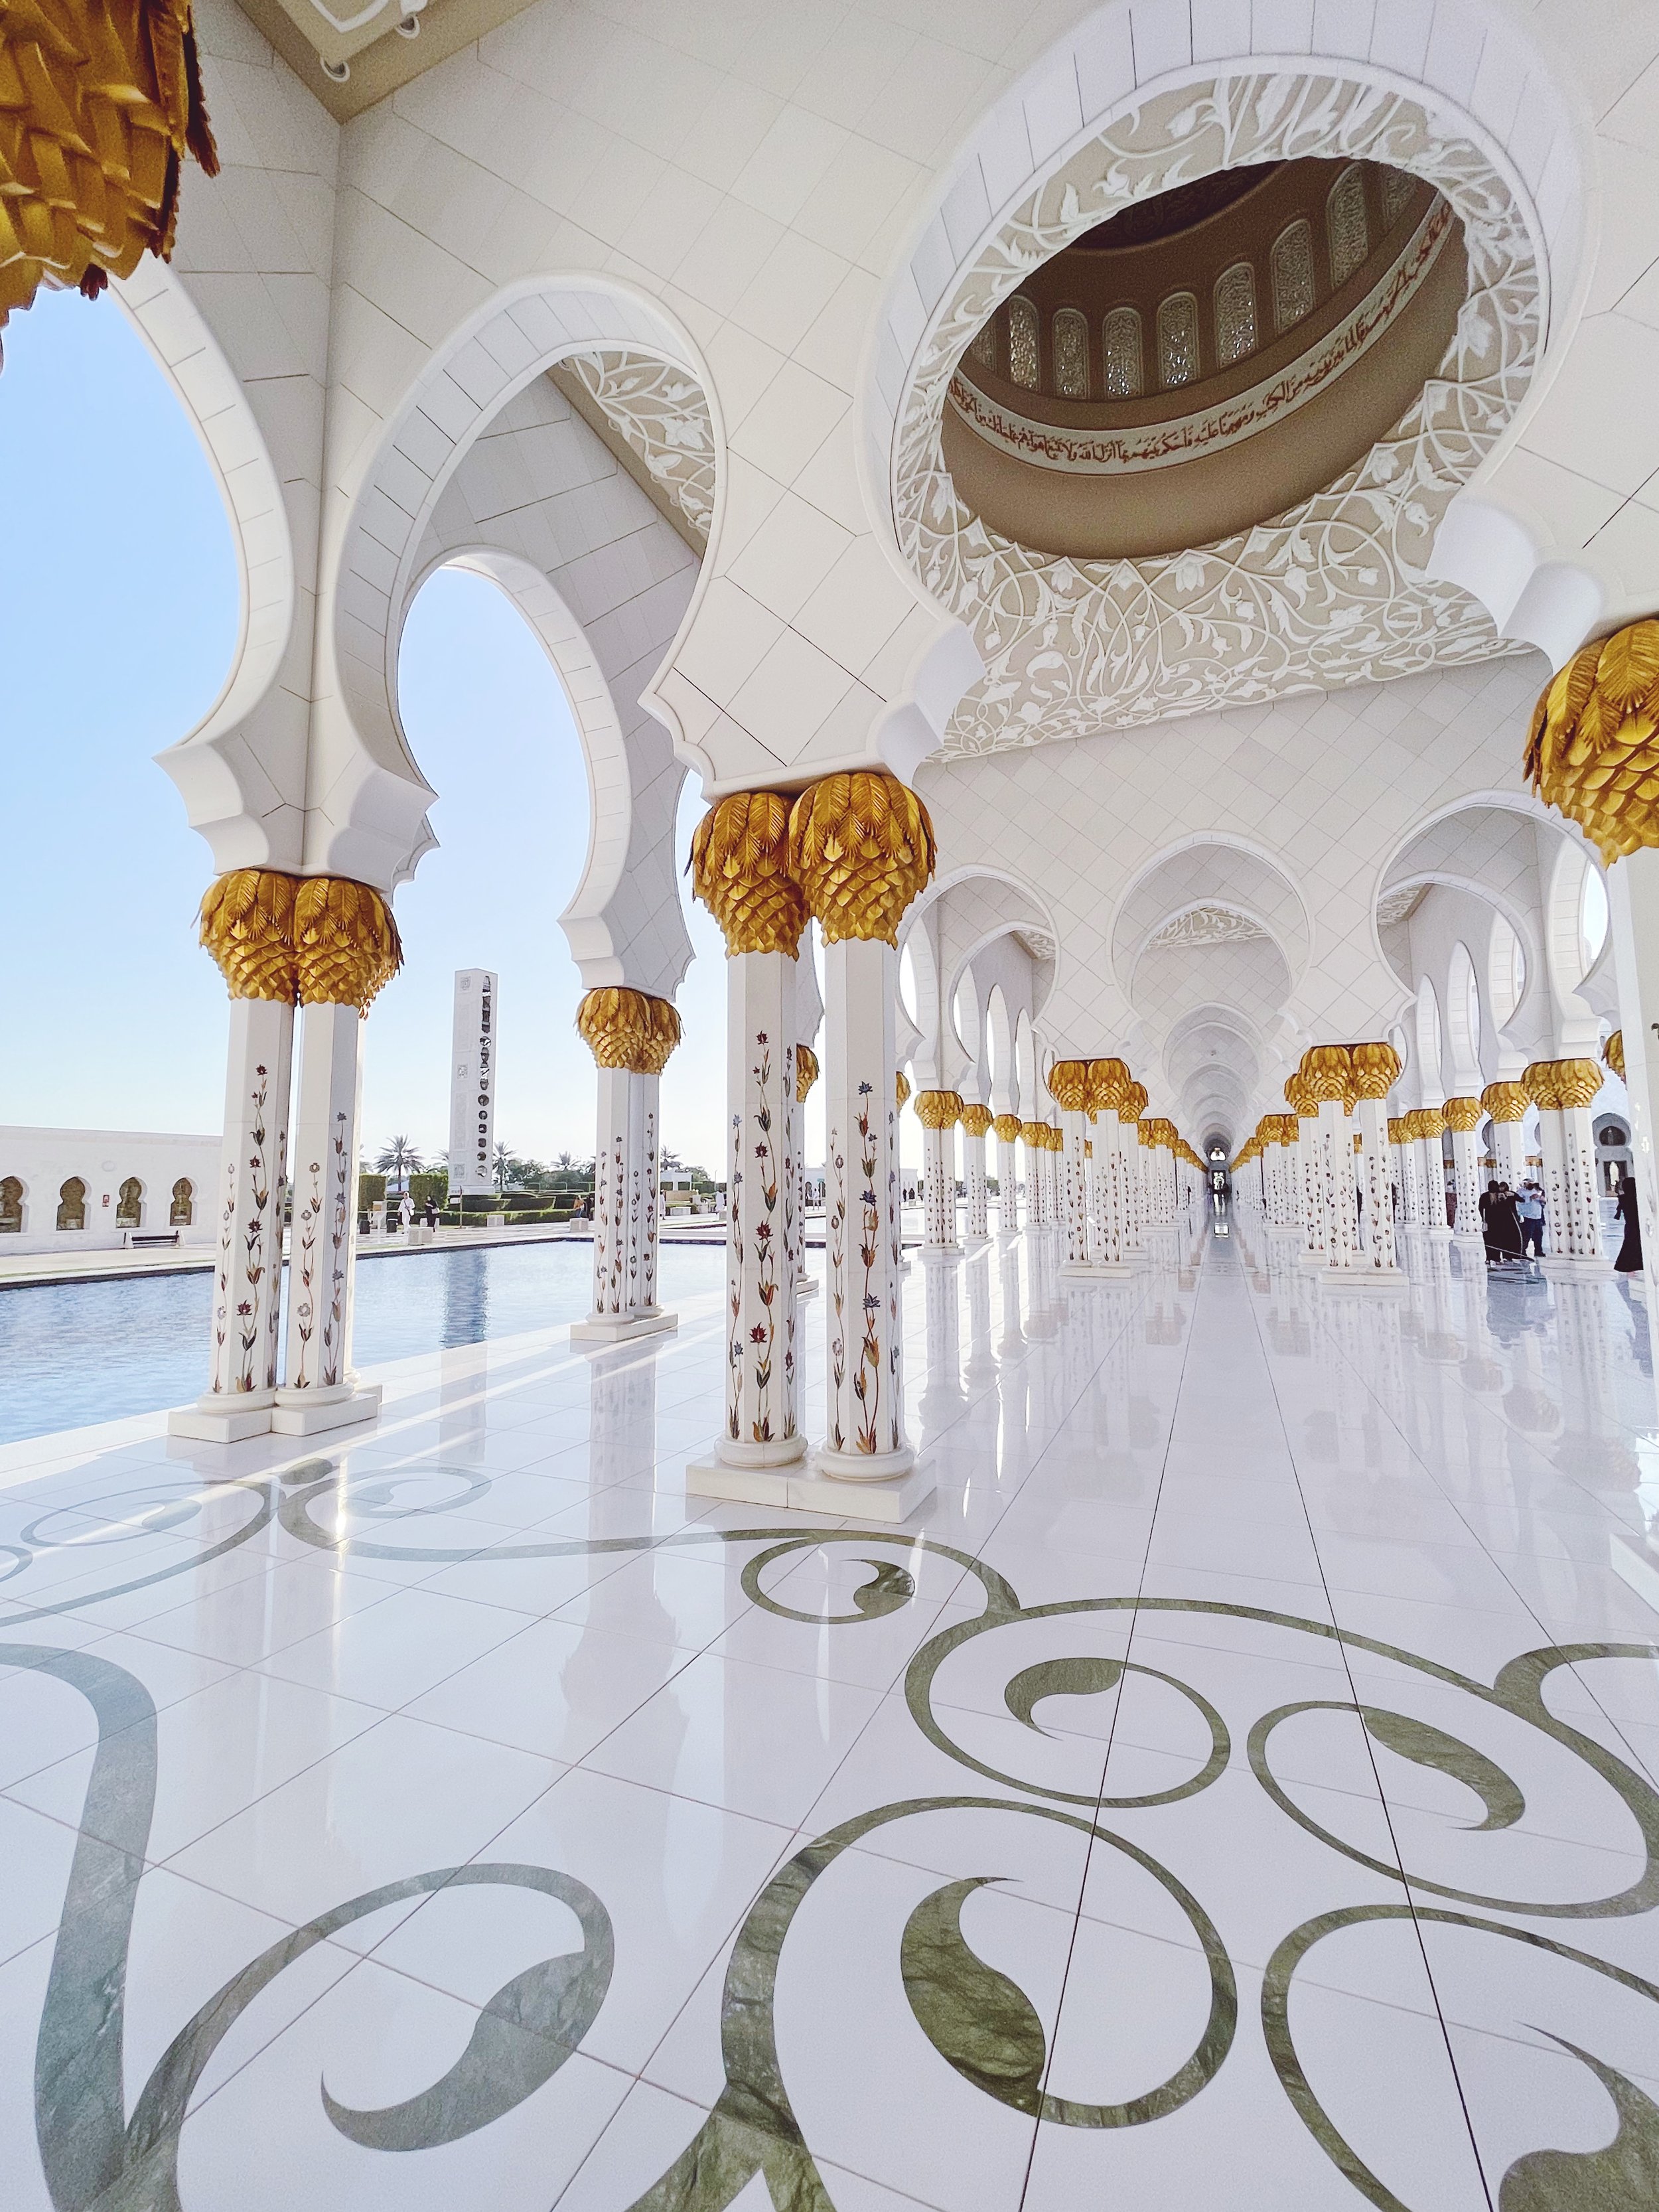
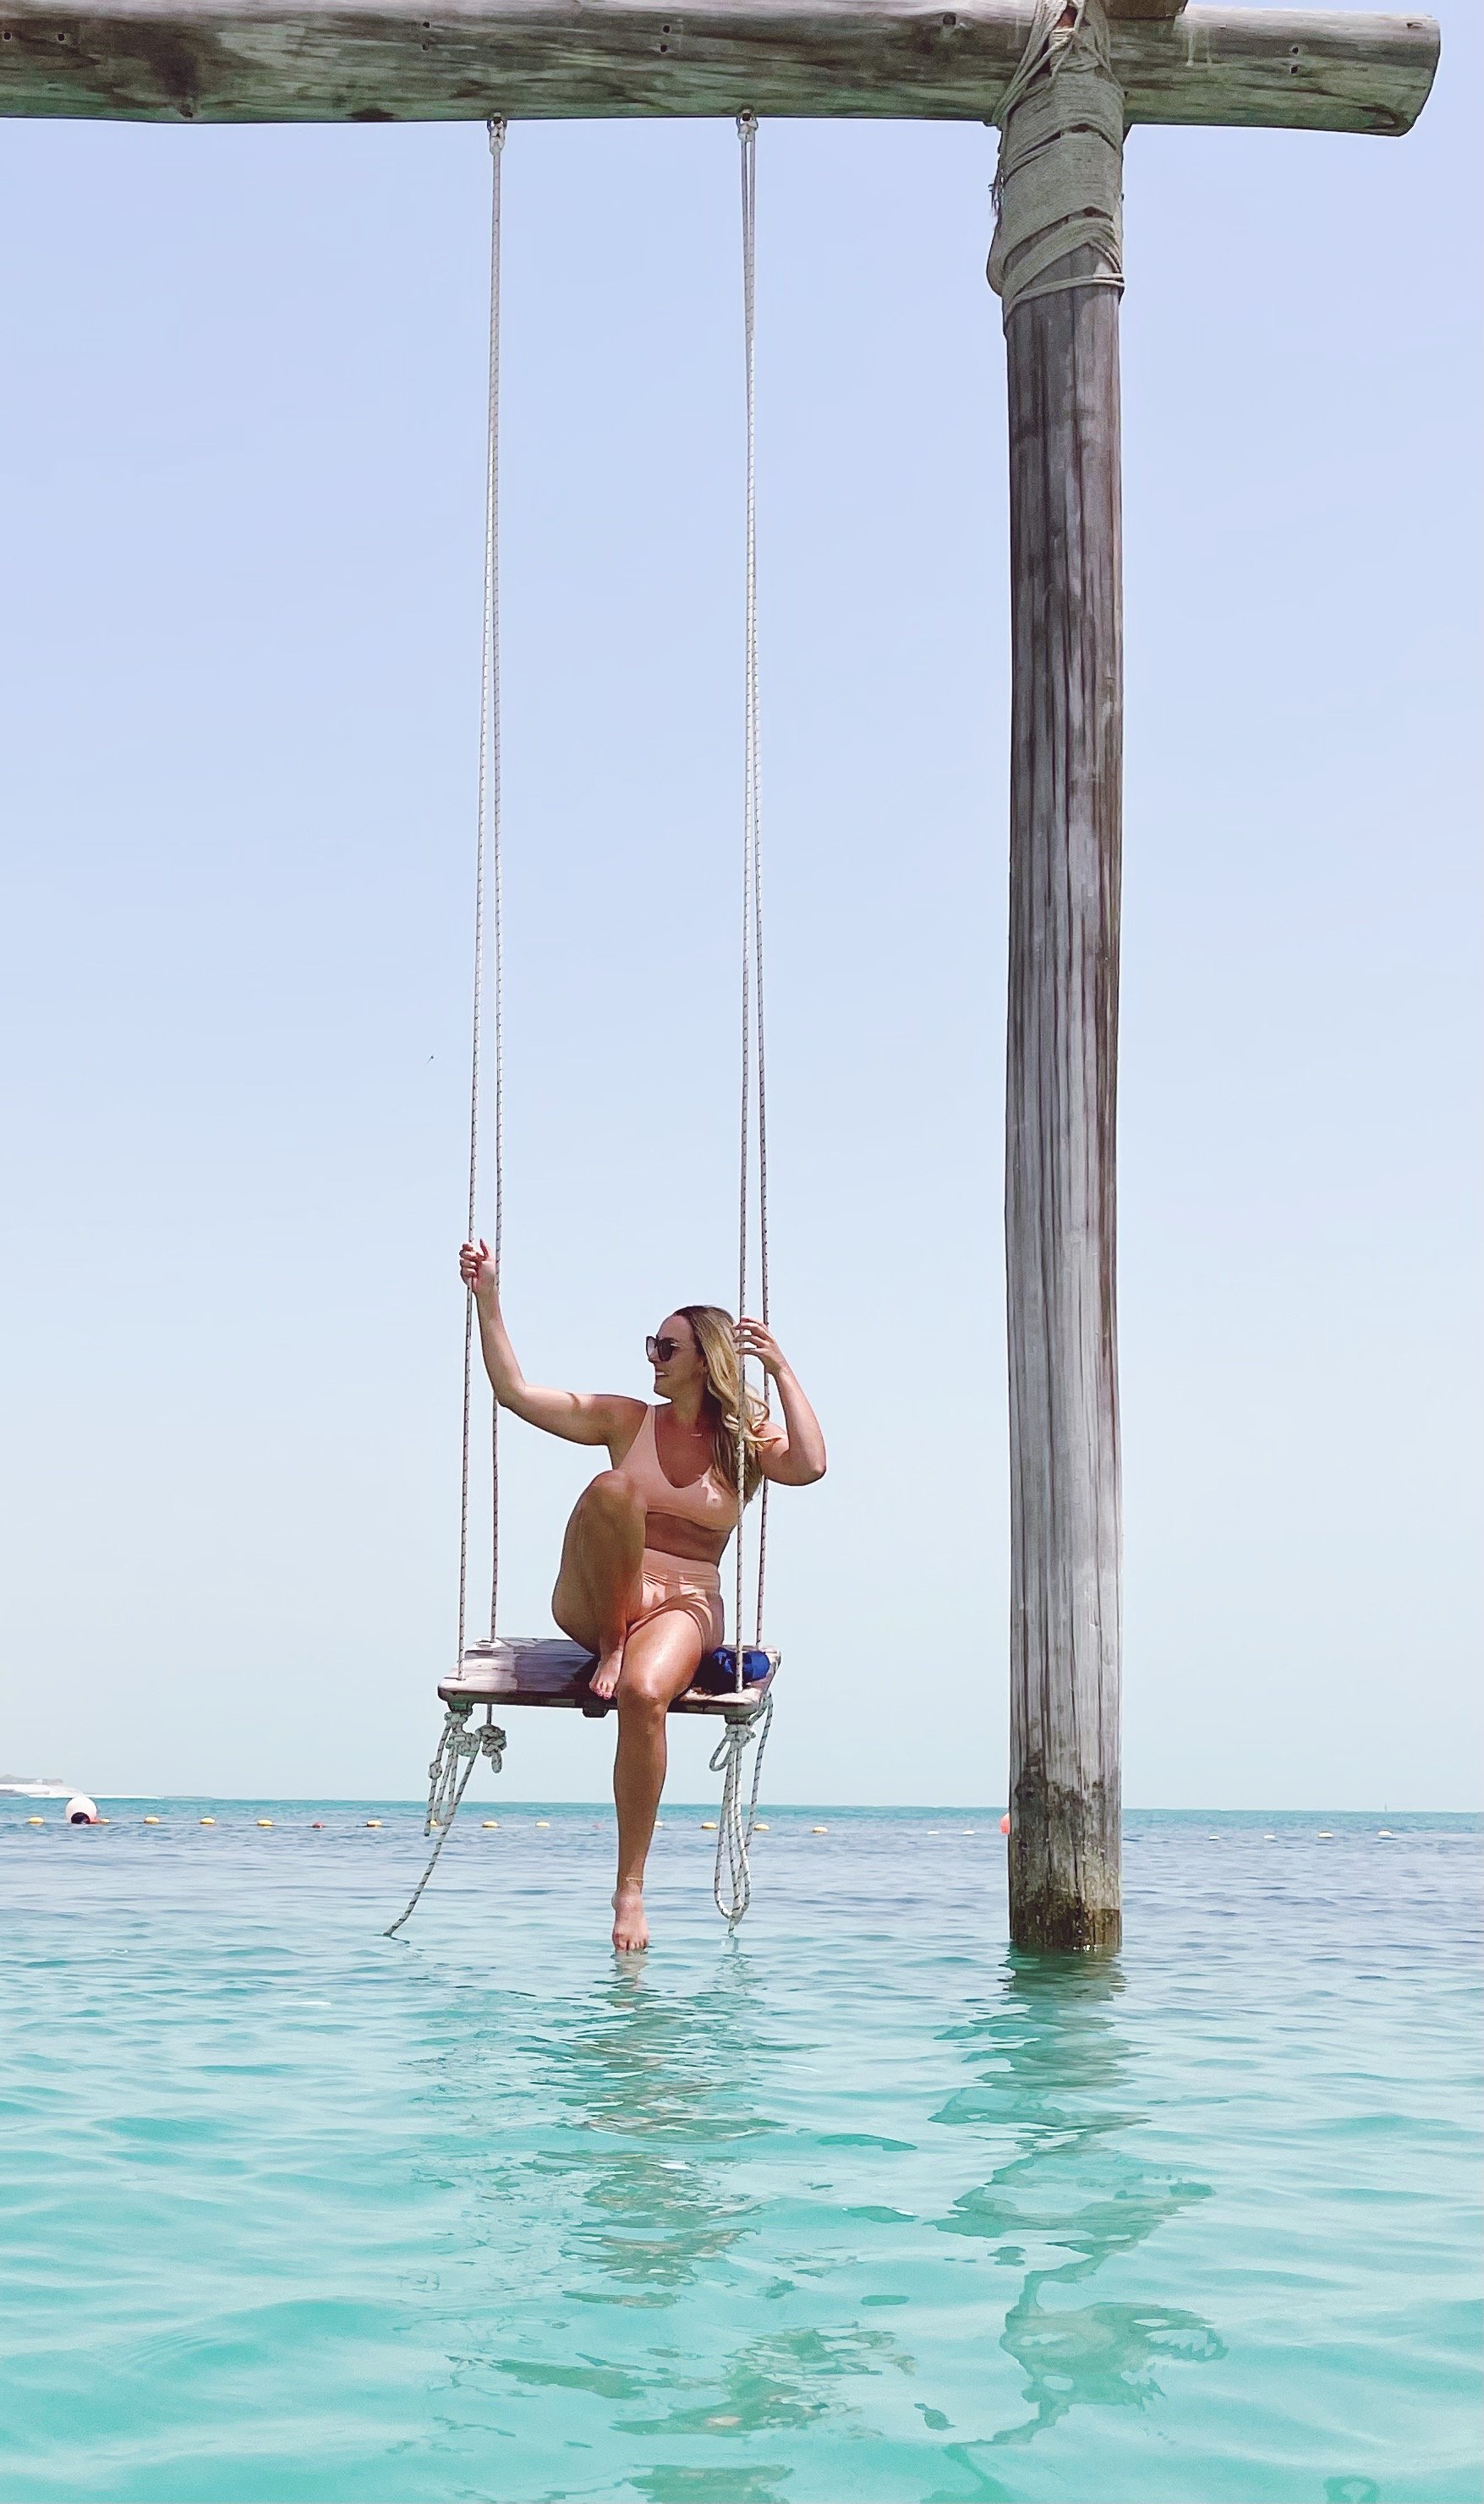
Of course you have to visit some of the other Emirates when you’re here such as Abu Dhabi to visit the Grand Mosque, go to the Lourve Museum, and if you have time take a quick boat to Nurai Island for the day. This is something I HIGHLY recommend you check out, it is a stunning, picturesque island 15 minutes by boat away from Saadiyat island in Abu Dhabi. It is known for its turquoise waters, beach activities and chill vibes, with great food and drinks, and music played by a DJ.

It’s been an unbelievable whirlwind of a journey and I am so proud and glad to say that I was able to spend time in the Middle East and experience a new culture and way of living.

Save translation

شكرًا لك (thank you)

Thanksgiving Sides (Zesty Cranberry Sauce + Orange Basil Sweet Potatoes)

Its the beginning of the best time of year, holiday season!! Its Thanksgiving this week and I have been non-stop getting in the holiday spirit, baking, making recipes for Thanksgiving and spending time with friends and family. But, lets be real, the holiday season is one of the busiest times of year and who doesn't want an easy way out or a quick recipe to make! Thats why I am sharing with you these two amazing and incredible easy recipes that your friends and family will love. 
Push that can of already made cranberry sauce to the side and say hello to this fresh & zesty cranberry sauce that takes no longer than 10 minutes. Throw in some fresh cranberries, orange zest, some sweeteners and let boil, then you're ready to go! You can find the recipe and details, here

Moving on to my second favorite and technically more healthy item than your average mashed potato is this incredible orange, basil mashed sweet potatoes from Andie Mitchell's recipe book Eating in the Middle.  Throw a few whole sweet potatoes in the oven for an hour. When the sweet potatoes are soft in the middle scoop the insides out and transfer to a bowl. Add 2 Tbsp of butter, 1/4 cup of maple syrup, nutmeg, salt & pepper and mash together well! Before serving add some chopped fresh basil and serve!! 

Duh, these are the two easiest side dishes you could make on this crazy day of cooking, prepping, traveling, or just relaxing. Make prepare these ahead of time and reheat as well to ease your stress away! 

Thanks again for following and have the best Thanksgiving day!  

Wild Mushroom Stuffing

I know that Thanksgiving and the upcoming holidays have been on everyone's minds lately, especially my own, and that is why these next few weeks are all going to be focused around Thanksgiving! I am thinking about you all and that is why I went searching the internet to find the best and most delicious holiday recipes that you can make and share with your family and friends, or all to yourself...lets be honest! I found this recipe from one of my favorite sites, What's Gaby Cooking

The past couple of weeks, I have been testing out this new stuffing recipe, since I've never made any sort of stuffing before in my life. Not even boxed stuffing! So after trying this out a couple times, I am certain, that this Wild Mushroom Stuffing will be the best dish on your plate without a doubt! It is fresh, flavorful and down right delicious! It also gets better with time and as leftovers, as the bread soaks up all of the amazing flavors and juices! Also, I know not everyone LOVES mushrooms, so you can definitely leave them out & it will still be a winner!! 

I can't wait to cook this for my entire family and for every Thanksgiving holiday from here on out!  Make sure to share some love and tag me on Instagram @oliviasobjectsofobsession and follow me live on Snapchat @OliviaJoan21

Prague's Cutest Cafes pt. 1

Hey all!! 

Can you believe almost a month has gone by since my arrival in Prague? Things have been nonstop since getting here, and I've made sure to jump right in and explore something I love to do most...relax while drinking a beautifully handcrafted coffee amidst a cafe's eclectic and charming decor. 

While there are many more cafes that I have yet to explore here in Prague, I managed to visit a handful of the ones I love most. I think that these top picks of mine are definitely worth exploring and visiting when and if visiting Prague. I also managed to stop by and of course taste some delicious donuts at one of the cafes as well. 

I started my search early in the morning and headed to an area in central Prague known as JZP, Jirio Z Poděbrad.

1. Spižírna 1902- My first stop started at a cafe which just opened nearly a week ago. I was lucky to stumble upon it & was overwhelmed with the charm and artistic mural paintings along the walls and ceiling. Comfortable chairs to lounge in and windows that span from floor to ceiling, there is no lack of natural sunlight shining through. I have put this not only at the top of my list, because it was my first cafe to visit, but in regards to ambiance, comfortability, taste & decor it the best. The cafe offers beautifully crafted foods and drinks, with the option of non-dairy options, using nut mylk. In the evening, this cafe turns into a Tapas bar and serves food + beers & spirits. Its a must on my list. 

IMG_2325.jpg
IMG_2327.jpg
IMG_2335.jpg
IMG_2340.jpg
IMG_2342.jpg
IMG_2345.jpg

2. Coffee Room - Right down the road from the first cafe, is the Coffee Room. The Coffee Room is much smaller in size and but overflowing with people. There is a reason why this coffee shop is consistently busy. Its incredibly "California-esk" type food will make you swoon. Avocado toast with sesame seeds...do I need to say more? Acai smoothie bowls with beautiful fruit overflowing, grain bowls with roasted sweet potatoes, tomatoes and pomegranate seeds, and these are just a few dishes. The food menu is only a portion of the amazing items to order. There are a variety of drinks, which also include nondairy options, but one thing that stood out the most to me was the homemade lemonade. Freshly squeezed lemons, thyme and kiwis all come together to form a fresh, heavenly and refreshing beverage. Again, this cafe is a must visit for me. Make sure to grab a seat outside, if there's room. 

IMG_2352.jpg
IMG_2355.jpg
IMG_2357.jpg
IMG_2369.jpg
IMG_2359.jpg

3. Donut Shop - I know this isn't exactly a full on cafe, but, who cares, they have donuts...and coffee. This adorable and unique shop is also located in the JZP area and funny enough has the same owners as the Coffee Room. I had to put this place on my list of cafes to check out, because every morning donuts are made fresh and they also offer a delicious oat milk latte. Their oat milk latte is creamy, smooth and not overly sweet. Furthermore, its located right beside a wonderful park where you can take your coffee and donut to sit and eat outside. To make this place even "sweeter," they offer "plant based" or vegan donut options for those vegans out there, but you wouldn't ever be able to tell the difference. I'd highly recommend the blueberry and peanut butter donut for your next visit. 

IMG_2393.jpg
IMG_2397.jpg
IMG_2398.jpg
IMG_2400.jpg
IMG_2405.jpg

4. Pekárna - I saved one of the best for last. Located right around the corner from my flat in the area of Prague 2 - Vinohrady, I feel incredibly lucky to live in such a lovely area and this cafe only makes it that much better. The highlight of this cafe, is the homemade bread freshly made every Monday, Wednesday & Friday when they are open. Their traditional Czech bread fills the air with an incredible aroma and the lovely table decorations along with the record player quietly playing tunes creates for an atmosphere you won't want to leave. The first time visiting this adorable cafe, I was greeted by a lovely young Czech girl, who spoke such wonderful English & made all of the customers feel welcome. If you're looking for a place to relax, spend some time doing work & enjoying a latte or espresso, this cafe is another one I recommend. 

IMG_2436.jpg
IMG_2441.jpg
IMG_2450.jpg
IMG_2446.jpg

I have only started to skim the surface of cafes and restaurants here in Prague & I am sure I will have many more recommendations to come. Can't wait to share more about my cafe & restaurant obsessions in the coming months. 

-Ciao xx

Pesto Chicken Caprese Salad

I am so happy to be getting back into the swing of things and picking back up creating recipes, shooting and writing blog posts and sharing them all with you. These past 3 months of student teaching have been crazy and I couldn't be happier to finally be a license/certified Elementary Teacher here in Minnesota! It is definitely time to celebrate and there is no better weekend to go out and enjoy friends, family and the summer weather than over Memorial Day weekend. 

I was trying to think of how I could get back on track with my healthy eating, while still keeping the recipe flavorful and filling and I knew that this Pesto Chicken Caprese Salad would be the perfect thing! Light, healthy and full of variety, this salad will have something everyone can enjoy & share! 

To make this recipe even better, it is super quick easy to throw together and can be done in a variety of ways, with or without meat, add veggies, etc. To simplify, you can use already made pesto sauce, but I have made my own! 

I can't wait for all of you to try this recipe out and bring to your Memorial Day get togethers this weekend...or just eat it all to yourself! Why not? :) 

Salad Ingredients: 

Shredded Romain Lettuce
Arugula
2 chicken breasts (cubed)
Cherry Tomatoes
Shredded parmesan cheese
Mozzarella cheese
Salt & pepper (to taste) 

Dressing Ingredients: 

1 cup Basil leaves
3 Tbsp EVOO
Pine Nuts
1 garlic cloves (or minced garlic)
Juice of 1 lemon 

Directions: 

1. Cut chicken breasts into cubes and put onto wooden or metal skewers
2. Grill for 3-5 minutes on each side at 250 degrees
3. Shred romain lettuce and add to the large bowl along with the arugula
4. Cut cherry tomatoes into halves and add to the salad along with the mozzarella and add to the bowl
5.  Add cooked chicken to top of salad and shred parmesan cheese over
6. For the pesto, add pesto, pine nuts, lemon juice, garlic cloves and EVOO together in a food processor and blend until creamy. 
7. Add dressing to the salad to your liking. 
8. Enjoy! 

Coconut Cream Protein Cookie Sandwich

Lately I have been on a coconut kick and can't get enough of its creamy, delicious taste. This morning I wanted to make something quick, easy and relatively healthy. Something which was gluten-free, low in sugar and filling. Thats when these coconut cream protein cookies were brought to my attention and I knew I had to make them. They are made with all-natural sweeteners and are packed with protein from my favorite Vega protein powder. 

Also, this recipe is vegan, making them perfect for anyone. The coconut cream filling gives these cookie sandwiches the perfect sweetness and makes them fun to eat. They're the perfect anytime snack or for breakfast or an after workout snack. 

Lastly, these protein cookie sandwiches take less than 20 minutes to make with only a handful of ingredients required. The recipe calls for sunflower seeds, but I didn't have any in my pantry so I added pumpkin seeds and walnuts instead. You can find the recipe here. 

To make the Coconut Cream filling, you need 1 can of coconut cream, 1/2 cup of coconut flakes (or enough to thicken the coconut cream mixture), 1/4 c. maple syrup and 1 tsp. of vanilla. 

Chocolate Coconut Cups (V)

I've found my newest obsession and its in the form of sweets...obviously. Also, its just in time for Valentine's Day. These Chocolate Coconut Cups are incredibly easy, all naturally sweetened and vegan. Also, they take no longer than 10 minutes to make and require no more than 5 ingredients. 

These are an absolutely must-try and are the perfect little thing to satisfy any chocolate craving. I found the recipe from one of my favorite blogs: Its To Die For

Ingredients 

For the filling:

1 414mL can coconut cream (refrigerated for at least seven hours)
1 1/2 c. unsweetened coconut flakes
1/4 c. maple syrup
1 tsp. vanilla bean paste or vanilla
1 tsp. Himalayan or sea salt

For the chocolate coating:

1 c. coconut oil
1 c. cocoa or cacao powder
1/3 c. maple syrup (or more, to taste)
3/4 tsp. HImalayan or sea salt
Splash vanilla

Directions

  1. Add all filling ingredients into a bowl and combine until smooth with a whisk. Note: for the coconut cream, use only the solid ‘cream’ component (discard or save the watery part for a smoothie). Set in fridge while you make the chocolate coating.
  2. Melt coconut oil in a medium bowl. Add remaining ingredients and whisk together until smooth.
  3. Place baking/muffin cups in your muffin pan (if your paper muffin cups are firm enough you may not need the muffin pan — I find it helpful). Pour a small amount of liquid chocolate sauce into each cup and roll it around so that the chocolate coats the lower sides of the cup. Set in fridge to firm up and then repeat this process up to four times.
  4. Next, add your coconut filling to a ziploc bag and snip off the corner of the bag. Pipe the filling into the cups – as little or as much as you like. I like lots.
  5. Lastly, with a spoon, finish the cups by spooning more liquid chocolate into each muffin cup — make sure the coconuty filling is completely covered. Place in fridge until completely firm and enjoy!

Lemon Thyme Chicken (Whole 30)

There has been a major shift happening in my household lately. My entire life I was all about eating and cooking with white meat chicken breasts. Not anymore, when cooked correctly, chicken thighs are so succulent and juicy and never dry. They are smaller in size and perfect for portion control as well. I found this recipe from the blog Kitchn and it is incredibly easy. One pan, 5 ingredients and so flavorful.  

I love this recipe, because the cooking and the cleanup is easy. Place the chicken thighs in the cast iron skillet skin side down and leave in place for 15 minutes to crisp and brown. Easy, right? After that, add some sliced lemon, thyme sprigs and throw in the oven to finish cooking for another 15 minutes! 

I can't say enough about this easy Whole 30 approved recipe. Its also easy to get creative with this dish and add additional herbs and spices. Enjoy immediately and at work throughout the week! 


Lemon Thyme Chicken Thighs

Serves 4

2 pounds chicken thighs, bone-in and skin-on (about 4 to 6 thighs)
Olive oil
Kosher salt
Black pepper
1 lemon, sliced thin
5 to 6 fresh thyme sprigs

Directions

Preheat your oven to 400° F. Drizzle the chicken thighs with olive oil and season them well with pinches of salt and pepper.

Place the thighs in a large, cold cast iron skillet, skin-side down. Place the skillet on a burner over medium heat. Let them cook, undisturbed, for 14 to 15 minutes.

When a lot of the fat has rendered out and the skin is crispy and brown, flip the thighs so the crispy skin is up. Dot the cast iron skillet with lemon slices and thyme sprigs and stick it in the hot oven. Let the thighs finish cooking in the oven for 13 to 15 minutes, until they reach an internal temperature of 165° F. If you're in doubt, leave them in for another few minutes.

Coconut Milk Meatballs (Whole 30)

Hello Motivation Mondays! We are back on after this extended quiet period while I've been busy with school and out of town traveling. But, don't worry, because this week's Motivation Monday recipe is back and with a bang!

Over a week ago, I decided to start the Whole 30 challenge for the second time and have been constantly searching for flavorful, creative and healthy meals to make. I then came across these Coconut Milk Meatballs from the blog I Heart Umami, and had been craving them for days! I have always loved all types of curry dishes and this recipe is the perfect combination of East and West cuisine.  Yesterday, I finally got around to making them and am still dreaming about the creamy, decadent, flavorful taste of these coconut curry meatballs. Like me, you guys will never look at meatballs the same way again. They are amaze-balls!!! :) 

This recipe is also easy to double and take the additional leftovers (if there's any) with you to work throughout the week and reheat. 

This kind of recipe makes the Whole 30 challenge a breeze. I can't wait for you all to try them and make sure to share some love and tag me on Instagram @oliviasobjectionsofobsession and follow me live on snapchat @oliviajoan21

Ingredients

  • 2 lbs ground chicken (50 % breast, 50% thigh) or turkey, lamb, veal
  • Lime juice
  • Cilantro for garnish

Meatball seasonings:

  • ¾ cup cilantro
  • 2 small shallots
  • ¾ cup diced carrots
  • ¼ cup basil leaves
  • ½ tbsp ginger
  • 1 tbsp fish sauce
  • ½ tsp salt
  • ½ tsp cumin powder
  • 2 tbsp coconut cream

Sauce:

  • 14 oz full-fat coconut milk 1 can
  • 1 tbsp red curry paste I use Thai Kitchen (sub green curry paste) 
  • 1 tsp fish sauce
  • 1 tbsp tomato paste no sugar added (sub 2-3 tsp of marinara sauce) 
  • ¼ tsp ground coriander powder (cilantro) 
  • ¼ tsp garam masala powder (combination of cloves, nutmeg, cinnamon, cumin, black pepper) 

Instructions

  1. Combine and blend the first 5 ingredients listed under "meatball seasonings" in a food processor until finely chopped. Add the rest of meatball seasonings and blend well.

  2. Pre-heat oven to 410/420 F. LIne a non-stick aluminum foil over a large sheet pan. Mix ground meat with the seasonings from Step 1. Mix well and form golf ball size meatballs (about 20 meatballs). Bake first side 20 minutes and flip side 15 minutes or until the meatballs are completely cooked through.

  3. While the meatballs are cooking, mix ingredients under “sauce”. Slow simmer over medium-low heat. Keep stirring the sauce until everything is combined and reduced to a thicker sauce (similar to tomato soup texture). Taste and see if more salt, tomato paste, or red curry paste is needed. * keep stirring the sauce to prevent it from burning in the bottom.

  4. Once the meatballs are cooked through and the sauce is thickened, add the meatballs back to the sauce. Simmer for another 3 minutes. Coat the sauce over meatballs. Drizzle with lime juice and garnish with cilantro leaves before serving.

Chocolate Sea Salt Stuffed Caramel Cookies

Ok, three words: Christmas came early! You're welcome to showing you this amazing, delicious, sweet, salty and chocolatey goodness of a cookie from Ambitious Kitchen! It will change your outlook on all cookies and you can make it just in time to share with all of your friends and family for this holiday season! 

During the holiday season I love trying out new recipes and sharing them with the people I know...and obviously eating some (or mostly all) of them myself. I have always loved baking cookies, especially around this time of year, because its such a great activity that brings all of your family together, whether it be taking part in the actually baking or just sitting around the table eating and enjoying the deliciousness of a cookie!

If you love the sea salt and caramel combination or caramel and chocolate combination, these cookies should be your go to from now on! Plus, they have all of those quintessential holiday spices of cinnamon and nutmeg in them too! They are actually super easy to make, grab some already made caramels from the store, put them in the center of your cookie dough and then roll them into balls! Of course they are best when served warm! 

I can't wait to hear all of your thoughts about these cookies. Have a wonderful holiday and/or Christmas!! Spend lots of time with family and friends and eating good food. 

Share some love with me on Instagram and make sure to follow on Snapchat to watch my weekly Motivation Monday stories! 

White Chocolate Dipped Mocha Cookies

Hello weekend!! I have been in full force Christmas mode recently and frivolously brainstorming tasty and adorable holiday treat ideas...and when I came across this recipe, I knew I needed to make them immediately. They are the perfect combination of minty and sweet, but not overly sweet, because of the dark cocoa powder which is included. Also to add a boost if extra flavor, I added in additional chocolate chips. 

These cookies will be the perfect thing to serve at any holiday party and will be the cutest ones at any cookie exchange! To make these cookies really stand out, I melted some white chocolate to dip in, and sprinkled a variety of green and red sprinkles to make them that much more festive! Chocolate on chocolate with sprinkles? Who wouldn't love these!! 

To see the full recipe, you can find it on the adorable website, Sally's Baking Addition, here.  Enjoy! xx

Cranberry Almond Bundt Cake

This post is short and sweet just like this recipe! Isn't it the best when you can utilize the leftovers you have from a meal or a holiday gathering, like this past Thanksgiving and incorporate them into a new dish. It just spices your meals up and allows you to get creative! Well, that is what this recipe and post is all about. I am a huge cranberry fan and I could eat them all the time. Therefore, since I had a large amount cranberries leftover from Thanksgiving, I knew this Cranberry Almond Bundt cake would be the perfect recipe & who doesn't love a beautiful bundt cake!? You MUST check out this recipe and it can also continue to be the perfect dessert for this holiday season! You can find the recipe here!! 

P.S. I subbed whole fat greek yogurt in place of the sour cream to reduce the amount of calories! Its a 1:1 transfer ratio! 

Make sure tag @oliviasobjectsofobsession if you share on social media & follow along on snapchat @oliviajoan21 to see live recipes every Monday! 

Maple-Roasted Hasselback Butternut Squash

Lets just say this is one of the most impressive dishes I've come across and it actually looks much harder than it really is. Oh and with a maple syrup glaze mixture to highlight the beautiful flavors of the butternut squash, this dish will be a reoccurring staple for all of your future thanksgiving meals or week night dinners! This recipe was inspired by Chez LaRae and the recipe can be found here

The best part about this recipe, is that it doesn't require much assistance. Throw it in the oven, pour the glaze on here and there & after 45-55 minutes, its done and ready to serve! 

Make sure to share the love on social media and tag me @oliviasobjectsofobsession 

Butternut Squash + Spinach Ricotta Lasagne

Its mid week and I am in need of a major pick me up or something to get excited about, and this latest recipe including three types of cheese, butternut squash and spinach is the perfect thing. I am so happy I found this recipe from the site, Julia's Album, and even more excited that it turned out this great! This recipe is vegetarian and the perfect thing for these upcoming cold winter days. It is creamy, decadent and flavorful. 

I typically don't eat much dairy, but lately I have been dreaming of everything with butternut squash and because I have been so busy with my last semester of graduate school, this recipe was the perfect choice, because it is actually quite easy to create and makes for the perfect leftover. The reason why this particular lasagna is easy to make, is that it uses already premade pureed butternut squash. Therefore, no need to worry about cutting, scraping and baking the butternut squash in the oven, just mix it together with the required amount of ricotta cheese and you're set! 

I do want to make a point, that when boiling your lasagna noodles, make sure that you add some olive oil to the boiling water, to ensure that the noodles don't stick together. This can happen very easily and typically the noodles will tear into small pieces, which you don't want for a lasagna dish! 

Secondly, I altered this recipe just slightly with the spinach, and instead of leaving the spinach leaves whole, I pureed the sautéed spinach leaves together with the ricotta to combine them together. This made a huge difference and really brought all of the flavors together well. 

This recipe is one you will want to try and when you do, make sure to tag me on Instagram or leave a comment below!! 

Ingredients: 

Butternut Squash Filling: 

  • 2 cups butternut squash puree (about half of squash)
  • 1 cup ricotta cheese
  • 1/2 cup milk (or more, if needed)
  • 1/4 + 1/8 teaspoon salt
  • 1/4 teaspoon nutmeg

Spinach Filling: 

  • 1 cup cooked spinach (8 oz uncooked)
  • 1 cup ricotta cheese
  • 1 cup mozzarella cheese
  • 2 garlic cloves, minced
  • 1/4 teaspoon salt
  • pepper, to taste

Other Ingredients: 

  • 10 oz lasagna noodles, cooked (for gluten free, use Tinkyada brown rice lasagna noodles)
  • 1 and 1/2 cups mozzarella cheese (or more)
  • 1/2 cup Parmesan cheese (on top)
  • Italian seasoning
  • Paprika
  • Basil

Instructions

  1. Preheat oven to 375 F.
  2. For this filling, you will need to have pre-cooked butternut squash puree. Using food processor, combine 2 cups of butternut squash puree with Ricotta cheese, milk, salt and nutmeg. Add more milk if needed (to make the butternut squash filling very creamy). Mix very well, taste and add more salt, if needed.
  3. Sauté the spinach leaves until wilted. Combine spinach, Ricotta cheese, mozzarella, garlic, salt and pepper. Mix, taste, and add more salt and pepper, if needed. (I pureed all of these ingredients together in a food processor). 
  4. Bring a very large pot of water to boil, and cook lasagna noodles according to package instructions. Add 1 Tbsp of olive oil to the water. Rinse in cold water, drain. Using knife, trim noodles to fit your baking dish (if necessary). 
  5. Prepare a baking dish - I used a casserole dish 11 inches x 8.5 inches x 3 inches deep. Grease the lasagna dish lightly with olive oil spray. Spread 1/3 of butternut squash filling on the bottom of the dish. Sprinkle lightly with mozzarella cheese. Top with cooked lasagna noodles without overlapping (I used 3 noodles).
  6. Spread half of spinach filling over the noodles. Top lightly with Mozzarella cheese. Top with cooked noodles.
  7. Spread another layer (1/3) of butternut squash mixture, then sprinkle lightly with Mozzarella cheese. Top with cooked noodles.
  8. Spread the remaining half of spinach filling over the noodles. Top lightly with Mozzarella cheese. Top with the final layer of cooked noodles.
  9. Spread a generous amount of butternut squash filling (the remaining 1/3) over this final layer of noodles, sprinkle with grated Parmesan and remaining mozzarella cheese (about 1/2 cup of mozzarella). Generously sprinkle the cheese with Italian seasoning, paprika, basil. 
  10. Cover the baking dish with foil and bake for 30 min. Remove foil and bake additional 10 minutes.


Zucchini Bread

Today is going to be a good day, because I successfully made one of the best zucchini breads ever. Well, it was the only time I've made zucchini bread, but it turned out perfectly! I found the recipe from Domestically Blissful, and it couldn't be any easier to make. There's under 10 ingredients and most of those ingredients are all thrown together and combined into one bowl! Talk about an easy clean up!! 

First, the most time consuming thing you will have to do is grate the zucchinis. I only used two whole zucchini and that was more than enough for the required two cups for this recipe. Make sure that you are grating the zucchini and not spiraling or chopping it, because you want it to mix easily into the batter. 

Once you've finished grating the zucchini, mix the sour cream, sugar and three eggs in a bowl until creamy. You will slowly add in all of the remaining ingredients, starting with the zucchini first, then flour, etc. Make sure all of the ingredients are combined very well and then... you're done! What? That's it? Yes, like I said, this is one of the easiest recipes ever and incredible tasty too! 

Transfer your batter from your mixing bowl to a bread loaf pan, which has either been lined with parchment paper or well greased. Throw into the oven at 325 degree for an hour. I left my zucchini bread in the oven for slightly over an hour to make sure it was baked completely through. 

If you know me, I love trying new things and taking on new challenges, so I I couldn't believe how amazing this bread was after trying it, with all of that zucchini throughout it. This bread is chewy, moist, dense and incredibly flavorful. Oh and look and the beautiful toasted brown color to it! Its definitely a perfect item for Fall. 

Again, you know the drill, share some love on social media with me if you make it and don't forget to tag me @oliviasobjectsofobsession

Triple Chocolate Banana Bread (V + GF)

Recently, I've been on a baking kick, looking for the best, most delectable recipes, while still being conscious of the sugar and ingredients added into them. This past week, I came across this vegan & gluten-free Triple Chocolate Banana Bread Recipe from the website Dear Kitchen and knew this would be the perfect thing to share with you all. Especially with the upcoming holiday season.  

This banana bread was so moist, because of the ripened bananas added to it, which also gave the banana bread some its sweetness as well. But, the best part about this banana bread is that it only uses natural sweetener, like maple syrup to sweeten it up. The gnash topping encapsulates this delicious treat and bumps up the flavor and sweetness as well. I adapted this recipe slightly and added a bit of maple syrup to the gnash and sprinkled with toasted hazelnuts opposed to blueberries. But, if you want to be creative, most anything can be added to the top: coconut flakes, blueberries, raspberries, nuts, etc. 

I love seeing the pictures and recipes you post, so make sure to tag your social media posts with #tripleo and @oliviasobjectsofobsession 

Ingredients: 

  1. 2 cups (500 ml) oat milk
  2. 2 tsp apple cider vinegar
  3. 3 tbsp maple syrup
  4. 1/4 cup (60 ml) coconut oil
  5. 3 ripe bananas, mashed
  6. 1 cup all purpose flour
  7. 2/3 cup (60 g) cocoa powder
  8. 1 tsp baking soda
  9. 2 tsp baking powder
  10. 1/2 tsp salt
  11. 4 tsp cinnamon
  12. 100 g dark chocolate chips 

Ganache: 

  1. 100 g dark chocolate
  2. 1/4 cup (60 ml) coconut oil

Directions: 

  1. Preheat the oven to 350°F (175°C). Line a bread rectangular baking dish (34x12 cm, 2 litres) with baking paper.
  2. Mix together oat milk and vinegar and leave for a few minutes. In a larger bowl whisk together maple syrup and coconut oil. Add the milk and vinegar mixture and mashed bananas. Whisk to combine.
  3. Sift together the flour, cocoa powder, salt, baking soda, baking powder and cinnamon. Slowly add to the wet ingredients while whisking on low speed or with hand. Fold in the coconut chips and transfer to baking dish. Bake for 1 hour.
  4. Leave it to cool completely. On a double boiler melt together the chocolate and coconut oil. Pour over the bread and leave to cool down and harden.


    Butternut Squash & Quinoa Salad + Pumpkin Seeds

    Theres no doubt that I've been on a pumpkin kick lately and this salad is just another item to add to the list. But, this salad gets even better as it is packed with incredible nutrients and super foods such as butternut squash, quinoa & pumpkin seeds, and it is gluten free & guilt free! Click to see the recipe details here or below

    There are so many ways in which you can incorporate pumpkin seeds into dishes as well as butternut squash and quinoa. They are such versatile foods that can be used within a side dish or for this instance the main course. I have been eating this light and filling salad all week & its the perfect thing to tide over my hunger and keep me feeling full for hours. Lastly, since most of the items within this dish are savory, the hints of sweetness from the dried cranberries are the perfect thing to liven this salad up. 

    I also am obsessed with how colorful this dish is and it will make the perfect item to bring to your upcoming Fall get togethers or a Thanksgiving side dish as well. This dish takes no longer than 30 minutes total and that is mainly due to the required time for the quinoa to cook. 

    I can't wait for all of you to enjoy & when you do, because I know you won't be able to resist, share and spread some love with me on Instagram @oliviasobjectsofobsession or on my Facebook page, here

    Ingredients: 

    1. 3 cups butternut squash, cubed
    2. 1 cup uncooked quinoa
    3. 2 cups water
    4. 1/3 cup dried cranberries
    5. 1 red onion (or whatever your preference) 
    6. 3 Tbsp roasted pumpkin seeds
    7. Salt and pepper
      Vinegarette Dressing: 
    8. 1/2 cup olive oil 
    9. 1/4 cup balsamic vinegar 
    10. 1 tsp honey
    11. 1 tsp dijon mustard
    12. 1 tsp minced garlic 

    Directions: 

    1. Preheat the oven to 400 degrees
    2. In a large bowl, place the cubed butternut squash. Season with olive oil and salt and pepper and place into the oven until soft. (20-25 minutes). 
    3. While squash is roasting, place the quinoa on the stovetop for 15 minutes to cook, until water has absorbed. Bring to a boil and then reduce down to a simmer. 
    4. Once squash and quinoa have finished cooking, let the quinoa and butternut squash cool completely and combine squash, quinoa, dried cranberries, red onion, pumpkin seeds and vinaigrette with salt and pepper. 
    5. Chill in fridge. 
    6. Enjoy! 

    Pumpkin Maple Pecan Granola (GF)

    Since its officially Fall, I have seriously been craving anything to do with Pumpkin. Pumpkin spice, pumpkin seeds, pumpkin pie, pumpkin patches...pretty much anything that involves pumpkins! Therefore, this week for our Motivation Monday recipe, I have decided to focus on an easy, homemade Pumpkin Maple Pecan granola. It not only has roasted pumpkin seeds, but also pumpkin puree in it. 

    This recipe is so easy, it takes only about 30 minutes and 25 of those are in the oven! It also only uses a handful of ingredients and since its homemade it isn't overloaded with sweetness and extra sugary ingredients. It tastes like Fall on a spoon and a burst of flavors in your mouth. Its crunchy, not too sweet, light, pumpkin-ey, nutty and all around amazing! I found this incredible recipe here, so make sure to check it out, on how to make. 
     

    Make sure to note, that even if you do not believe the granola is done in the oven, remember that it continues to crisp when it is cooling.  

    This granola is the perfect thing to put on your yogurt or to bring to work with you as a snack and since it is filled with healthy fats, proteins and fiber, it will keep you feeling full and satisfied throughout the day. 

    If you do end up making this amazing granola, and how could you not, make sure to tag me on Instagram @oliviasobjectsofobsession and @minimalistbaker where I found the recipe!! 

    Happy Fall! 

    One Pot Mac & Cheese Chili

    Its finally Fall, which means hearty bowls of warm soup are in order and this week for Motivation Monday we are creating a spin on mac & cheese and chili, two of everyone's favorite comfort foods combined together in this incredibly easy One Pot Mac & Cheese Chili from Damn Delicious. 

    Also, with it being football season, this will be the hit of the party for game days. This super easy chili recipe combined with noodles and shredded cheese uses staple ingredients most commonly found in your pantry and will surely be a hit with everyone, young and old. With the variety of legumes added, this chili is a great source of folate and nearly has a full daily serving for adults in it. In addition to its nutritional benefits, it is also creamy, flavorful, hearty and filling. My mouth is watering just thinking about it and since its made it one pot, clean up is a breeze. 

    What a great way to start your Monday and week! And when its done cooking, make sure to serve yourself while its still warm and portion the rest off into tupperware to reheat and eat throughout the rest of the week! 

    I hope you all enjoy this recipe with your friends, family or just snuggled up on the couch alone & thank you to Damn Delicious for making this incredible meal. Make sure to share your pictures with me on Instagram when you make it!! 

    Easy On-The-Go Salsa Chicken Bowls

    I've finally returned home from my road trip around the Pacific North West & Canada and its time to get back into the swing of things. Its also the start of fall and that means school is back in session and my schedule is going to be jam-packed. Therefore, to get back on track with my healthy eating and to save on time, so I don't have to spend every day in the kitchen, I've decide to make these incredibly awesome and easy Salsa Chicken Bowls, for every day of the week! The best thing about this recipe is that you can make, bake and go! Cut up the ingredients, stick them into the oven for 20-25 minutes and add them to your tupperware to eat throughout the week. 

    Meal prepping at the beginning of each week is one of the best things to do when you want to stay on track and eat healthy. When you meal prep, you won't have as much temptation to stray away and eat an unhealthy meal or go out to eat and with these Salsa Chicken Bowls, you'll be set for either all of your lunches and dinners for the week. All you need to do is place  3-4 chicken breasts onto a sheet pan along with sliced up bell peppers and one red onion. Season with extra virgin olive oil and salt and pepper and throw into the oven! 

    While you are waiting for the chicken and veggies to cook, add some corn, either off the cob or canned corn, some drained and washed black beans, chopped up tomatoes and a wedge of lime to your tupperware. Lastly, pull the chicken and veggies out of the oven and add them equally to the tupperware and you are set for your meals throughout the week. 

    These are so easy and incredibly flavorful, you won't want to wait to try them out! If you do, as always, I love to hear what you think and make sure to tag me on Instagram or Facebook! 

    Ingredients: 

    3-4 Chicken breasts
    1 jar of salsa (depending on the size, maybe 2) 
    1 can black beans
    2-3 bell peppers
    1 red onion

    Handful of small heroism tomatoes
    1 can of corn or 2 cobs
    1 lime
    Salt & pepper
    Olive Oil

    Directions: 

    1. Preheat the oven to 400 degrees and bake for 20-25 minutes 
    2. Add chicken breasts to sheet pan. 
    3. Evenly distribute the jar of salsa on top of the chicken breasts 
    4. Slice up the bell peppers and red onion and season with s&p and EVOO
    5. Cut up the tomatoes and lime 
    6.  While the chicken and veggies are cooking, distribute the corn and black beans to each of the tupperware, along with the wedge of lime and tomatoes. 
    7. Remove the chicken and veggies, let rest for 5 minutes and add the rest of the ingredients to the tupperware. 
    8. Let cool before placing in the fridge. Will last for the next 4 days.