FOOD+DRINK

Peach + Heirloom Tomato Panzanella

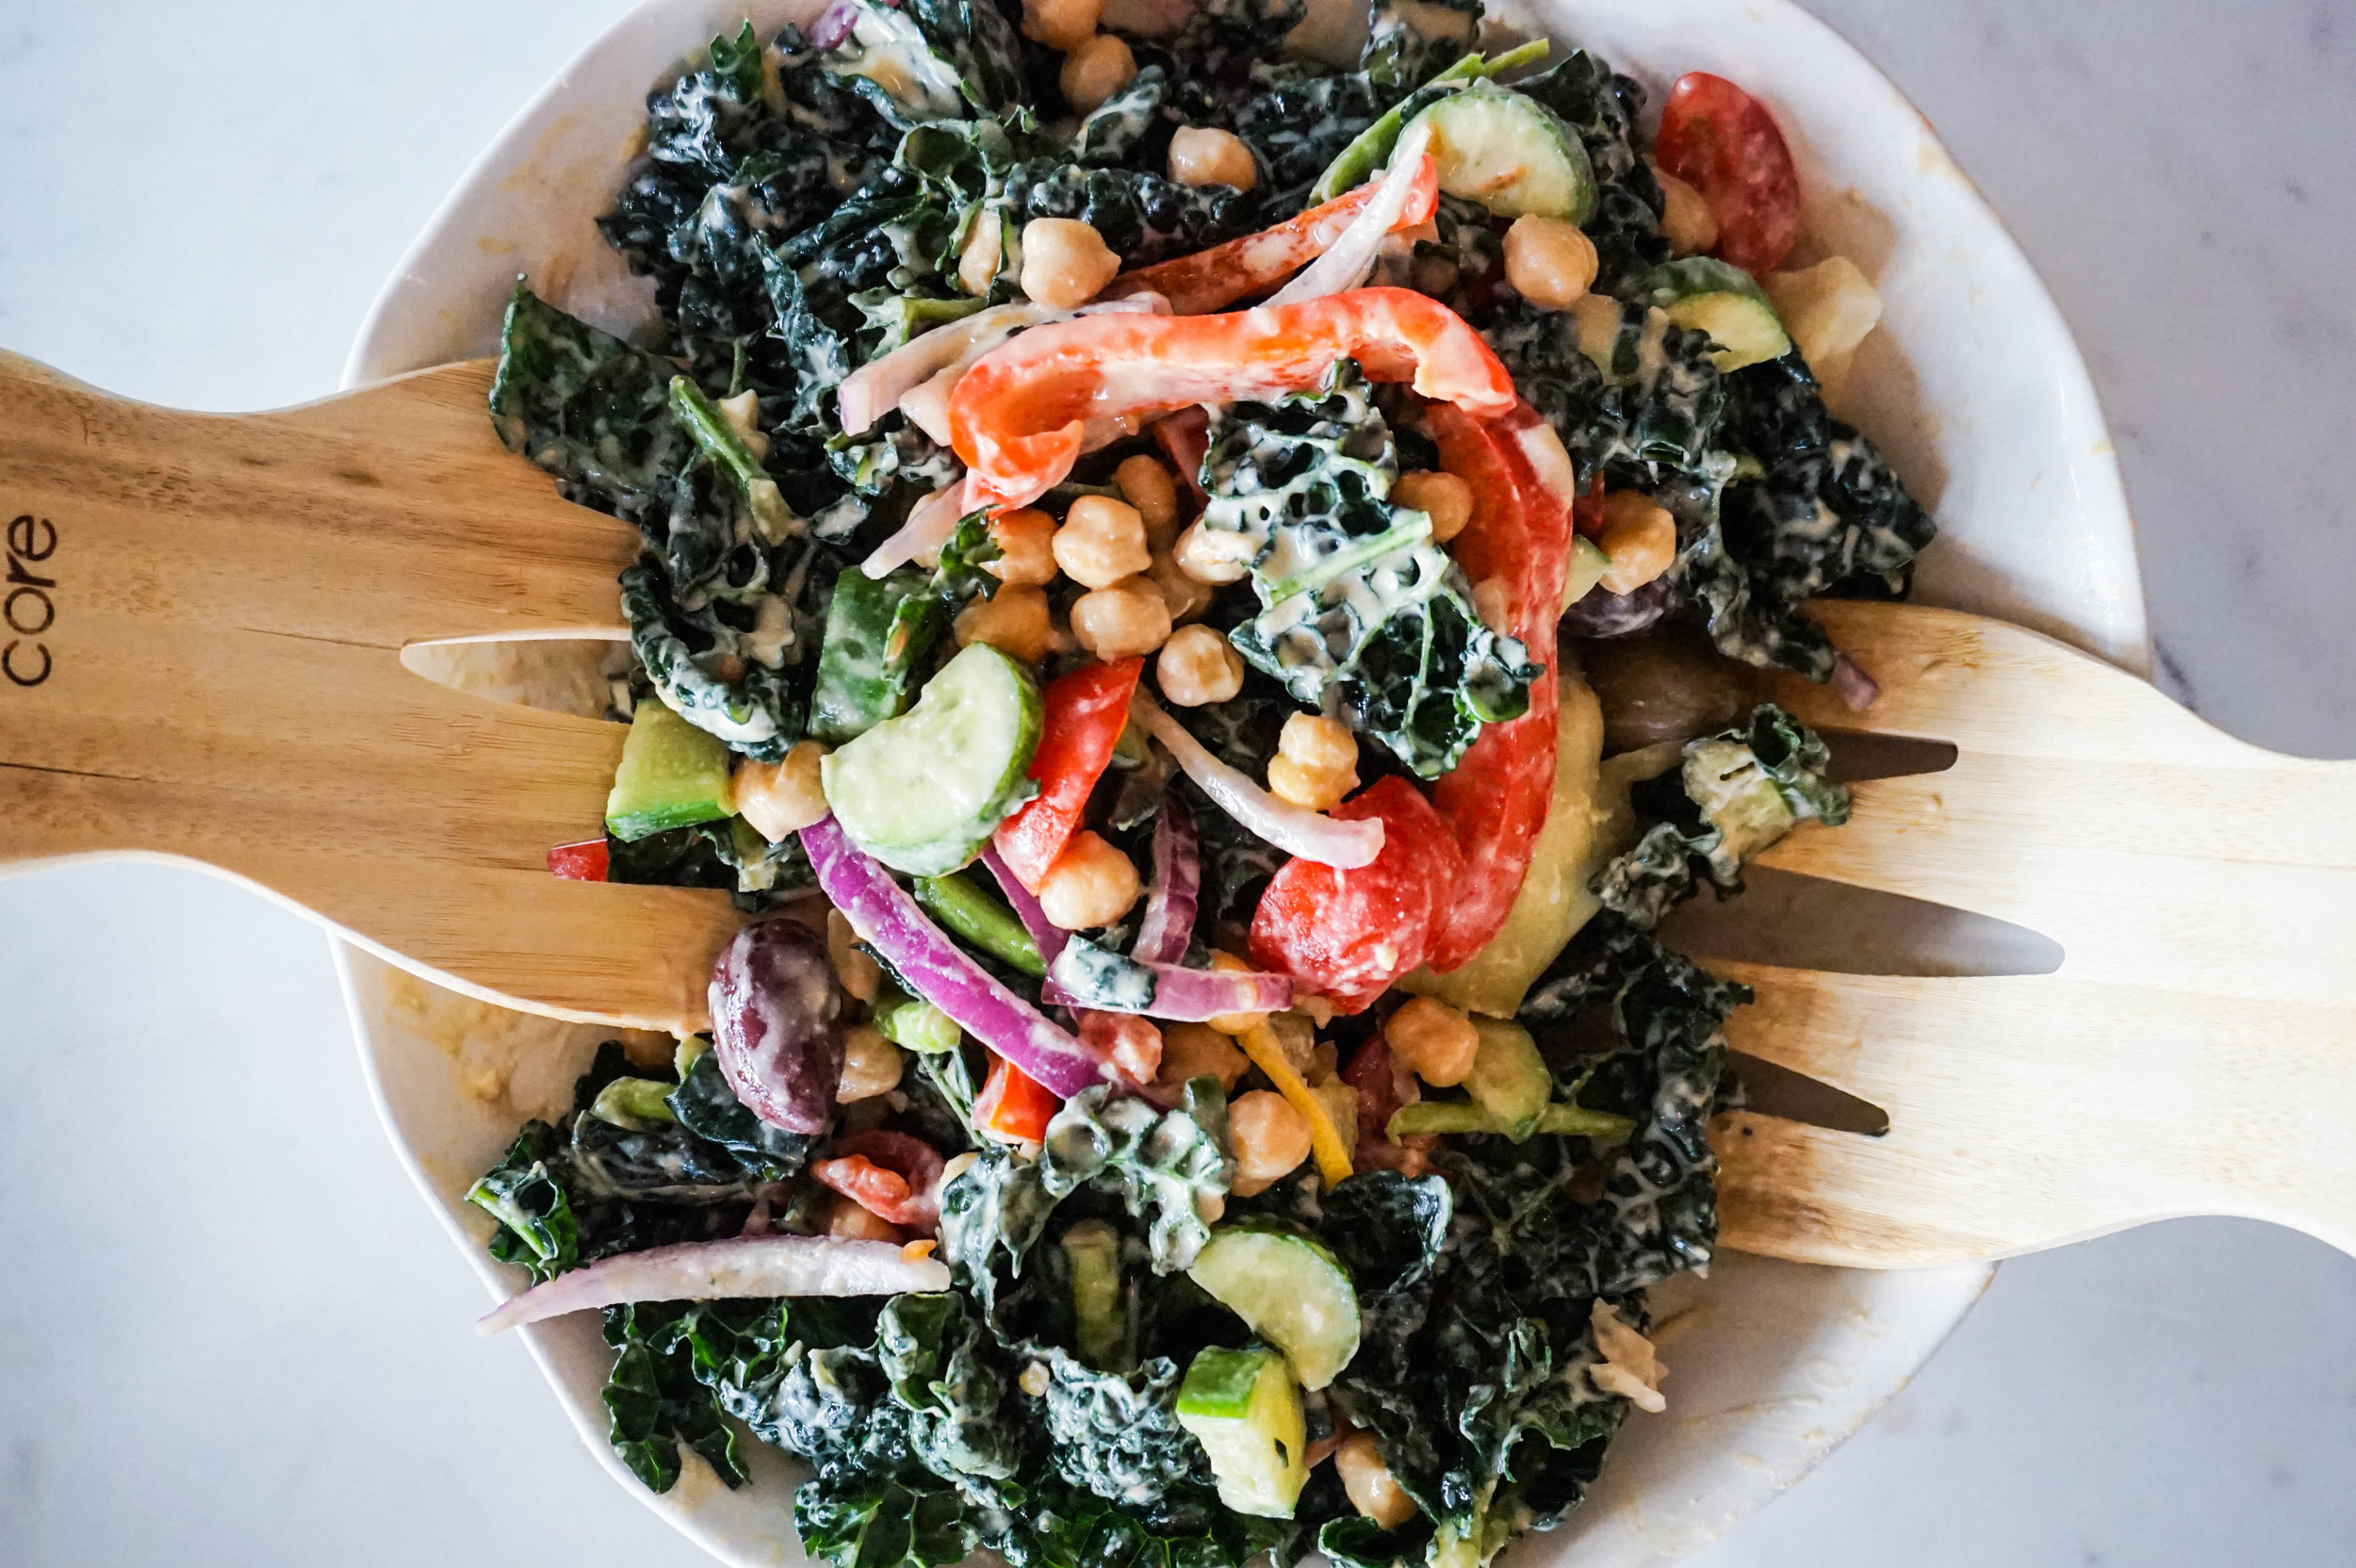
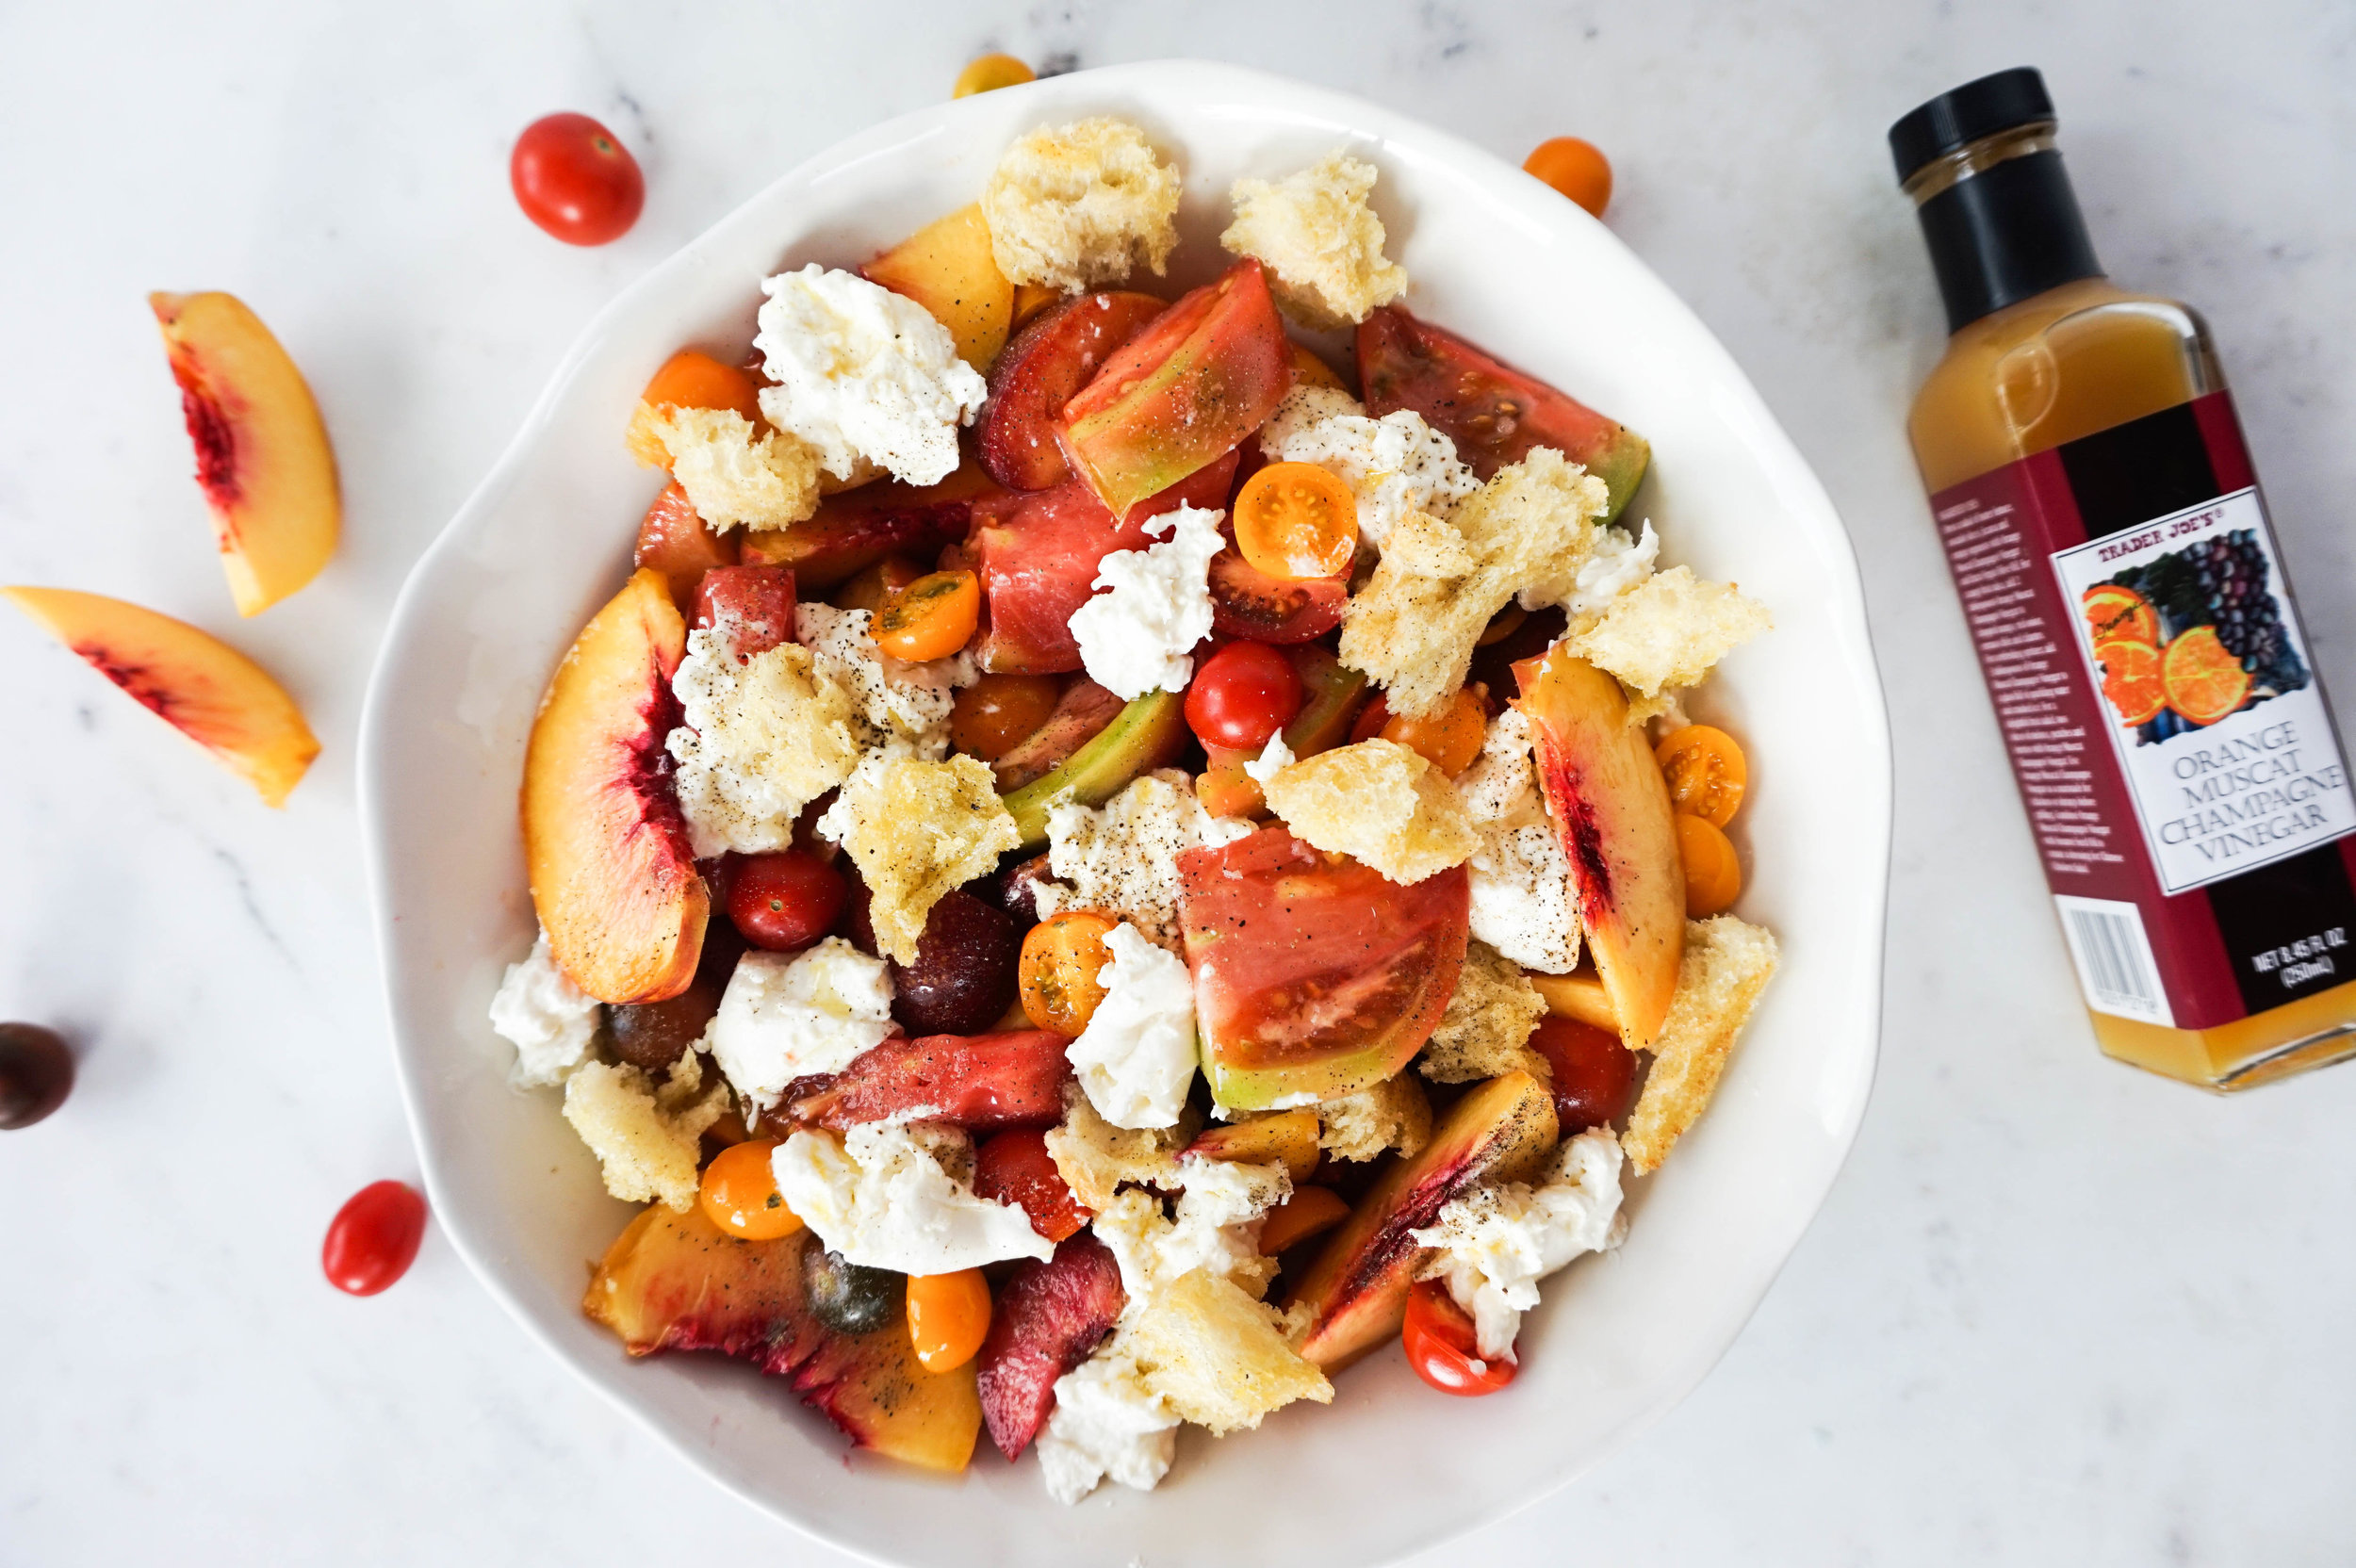
If you haven't already heard of panzanella, you won't ever want to forget about it once you do! It is one of those staple side dishes for all meals and its perfect to use with any ingredients. It is a beautiful mixture of fresh produce and made with homemade seasoned croutons, which makes it impossible to stop eating. Panzanellas, or at least this one, is filled with beautiful, bright colors, which is what we all should want in our lives when we eat and this Peach + Heirloom Tomato Panzanella makes me happy! 

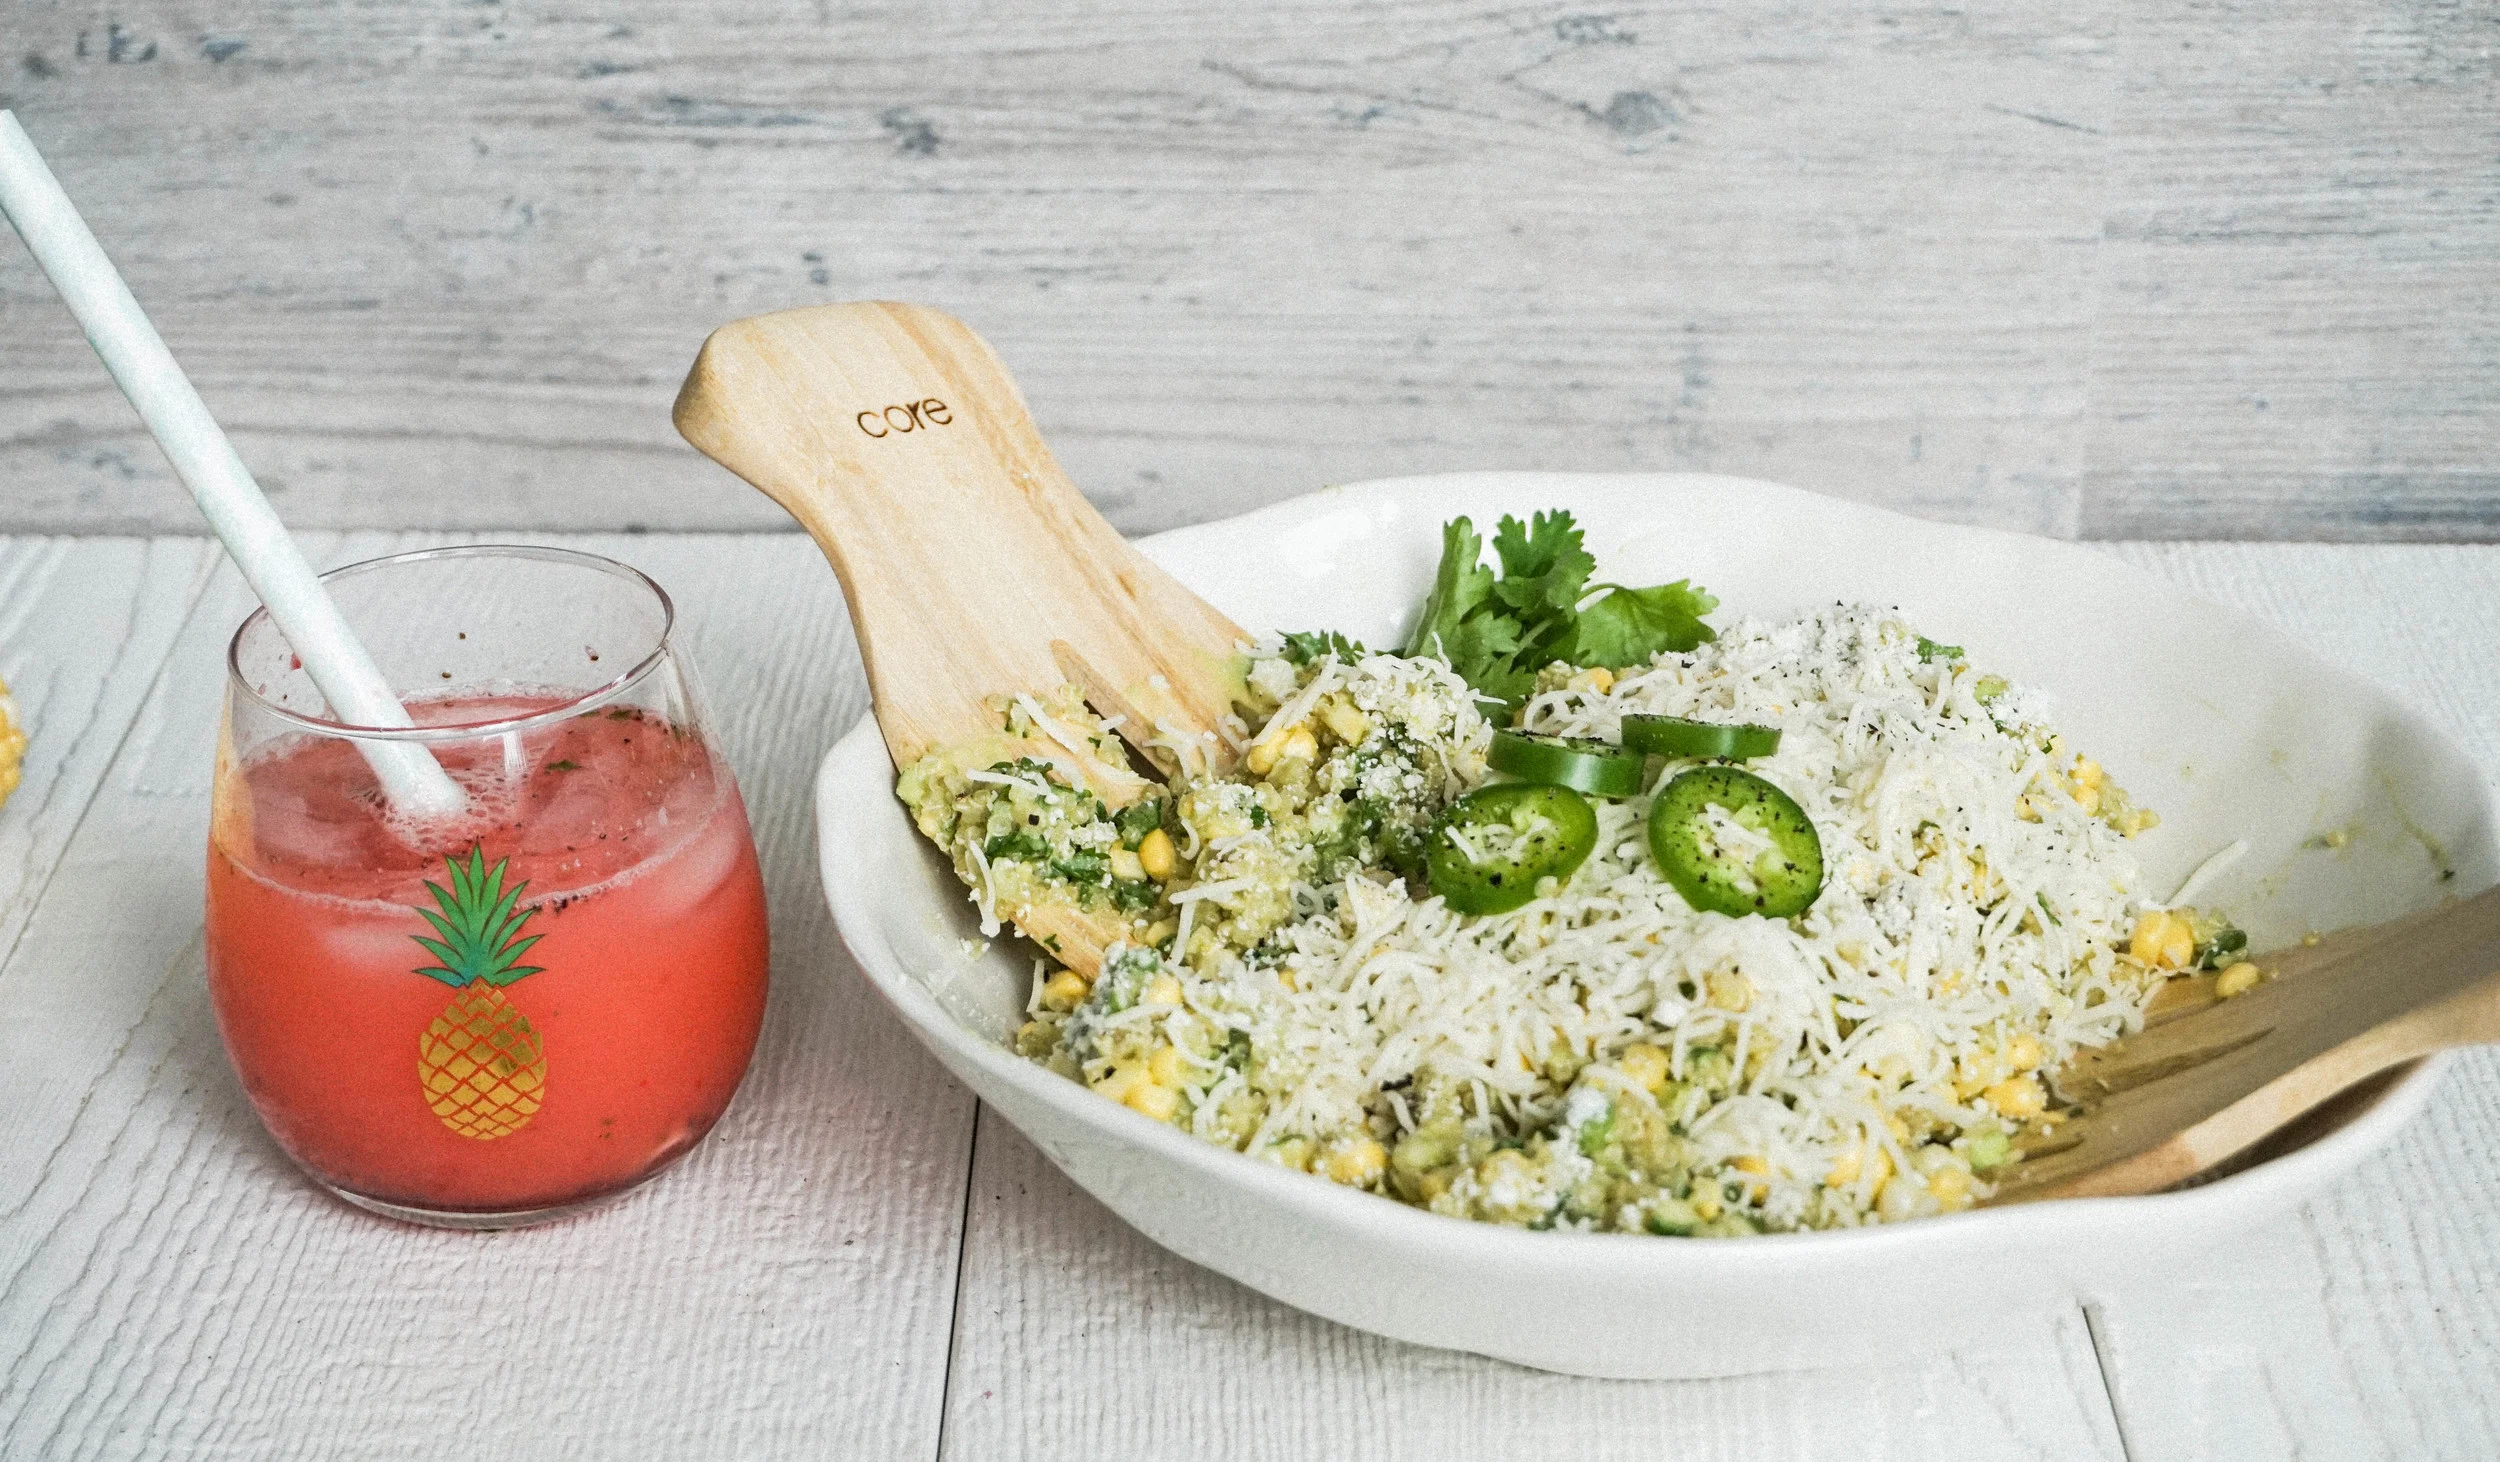
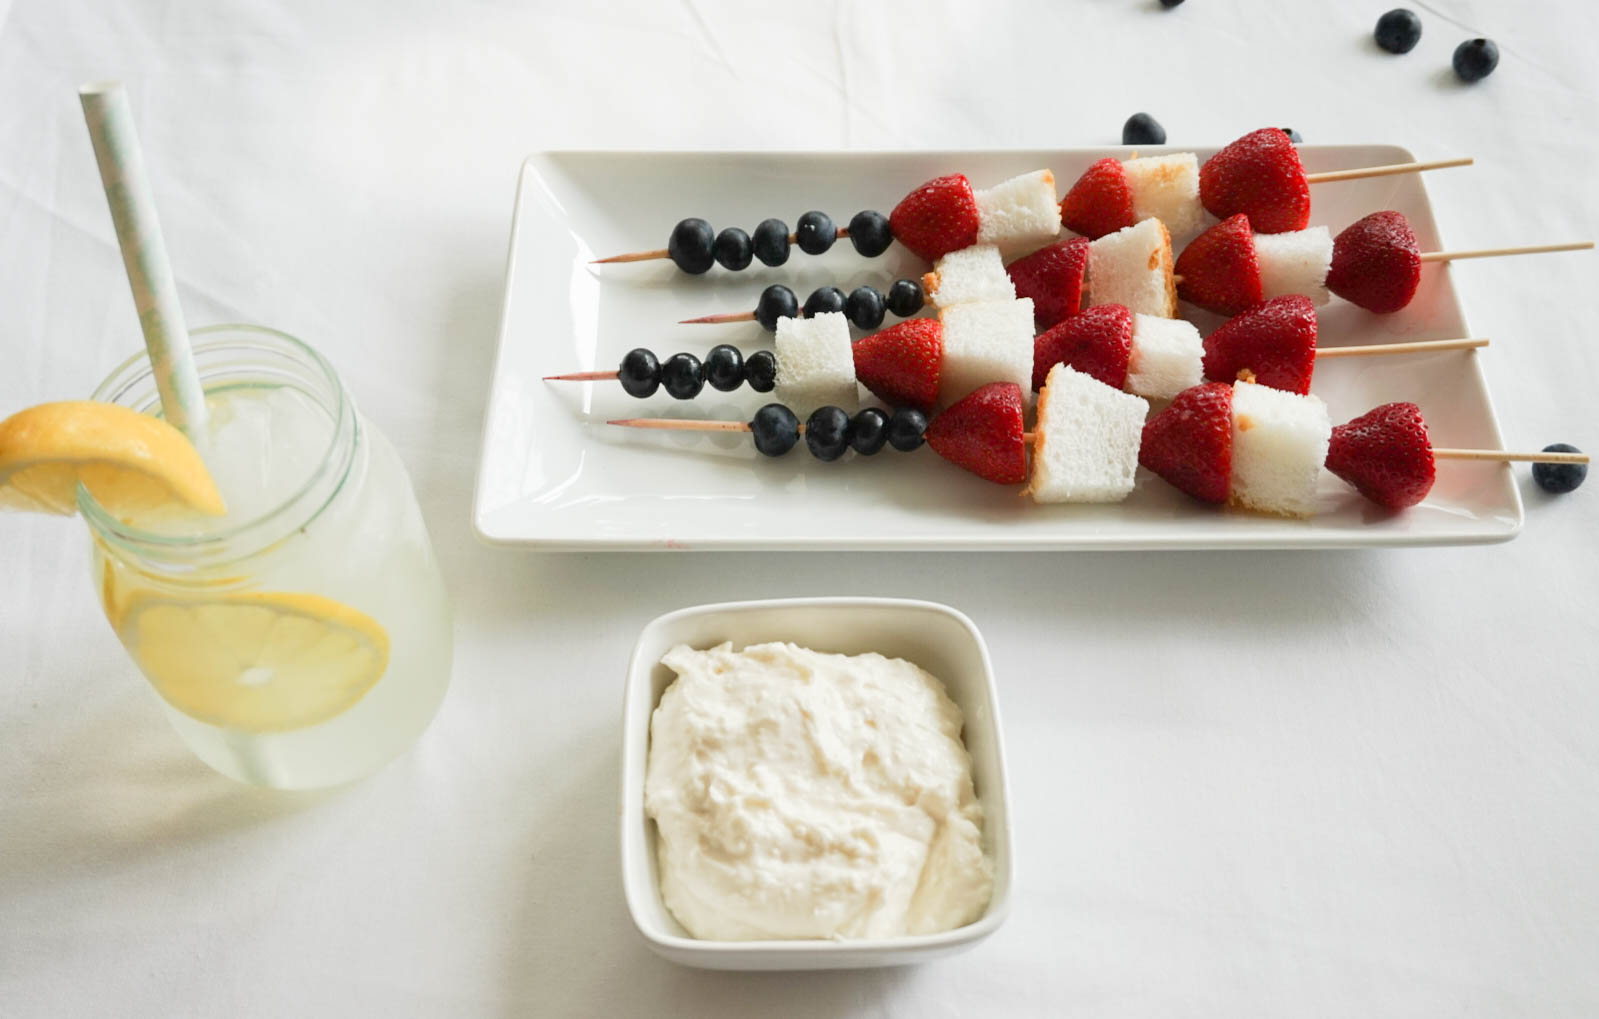
If you are getting tired of the same old salad, this is the perfect way to spruce things up and it pairs perfectly with any meal. Whether you are making chicken, fish, tacos or burgers on the grill, it works perfectly! 

Lets talk about this panzanella though. Ripe peaches and plums pair perfectly with in season heirloom tomatoes with create a burst of flavor in your mouth. Topped off with creamy burrata cheese and seasoned homemade croutons this salad is so easy and can be thrown together within a matter of minutes! Chop up some fresh veggies or fruit, throw it together with whatever you have laying around and voila! Don't forget to go out and immediately buy the orange champagne vinaigrette to drizzle over the whole thing! You will be in love!! 

Prep Time: 10 minutes
Cook Time: 15 minutes
Total Time: 25 minutes

Ingredients: 

2-3 peaches/nectarines
2-3 plums
2-3 large heirloom tomatoes
Small Heirloom tomatoes
Bread
4-8 oz. burrata
Olive Oil
Orange Champagne Vinaigrette
Salt & pepper

Directions: 

  • Preheat oven to 350 degrees 
  • Pull pieces apart from the bread, season with olive oil and garlic seasoning and salt and pepper
  • Put bread pieces into the oven for 15-20 minutes 
  • Cut into large pieces the stone fruit and tomatoes and layer them into a large serving platter
  • Pull apart pieces of the burrata cheese and spread over tomatoes and fruit 
  • Add toasted croutons on top
  • Drizzle orange champagne vinaigrette and salt & pepper to taste 

Double Chocolate Chip Banana Muffins

Natural sweetness, bananas and double chocolate all in one treat, how could these muffins get any better? Instead of making the traditional banana bread with those brown bananas which are waiting to be used, lets spice up the week a bit more and add them to some muffins instead! 

So let's talk about these muffins, look at how gorgeous these are! 

First off, these ripe, brown bananas are the best to use with this recipe. When bananas are at their ripest, this is when they are the most sweet, so keep this in mind when you are making this next time to take in consideration on how sweet you want the muffins. Also, these muffins are some of the most delicious muffins I've made and since they are made with coconut oil, honey and greek yogurt, they stay exceptionally moist inside are perfect eaten both warm and cold. 

Next, for the chocolate, I have used three different kinds in these muffins. First, there is the natural coco powder which is mixed into the dry ingredients as well as two different types of chocolate chips. I have chosen to use dairy free dark chocolate chip by Vita Cost as well as some medium sized chocolate chips to use on top of the muffins! I also like to use these specific chocolate chips, because you can always sub the greek yogurt or remove it from the recipe and these would be diary free. 

Lastly, make sure to stir the batter as little as possible, to ensure that it stays light and fluffy. The more you mix, the denser it becomes. Also, I used a 1" ice cream scoop to evenly distribute them into the muffin pan and make sure they don't over flow when baking. I can't wait for you all to enjoy these as much as I did! Oh and they make for the perfect treat to give to others as well! Happy baking! 


Ingredients

  • 3 bananas
  • ¼ cup of honey
  • 1 teaspoon of vanilla extract
  • ⅓ cup of greek yogurt
  • ⅓ cup of coconut oil, melted
  • 1 egg
  • 2 tablespoons of cocoa powder
  • 1⅔ cup of white whole wheat flour
  • ½ teaspoon of sea salt
  • 1 teaspoon of baking soda
  • ⅓ cup of mini chocolate chips

INSTRUCTIONS

  • Preheat the oven to 350 degrees .
  • Coat a muffin tin with cooking spray.
  • In a small bowl, toss together the flour, baking soda, salt, cocoa powder, and both types of chocolate chips. Mix.
  • Make sure your bananas are at their very ripest (black skins are best). Remove the skins and mash the bananas extremely well.
  • In another bowl, whisk together the egg and Greek yogurt. Stir in the melted coconut oil, vanilla extract, and the ripe mashed bananas.
  • Combine wet and dry ingredients and mix until JUST combined. Don't over-mix as this will result in the muffins becoming denser
  • Separate the batter evenly among the 12 cups.
  • Bake for 18-23 minutes or until a toothpick comes out clean when inserted into the center of a muffin.
  • Allow to cool and then remove from the muffin tin. 

Fruit & Granola Yogurt Parfait

Fruit, nuts, oats and greek yogurt, does anything get any better or healthier? These fruit & granola yogurt parfaits are really the only thing you'll ever want to eat in the morning after trying. They are not only the easiest option for a healthy breakfast but the perfect go to for a midday snack as well. 

I made these fruit and granola parfaits for another one of my Motivation Monday recipes, because recently I have been busier than usual. With my summer semester of school coming to an end, I need something that will be satisfying, easy to throw together and transportable. Also, yogurt parfaits are so versatile, you can pretty much use any fruit you prefer or whatever is laying around the house! 

Since summer is the perfect time for figs, I decided add them into my parfaits in addition to choosing a variety of berries and keeping with that theme, as I also used a blueberry preserve to provide a bit of sweetness. If anyone knows me, I have huge sweet tooth, so that was the perfect addition to the creamy and crunchy aspects of the parfaits! 

Now lets talk about these mason jars, aren't they the cutest? They are the perfect serving size and make this parfait incredibly easy to transport to wherever you are going, with a lid that clasps and seals tight! Of course, you can use any glass you have around the house, but I liked these so I could take them to school with me and not worrying about them spilling! 

Ingredients: 

Per Jar: 

1/2 jar of Bonne Maman Blueberry Preserves (jam optional) 
2 1/2 Tbsp of Granola
1/4 c. blueberries (fruit optional) 
1/2 c. plain greek yogurt
1/4 c. blackberries (fruit optional) 
 

Directions: 

1. Layer greek yogurt on bottom of the mason jar
2. Add 1 1/4 tbsp of granola on top
3. Add 1/8 c. of blueberries on top of the granola or enough to fill the surface area
4. Layer the blueberry preserves on top of the granola
5. Continue layering ingredients until the jar is filled
6. Top off with blackberries

Kale Greek Salad (V + GF)

Happy Motivation Monday week 13!! 

It seems that summer is the busiest months for everyone, including myself and its so hard to find the time to eat healthy and prepare meals for the upcoming week. Recently I feel as though my body has been craving something extra healthy and that is why this week for Motivation Monday I have decided on a vegan + gluten free kale greek salad. This salad has the combination of creamy and crunchy and hint of citrus and packed with super foods. I know traditional greek salads have feta within them, but I have chosen to leave that off because I am trying to limit my dairy intake. Diary tends to be a inflammatory food for most people and dishes can easily taste just as great without cheese!  

This week's Motivation Monday recipe is the perfect thing to take with you during the week for lunches at work or to carry with you if you don't have time to stop home, because unlike typical salads, kale is a much more of a thicker leaf and doesn't wilt as easily or get soggy.. For me, this salad is the perfect thing, because I work all day and have classes during the evening, so its easy to take with me for dinner during night class. 

Ingredients: 

1/2 red onion
Cherry tomatoes
Cucumber (optional) 
1/2 c. chick peas
Kalamata olives
Red bell pepper
Lemon
Olive Oil

Dressing: 
Hummus
1/2 lemon juiced
Garlic - minced
1 or 2 tbsp of water

Directions: 

1. Sauté in a skillet over medium heat the red bell pepper in 1 Tbsp of olive oil until slightly softened. 
2. Add the kale to a large bowl and add lemon juice and olive oil. Use hands to massage the kale to break down its texture and bitterness. 
3. Add the chick peas, cucumbers, olives, cherry tomatoes, and onions to the salad. 
4. For the dressing, combine the hummus, minced garlic, lemon juice and water together. Add salt and pepper for taste.  


Chocolate Chip Cookies

Chocolate Chip Cookies...a staple recipe in every household. Always made a little different, but every bit as good. But, these chocolate chip cookies...are everything. They are fluffy, not overly sweet and melt in your mouth. 

Who doesn't love eating chocolate chip cookies with extra chocolate chips on top, warm in the middle, straight out of the oven but still a little crispy on the outside? These chocolate chip cookies are dairy free and are free from white flour or refined sugars and have the perfect hint of cinnamon. I found them from Chelsea's Messy Apron and love how light they are and tad healthier than most chocolate chip cookies! 

These cookies are different, because instead of using white or whole wheat flour, whole rolled oats are used and processed into a flour with a food processor or blender. Also, these have dark chocolate chips which have GREAT antioxidants and personally I used dairy free chocolate chips. The last healthy ingredient is the coconut oil used in this recipe. It is better nutritionally than butter and also is a healthier source of fat. 

Lastly -- SEA SALT. Yes, please. After the cookies finished baking, I pulled them out of the oven and sprinkled some sea salt on top. This brings out the flavors of the cookies immensely and is the perfect combination with the dark chocolate of salty and sweet mixed together. 

DSC02123.jpg

Note: You can find this recipe and directions on Chelsea's Messy Apron's website or use below

Ingredients: 

  • 2 teaspoons vanilla extract
  • 1 large egg
  • 4 tablespoons dark brown sugar, lightly packed
  • 1/2 cup coconut oil
  • 1 and 1/2 cups oat flour (regular oats blended)
  • 1 teaspoon baking soda
  • 1 teaspoon cinnamon
  • Pinch of salt
  • 1/2 cup dark chocolate chips
  • Optional: coarse sea salt 

Directions: 

  • Use old fashioned oats or quick oats and blend them until they resemble a flour or powder in a blender or food processor.
  • Combine the vanilla extract, large egg, and brown sugar in a bowl. Melt the coconut oil and let it cool slightly before adding to the bowl. Beat everything together until just combined.
  • Stir in the oat flour (measured after blending NOT before), baking soda, cinnamon (scale this amount to taste preferences), and salt.
  • Stir until just combined and then fold in the dark chocolate chips.
  • Chill the dough for at least one hour.
  • Preheat the oven to 350 degrees F.
  • Using a cookie scoop (and pack these in the scoop very tightly or they may crumble), scoop out balls of the dough onto a parchment lined cookie sheet. Press a few more chocolate chips in the tops if desired.
  • Bake for 8-10 minutes or until lightly browned around the edges.
  • Remove and allow to stay on the baking sheet for another 2 minutes before removing to a wire cooling rack


Scrambled Egg Avocado Toast + Mozzarella

Summer, please slow down!!! Can you believe it is already the first of August? I don't know whether I have been doing too much or if Summer is just flying by per usual! Due to the craziness of summer and everyone's jam packed schedules, this week of Motivation Monday recipes is totally geared towards being quick, easy and on-the-go! 

Because I have been incredibly busy these past few weeks and with the school semester ramping up and coming to a close, I need something that is nutritious and can be made in under 10 minutes! Thats why I chose to make the most incredible combination of everyone's favorite avocado toast and breakfast!  Who doesn't love scrambled eggs, avocado and toast? Put all of those ingredients together + a creamy mozzarella to top it off and you're in heaven! This will be the perfect thing for the morning before work when you're rushing out the door or for a mid day snack! 

This is one of my favorite snacks to eat and it has almost everything from each food group, and is packed with protein from the egg whites! I can't wait for you all to make this creation and don't forget to share with me! I love seeing all of your creations! Follow and tag me on Instagram and follow on Snapchat (OliviaJoan21) to watch my Motivation Mondays live! 


Ingredients: 

Whole wheat toast
2 egg whites
1 avocado
3 small tomatoes
Mozzarella
Salt & pepper to taste

Directions: 

1. Toast the pieces of bread in the toaster
2. While the bread is being toasted, scramble the eggs whites in some EVOO and add some salt & pepper to season
3. Cut the avocado in half as well as cut the tomatoes into little pieces as well
4. Remove the avocado from its peel and add to the toast, press with the back of a spoon or knife to spread around
5. Add the egg whites on top of the avocado spread, along with the tomatoes
6. Pull apart the mozzarella with your fingers and place it on top of the eggs and tomatoes
7. Season again to your liking with salt & pepper
 

Rainbow Spring Rolls

Hello Monday! Today is going to be a great day, because we are making Rainbow Spring Rolls. These spring rolls are colorful, sweet, fresh and the perfect thing to snack on at work or for lunch! These are one of my favorite things to make, because they are so versatile. You really can add any ingredients you want to your liking, its kinda like an "everything but the kitchen sink" type of meal. Also, if you need a boost of energy and something to subside your sweet craving, these are loaded with fresh veggies and sweet fruits! I like to fill them with some fruit, such as mango, pineapple or pomegranate for that perfect crunch, avocado, cucumber and red onion!

Get ready for a burst of flavor and the taste of summer in your mouth! Lastly, you can use any dipping sauce with these as well, such as a peanut sauce or plum sauce. 

DSC01992.jpg

Ingredients

Rice paper
cucumber
Red cabbage
Mango
Pomegranate seeds
Avocado
Cilantro
Red Onion
Romain lettuce
 

Directions

1. Cut all of the fruits and veggies into long thin strips about 5-6 cm long
2. Soak the rice paper in warm water until it becomes soft
3. Place rice paper on a cutting board or plate and layer the lettuce with the ingredients inside
4. Roll the rice paper within the ingredients inside like a burrito to ensure everything is tightly wrapped. 
5. Cut them in half and serve with dipping sauce


Blackened Fish Tacos + Avocado, Cilantro, Lime Sauce

Hi guys!! 

Summer is officially in full swing here in Minnesota. Hot, humid weather, thunderstorms and beautifully sunny days for cookouts and dinner with friends outside, it doesn't get any better...and I have the perfect recipe that is so light, fresh and refreshing for a summer meal. Last night I made the most delicious Blackened Fish Tacos with a cabbage, mango slaw on top. Oh, but it doesn't stop there, these fish tacos are topped with a avocado, cilantro and lime sauce to give it that perfect bite and creaminess. I found the recipe from Host the Toast, so check it out for more details! 

So I had a few of my besties over last night for a girl's dinner date night and the fish tacos were a hit. I started off by marinading four pieces of Tilapia in cayenne pepper, cumin, paprika, oregano, garlic powder, onion powder and salt and pepper. I then pan fried them in oil (your choice) for at least 4-5 minutes on each side. 

While those were cooking, I chopped up some red cabbage, green cabbage, jalepeño and mango to make the cabbage slaw and dressed it with the juice of one lime. Finally to make the sauce to go on top, I added avocado, cilantro, greek yogurt and lime and combined them in a food processor until it was really creamy. 

These tacos are literally the perfect combination of sweet, spicy, creamy and crunchy from the blackened fish. I am obsessed with them and you need to try them this summer! If you do, make sure to take a picture, post it and tag me on Instagram at Oliviasobjectsofobsession!

Ingredients:

Fish: 
tsp of cayenne pepper
1 tsp of paprika
1 tsp of garlic powder
1 tsp of onion powder
1 tsp of cumin
pinch of salt and pepper

Slaw: 

1/2 head of red cabbage
1/4 head of green cabbage
1/2 jalepeno
1 mango

Sauce: 

1 avocado
1 lime
handful of cilantro
1/2 cup of greek yogurt
Salt and pepper to taste

Directions: 

1. Marinade the fish
2. Cook fish for 4-5 minutes on each side in a frying pan (depending on how blackened you like)
3. Chop cabbage, jalepeno and mango and combine together with juice of one lime
4. For the sauce, add avocado, cilantro, lime and greek yogurt to food processor
5. Process for 1 minute or until no chunks
6. Layer all of the ingredients within a soft or hardshell taco! 

Enjoy!! 


Red, White & Blue Pretzel Rods

Happy Fourth of July weekend!!! 

I can't contain my excitement today, because not only are we celebrating this amazing holiday, but I am also making the cutest/most adorable red, white and blue pretzel rods that are going to be the show-stopper of the party!!! 

They are honestly the easiest thing to make and taste delicious. They combine the best of both worlds, salty & sweet!! This baking chocolate can be found in a few different places, such as Michaels or Walmart, but I actually picked them up at Party City. 

Heres what you need to do: melt the baking chocolate, white first and roll the pretzels in it. Place them on some parchment paper and let dry for about 5 minutes. Then melt the blue chocolate and layer this chocolate over the white. Finally, put some of the red chocolate into a plastic ziploc bag and cut the corner to lightly drizzle over the hardened white chocolate. And...thats it, you're done!! If you want to make these pretzels look extra cute, tie a white ribbon around a mason jar into a bow & stick the pretzels in! 

I can't wait for all of you guys to try these out!! Make sure to take a picture and tag me on Instagram. I know you all will make the cutest creations!! Make sure to follow me on snap to watch live as well (OliviaJoan21). 

Berry Tart + Coconut Whip Cream (Vegan + GF)

Week 9!! Another Motivation Monday recipe is in the books and this one may be hands down the yummiest recipe I've made to date and with the Fourth of July coming up, it will be the prettiest and most healthy dessert at the party! I found this recipe from Erin Ireland's site, To Die For. She is a fabulous food blogger out of Vancouver, Canada who mainly focuses on eating and making vegan recipes! Check out her version of the recipe here for more details! 

So with a fridge full of berries from the farmers market and an urge to make the perfect thing for the Fourth of July, I knew I needed to make this berry tart. Being both vegan and gluten-free, this dessert is perfect for almost anyone and also slightly healthier than your average dessert! 

I just can't handle how beautiful this red, white and blue berry tart is!! I am so glad that you are deciding to make it and try it out yourself. When do you, don't forget to snap a pic and put it on Instagram and tag me so I can see your beautiful creation!! 

Ingredients

For the crust

2 c. almonds
1.5 c. dates
1/2 tsp Himalayan salt

For the filling

1/4 c. + 2 tbsp creamy nut butter of your choice
1/4 c. + 2 tbsp coconut oil (melted)
1/4 c. maple syrup
1/2 tsp Himalayan salt
1 can coconut cream (chilled in fridge overnight) (Whip separately) 
Lots of berries! (around 2-3 cups)

Directions

  1. Prepare your 8-9″ tart dish: rub with coconut oil and cut-out a circular piece of parchment paper to lay on the base. Next, cut three long, 3″-thick strips of parchment — lay these in your tart dish before you add the crust. They will act as ‘easy removal levers’ when your tart’s all done.
  2. In a food processor, grind almonds into a flour (if you prefer little chunks in your crust, you don’t have to grind so fine). Now, add your dates and salt until a dough ball forms. (continue adding dates until ball forms, this may take more than required dates needed)
  3. Using your hands, press dough into your tart dish to form your crust. When done, place in freezer to chill while you work on the filling.
  4. Add nut butter, coconut oil, maple syrup and salt to your blender and puree until smooth (if you don’t have a blender, this step can be done by hand using a whisk or maybe even a fork).
  5. Remove tart from freezer and pour in almond butter mixture. Spread it around so the entire tart base is covered. Place this in the fridge.
  6. Remove coconut cream can from fridge, flip upside down and open. Remove watery portion and scoop hardened cream into the bowl of your mixmaster. Whip until light and fluffy (about 1-2 minutes). You can add sweeter, if needed. 
  7. Remove tart from fridge and dump on your coconut whip. Using a spatula, spread it out into one even layer. Next, add berries. 
  8. Enjoy!


Healthy Potato & Dill Salad

Hey guys!! Happy Motivation Monday & first official day of Summer!! For this week's recipe, I decided to make the perfect dish for summer cookouts, holidays, and picnics outdoors...it is a healthy potato and dill salad that I found from the blog Table for Two

When you think of summer and getting together with your family, don't you think of all the many amazing dishes everyone brings, and of course, there is always potato salad!! That's why this potato salad I've made today will be the perfect healthy alternative for your summer get togethers and you won't need to worry about all of the extra calories...and with the Fourth of July right around the corner, this is one of the easiest things to whip up! 

So the major difference in this potato salad, is that I used non-fat greek yogurt instead of sour cream. It tastes pretty much exactly the same, plus I've added two different types of mustard to give it a bit more flavor! Its actually amazing and I am obsessed with it! 

Look at how incredible this potato salad looks and the bits of green onion and dill spread throughout the salad gives it that extra punch of flavor! After a long weekend, this is the perfect dish to make, set aside and eat throughout the week and it will last for a solid 4-5 days! So don't waste any time and get into the kitchen to make this...or bring it to your Fourth of July celebrations! I am sure everyone will love it! 

Mexican Corn & Quinoa Salad

Happy Motivation Monday Week 7!!! I can't believe we are already on week 7. I have been having so much fun sharing so many healthy and amazing recipes with you all and this week's is amazing!! Its the perfect combination of sweet, creamy and spicy. Its a Mexican Corn & Quinoa Salad from my favorite website ever, What's Gaby Cooking

This is the most perfect Motivation Monday recipe, because it literally uses under ten ingredients and most of these ingredients you probably would already have in your kitchen! Also, this salad, not only is reminiscent of amazing Mexican corn on the cob, which is MY FAV, but it also substitutes avocado for the dressing, which makes it pretty much the hardest thing to stop eating! I can't wait to bring it to barbecues and parties this summer & so should you! 

Prep Time: 15 Minutes
Total Time: 30 Minutes


Ingredients: 

1 cup quinoa
3 cups of corn (3-4 ears)
1 jalapeño
2 green onions
1 lime, juiced
2 Tbps Cotija cheese
1/2 cup shredded Monterey Jack cheese  
salt & pepper to taste

Directions: 

Add the quinoa & corn to a large mixing bowl. Chop up the green onions, jalapeño and cilantro and add that to the corn and quinoa. Then, remove the skins of the avocado, add to a food processor or blender along with the juice of the lime. Add water if needed. Then add pureed mixture to the large mixing bowl and toss until combined thoroughly. Top with Cotija and Monterey jack cheese as well as salt and pepper to taste! 

Strawberry Basil Lemonade

Ok, so I am came across this incredible Strawberry Basil Lemonade recipe from What's Gaby Cooking and I needed to make it. Its pretty much everything I love in one glass. Strawberries, lemonade, basil & a little sweet!! Since I pretty much have the biggest sweet tooth ever. Also, its the perfect combination of homemade lemonade and fresh fruit puree. 

This drink can be even better, because its perfect with a little vodka or gin, too! Depending on what event I'm going to or who's drinking with me, I will add either sparkling water or gin or vodka. Its perfect both ways! 

Anyway, this is my new favorite drink and I am pretty much obsessed, so you should be too! Oh, and you should grab some lemons and strawberries and make this over the weekend! 

DSC01743.jpg

Prep Time: 10 Minutes
Total Time: 20 Minutes

Ingredients:

8-10 Strawberries tops removed
8 Lemons- Juiced
4 Cups of Water (Still or Sparkling)
3/4 cup sugar
1/3 fresh basil

Directions: 

First juice the lemons and add to the pitcher. Add the water and the sugar to the lemon juice mixture and stir until dissolved. With an immersion blender, blend the strawberries and basil for 10 seconds or until completely pureed. If you don't have an immersion blender, use a food processor or blender and add separately to the mixture. Stir and serve over ice! 


Vegetable Hummus Wrap

Hey guys! Happy Monday & week 6 of Motivation Monday recipes! For today's recipe I decided to make a light, healthy and easy Vegetable Hummus Wrap! This recipe is seriously the perfect thing for summer and for lunches throughout the week! You can prepare multiple wraps ahead of time and store them in your fridge to eat later in the week! Oh, and the best part, is that the options are endless! 

For this recipe, I kept it to only veggies, because I wanted something a little lighter and healthier and also left out putting on any cheese as well, so these wraps are vegan and dairy free! Also, for this recipe, you are definitely able to use store-bought hummus, but I wanted to make my own, so if you're feeling like making your own homemade hummus, here is what you'll need: chickpeas, lemon, garlic gloves, salt & pepper, olive oil and some paprika to taste. Add all of the ingredients to a food processor and blend until really creamy and smooth! 

Then its time to build your wrap! First spread your hummus onto the whole wheat tortilla and add whatever vegetables you like! I added, tomatoes, cucumbers, avocado, zucchini, alfalfa sprouts (optional) & arugula or spinach! 

After you've added everything, roll up your vegetable wrap and you're done & ready to eat! Its literally that simple! 

This is such a great summer recipe and I can't wait for you all to try it out! Follow me on Instagram to get more inspiration and ideas & don't forget to tag me if you post a picture of your masterpiece! 

Happy a fantastic Monday and rest of your week! 

Total Time: 20 minutes
Prep Time: 15 minutes

Ingredients

1-2 medium zucchini, cut lengthwise
1 medium red bell pepper
3 persian cucumbers
1 medium tomato
4 whole wheat tortillas
2 oz of spinach or arugula
1/2 cup red onion thinly sliced (optional) 
 

Hummus
1 can of chickpeas
1 lemon - juice of the whole lemon
1/2 cup of EVOO
1 garlic clove
S&P
Paprika to taste

Red, White & Blue Fruit Skewers

Hi guys!! Happy Memorial Day & Motivation Monday week 5!! 

I am so excited for a day of sun and boating on the lake...oh and grilling and snacking! And to go along with this wonderful day of remembrance, I made a very fitting red, white and blue dish to serve at any Memorial Day get together!  

These red, white and blue fruit skewers are the perfect thing for a hot day and they literally take 10 minutes to make!! 

So for the ingredients, you will need some strawberries, blueberries, and angel food cake for your skewers! For the dip, you will need cream cheese, non-fat greek yogurt, vanilla and sugar. Put all of the ingredients for the dip in a bowl and mix until smooth and creamy! 

Then alternate between the strawberries & angel food cake when putting them on the skewers and add the blueberries at the very end, to make it appear like an American flag! 

IMG_2331.jpg

Look at how adorable this snack is after you're done skewering the ingredients!!! I can't wait until you try them out and serve them to all of your guests at your Memorial Day party!! I know this Motivation Monday post is short and sweet, but its just like the recipe, short and sweet and easy to make! 

Ingredients: 

1 package of strawberries
1/2 cup of blueberries
Angel food cake - cut into 1 inch cubes
1/2 package of cream cheese
1/4 cup of sugar
1 tsp of vanilla
1 cup of greek yogurt


Watermelon Feta Arugula Salad

Happy Monday!! We are still going strong & are on our Motivation Monday Week 5 post & recipe!! I just returned home from New York and am definitely needing something light, healthy & filling to eat throughout the week! 

I'm pretty much obsessed with watermelon & usually eat is all summer long & this watermelon, feta & arugula salad is the most delicious thing you will ever make! I know the flavor combination may sound odd, but there is a perfect hint of sweet, and zesty and the feta goes perfectly with the arugula and watermelon. Oh and its extremely light and refreshing as well as low in calories...bonus!! 

So what you'll need is arugula, feta cheese, blueberries (optional), watermelon, honey, salt, an orange, a lime and fresh mint leaves. First whisk together the juice of the orange, lime, honey and salt. You can also add a little olive oil to the dressing if you want to tone down the sweetness and zest of the other ingredients. Then cut the watermelon into pieces and add to the arugula and blueberries. Finally, sprinkle the feta cheese all over the salad to your desired amount. 

After you have combined all of the dry ingredients, drizzle the dressing over the salad and toss thoroughly together. You will absolutely LOVE this salad. It is the perfect thing for a picnic, lunches or a BBQ. 

I can't wait for you to try it! Make sure to post a picture & tag me on Instagram or leave a comment below!  


Serves 2-3
 

Ingredients: 
1 orange
1 lime
2 Tbsp honey
1/4 cup feta
2 cups of watermelon
3 cups arugula
pinch of salt
1/4 cup of blueberries (optional) 
Handful of mint leaves


Peanut Butter Cup Energy Bites

Hey guys!! 

I am super incredibly excited, because toady I made the most delectable recipe that tastes JUST like a peanut butter cup...and its healthy!! These Peanut Butter Cup Energy Bites that I found on the Minimalist Baker's website are the perfect healthy snack to eat throughout your week and are packed with nutrients in a few small bites! 

Oh and you have no excuses to not be healthy & make these, because they only have 5 ingredients! You will need dried dates, or in my case I used dried figs, diary free chocolate chips, if you're paleo or have a diary allergy, whole rolled oats - gluten free, organic peanut butter, or any butter that you can find (almond butter, cashew butter, etc) and lastly chia seeds! 

Also, I am really into easy recipes lately as it is now summertime here in Minnesota and that means more time on-the-go doing activities and being outside and I love having healthy snacks on hand with me! 

So, what you'll need to do is, grab a cup full of dates/figs and add them to the food processor or blender. Blend until the fruit is chopped into pieces and start to stick together. Then add the rest of your ingredients of chocolate chips, peanut butter, oats and chia seeds to the food processor or blender and combine until all ingredients start to bind together. 

Then, reach down into the processor or blender, grab some batter and roll into portable little bites! You're going to love having these with you during the day...and so will your friends. They are the perfect thing to share! They are creamy, chewy, crunchy, wholesome and naturally sweetened! 

Recipe

Total Time: 15 minutes

Ingredients

1 cup dates - pitted or apricots
3 Tbsp all natural peanut butter or almond butter
1/4 cup dairy free chocolate chips
1 Tbsp chia seeds (sub flax seeds)
2/3 gluten free rolled oats

Instructions

1. Pulse dates or apricots in food processor or blender until they're in small pieces or form a ball
2. Add oats, chocolate, chia seeds and peanut butter and pulse or mix until combined. You want there to be small pieces but not overly processed. 
3. Roll into 1-2-inch balls (should yield 10 balls) 
4. To set, put into freezer for 15 minutes! Will keep good for a week, or keep in fridge to stay longer! 


Tomato, Pesto, Burrata Flatbread

Who's ready for some pizza? You need to try the most amazing tomato, burrata & pesto pizza that I found on What's Gaby cooking!  Its kinda half flatbread, half pizza & I am pretty sure I could eat it every day for the rest of my life! Click here for the recipe & ingredients needed!

Don't get discouraged because this flatbread is homemade! Its the easiest thing ever, the whole wheat crust was purchased at Trader Joe's (duh) and then there are only 6 other ingredients needed: cherry tomatoes, burrata cheese, shallots, pine nuts, garlic cloves and basil leaves!  

Make SURE your dough is at room temperature before spreading it out. This way it won't snap back when trying to roll it out. After the dough is rolled thin, transfer for a baking sheet, which has been covered with some olive oil, so it won't stick, and bake in the oven at 350 for 8-10 minutes. 

While the crust in baking, slice the cherry tomatoes and chop the shallots and mix together with some olive oil. Then turn the oven to broil and throw the mixture into the oven to char for about 5-7 minutes! 

While the tomatoes are in the oven, throw together the garlic, pine nuts, olive oil, basil leaves and a little red wine vinaigrette in a food processor until smooth. Spread the pesto vinaigrette evenly on top of the crust along with the charred cherry tomatoes. Lastly, take your burrata and pull apart pieces with your fingers and lay them around the entire pizza. The warmth from the crust will melt the burrata cheese so nicely and beautifully, you won't be able to wait to dive it an try it! 

Happy eating & your welcome for this amazing new recipe to try out!! Leave a message or comment for any new ideas or suggestions you may have! 

Chicken Tortilla Soup

Happy Monday!! Can you believe its already week 3 of Motivation Monday recipes? I can't wait to share this latest recipe with you! Its the easiest thing to make & the perfect thing for lunches throughout the week and leftover dinners! Its, Chicken Tortilla Soup!! I found this recipe on the blog, What’s Gaby Cooking. She actually made this soup with Turkey, but it also works well with chicken! This blog is incredible and I am pretty much obsessed with it!!  

Who doesn't love Chicken Tortilla soup, with all the spices and toppings and avocado...who doesn't love avocado? Its only one of the most amazing ingredients ever!! So let’s get this week started off right and healthy!

First you’ll need 3-4 chicken breasts and bake them in the oven at 350 degrees for 35-40 minutes then shred, or else you can easily use a rotisserie chicken as well. Roughly chop a whole white onion, 3-4 garlic cloves and one whole jalapeño (seeds removed). Sautee them in a large saucepan until ingredients are well cooked and until onions are translucent.  

Then add in 15 oz. can of fire roasted tomatoes with green chilies, and 3 cups of chicken stock. Bring ingredients to a boil and let simmer for 30 minutes. Using an immersion blender, regular blender, or food processor and puree until smooth. Finally, add in the shredded chicken, corn and black beans and bring to temperature.

I can’t wait for you all to try it out & don’t forget to top it off with a little lime juice, cilantro (optional) and some tortilla strips!! 

Ingredients:

2 teaspoons olive oil

1 onion, roughly chopped

3-4 cloves garlic, roughly chopped

1 jalapeño pepper, stem and seeds removed and roughly chopped

kosher salt and freshly cracked black pepper

¼ teaspoon dried oregano

¼ teaspoon cumin

½ teaspoon ground chipotle pepper

1 14-ounce can fire roasted tomatoes and green chiles

3 cups chicken stock

15 oz. black beans, drained

1 cup frozen corn

2 cups Shredded Turkey (can use rotisserie chicken for shoot purposes)


Toppings:

Small wedge of cheese, freshly shredded

Limes

Avocado

Cilantro

Tortilla Strips

Chicken Quinoa Arugula Salad + Feta

Happy Monday!!

I hope you all had a fantastic weekend! I can’t believe how fast it went by. If you were anything like me, I tried to spend most of my day outside on Saturday, because the rest of the weekend was just dreary! Don’t get me wrong, I love a good Minnesota Spring rain and thunderstorm, but I am ready for more sun!!

So over the weekend, I decided I wanted to make something really healthy for the upcoming week ahead that stayed well for a couple days and was perfect for lunches! Meal prepping is SO important for me, otherwise I tend to resort to eating something that is quick & probably not the healthiest! So from now on, get ready for ‘Motivation Mondays!!’ I will be making healthy, quick & easy meals for your Monday mornings to bring to work or eat throughout the week!

For the very first week of Motivation Monday meals, I decided to create my own spin on a quinoa salad that I’m pretty much OBSESSED with!  Here’s what you need to do:

Salad: First take a cup of quinoa + two cups of water and bring it to a boil, then simmer for 10-15 minutes until the water is gone.

While the quinoa is boiling, take 2-3 chicken breasts, seasoned with salt & pepper, and broil/grill/bake, them in the for at least 15-20 minutes. I really like to get my chicken at Trader Joe’s or Whole Foods, because they have a great variety of free range, non-GMO chicken breasts!

In the meantime, while both the chicken and the quinoa are cooking, slice one red bell pepper, 3-4 Persian cucumbers (the little ones), 1 jalapeño, 1-2 cups of Arugula, some feta cheese and of course, some avocado to mix together. If you are looking for some amazing feta cheese, go to Trader Joe’s and get the Feta cheese that is still soaking in the brine! I am so obsessed with it!  After the quinoa and chicken have finished cooking, cut the chicken breasts into pieces and mix together all of the ingredients with the quinoa.

Dressing: The dressing is SO simple, all you need to do is get some EVOO & a lemon. Drizzle about a ½ cup of extra virgin olive oil over the quinoa salad and squeeze the half of a lemon over as well. I also like to zest some of the lemon peel to give the salad even more of a fresh citrusy flavor. And that’s it for the dressing, so easy!!

If you make this recipe, please tag me on Instagram and share with me OR feel free to leave a comment or suggestion of any alternative ways to make this salad with other ingredients! If you have suggestions or ideas for other Motivation Monday recipes you’d like to see me make, let me know!! I hope you enjoy this amazing Chicken Quinoa Salad!

Serves 5

Preparation: 5 minutes

Cooking time: 25 minutes

Total time: 30 minutes

Ingredients

1 cup quinoa

2-3 chicken breasts

¾ cup feta
3-4 Persian cucumbers

1 red bell pepper

1-2 cups Arugula

1 avocado

Handful of cilantro (optional)